
I keep a small stash of “maybe I’ll use this someday” items in the back of my linen closet, and old sweaters somehow always end up there. If you have a couple of worn cable knit sweaters that are too stretched out to wear but too cozy to toss, this 3-item autumn throw pillow project is one of the easiest ways to give them a second life. You’ll turn them into a simple set of soft, textured pillows that instantly makes a sofa, reading chair, or guest bed feel fall-ready.
I love projects like this because they look high-end but fit into a real-life busy schedule. These pillow covers come together fast, don’t require complicated sewing, and are especially forgiving for beginners. If you can cut straight lines and sew a basic seam, you can absolutely make these.
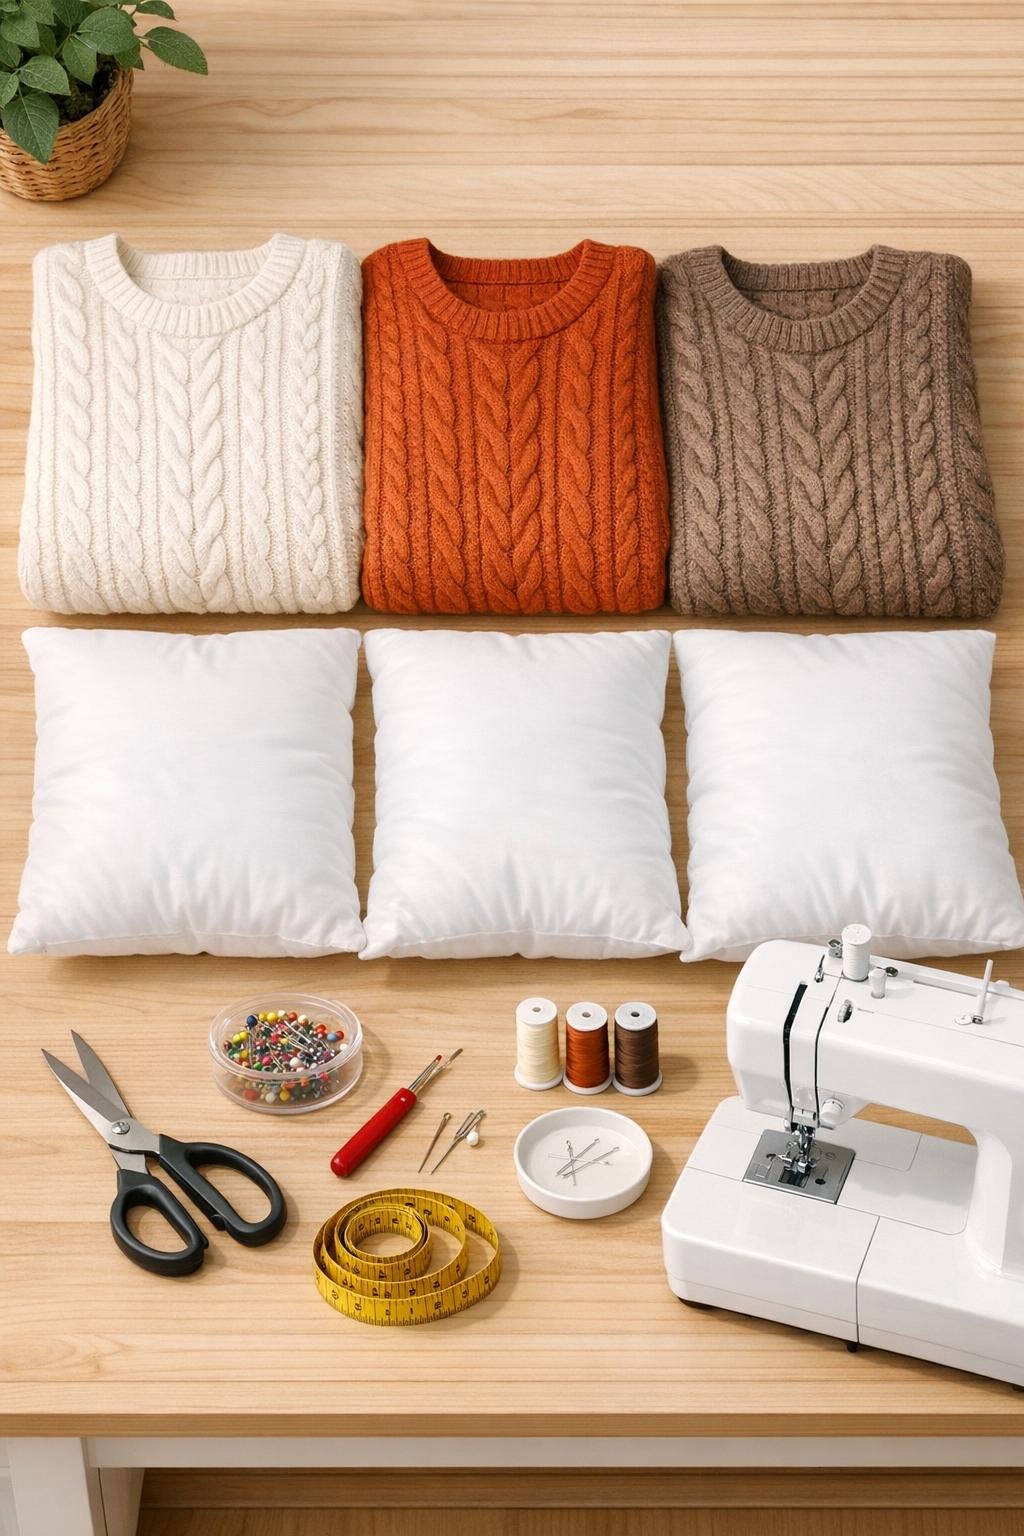
Materials
3 old cable knit sweaters, adult size medium to extra-large, in coordinating autumn colors
Instructions
1. Wash and dry the sweaters first so the finished pillow covers do not shrink later, then lay them flat and smooth out the knit without stretching it.
2. Measure each pillow insert and add 1 inch to both the width and height for seam allowance, so for an 18 x 18 inch insert you will cut front panels at 19 x 19 inches.
3. Cut one front panel from the best cable knit section of each sweater, centering the most attractive pattern so each pillow has a balanced look.
4. Cut the back pieces for each pillow by using either one full square back panel or two overlapping envelope-style panels from the remaining sweater fabric.
5. If the knit is very loose or floppy, fuse lightweight interfacing to the wrong side of the pieces to help them hold shape and sew more cleanly.
6. Finish the raw edge of each envelope-back panel by folding over 1 inch, pinning, and sewing a straight hem so the opening looks neat and holds up well.
7. Place one pillow front right side up, then layer the back pieces right side down with the hemmed edges overlapping in the center if you are making an envelope closure.
8. Pin all the way around each pillow cover, matching the cable lines as closely as you can at the edges for a more polished finish.
9. Sew around all four sides with a 1/2-inch seam allowance, using a slightly longer stitch length than usual so the knit feeds smoothly.
10. Trim bulky corners carefully without cutting through the stitches, and reinforce the opening overlap area with a few extra backstitches.
11. Turn each cover right side out through the envelope opening or side opening, then gently push out the corners with your fingers for a crisp square shape.
12. Insert the pillow forms, fluff the corners, and smooth the knit so the cable pattern sits centered on the front.
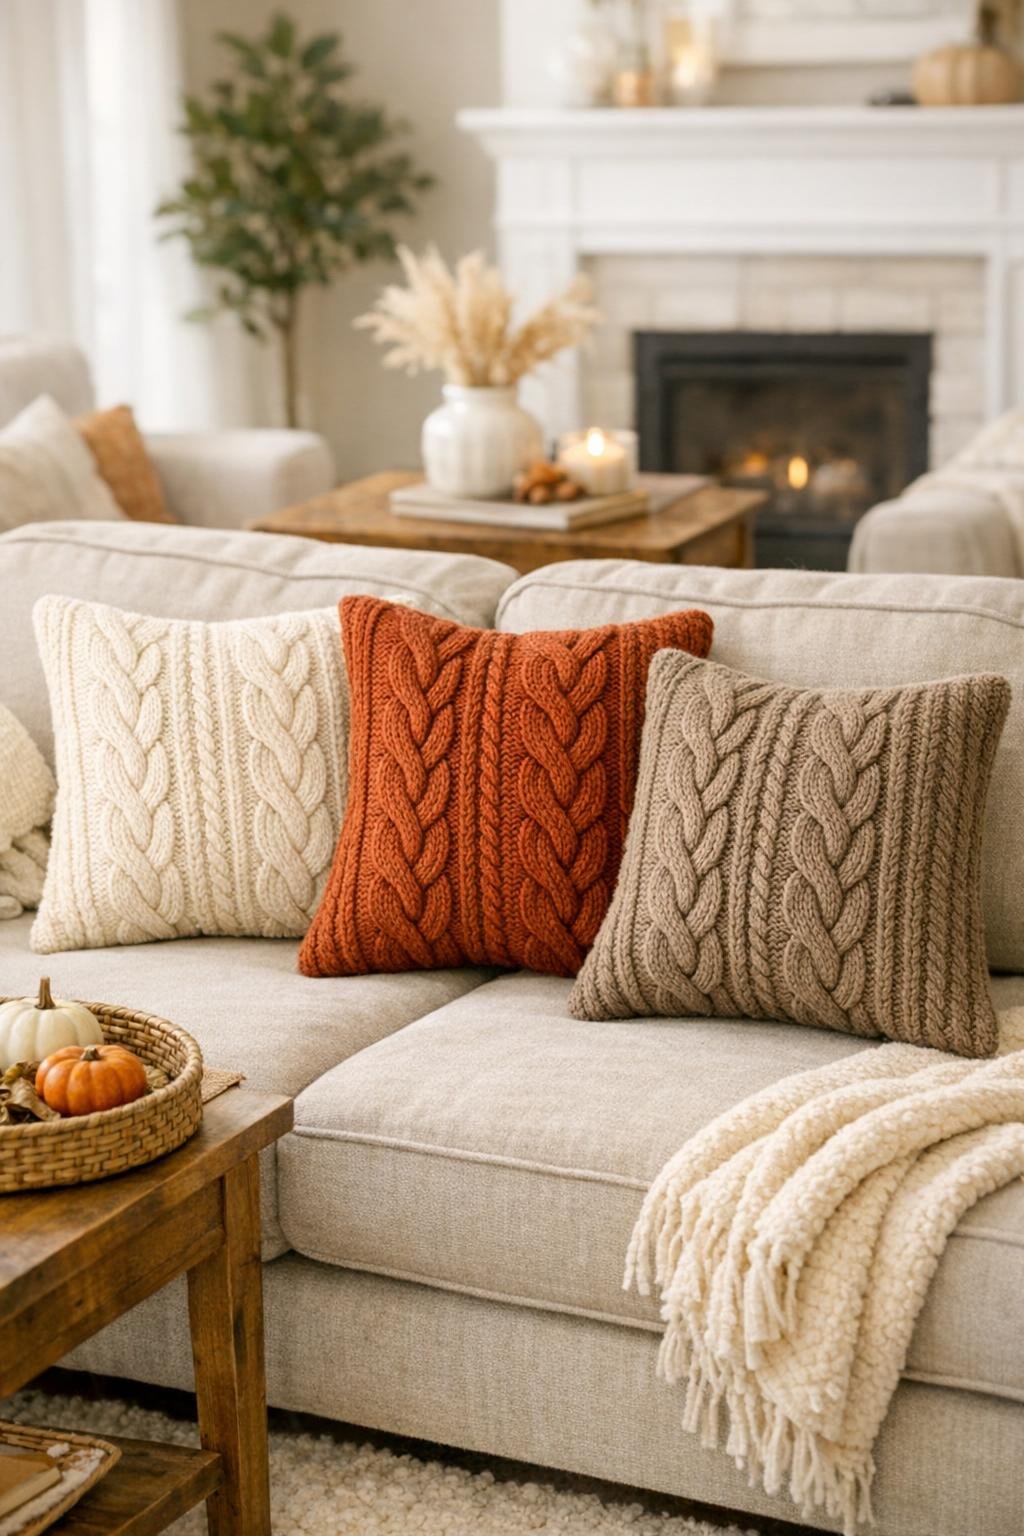
Variations & Tips
Mix sweater textures: If you do not have three matching cable knit sweaters, combine different knit patterns in the same color family for a collected, cozy look that still feels intentional.
Use existing sweater hems: I like to save time by placing one edge of a back panel along the sweater’s original ribbed hem whenever possible, since it gives you a finished edge with almost no extra work.
Try a smaller size: If your sweaters are on the small side, make 16 x 16 inch pillows instead of 18 x 18 so you can fit the pattern pieces without awkward seams.
Stabilize stretchy knits: Very soft sweaters can shift a lot under the presser foot, so interfacing or even a strip of tissue paper under the seam can make sewing much easier.
Keep the color palette simple: For an autumn set, I usually stick with cream, oatmeal, camel, rust, olive, or brown. It makes the finished pillows easy to mix with everyday decor instead of looking too theme-heavy.
Spot clean when possible: Sweater pillows wear best when they are not washed constantly, so I recommend removable envelope backs and spot cleaning for little spills.
Add a patchwork version: If your sweaters are too small or have worn spots, piece together several knit sections for the front panel. It takes a little more sewing, but it is a great way to use every last bit.