
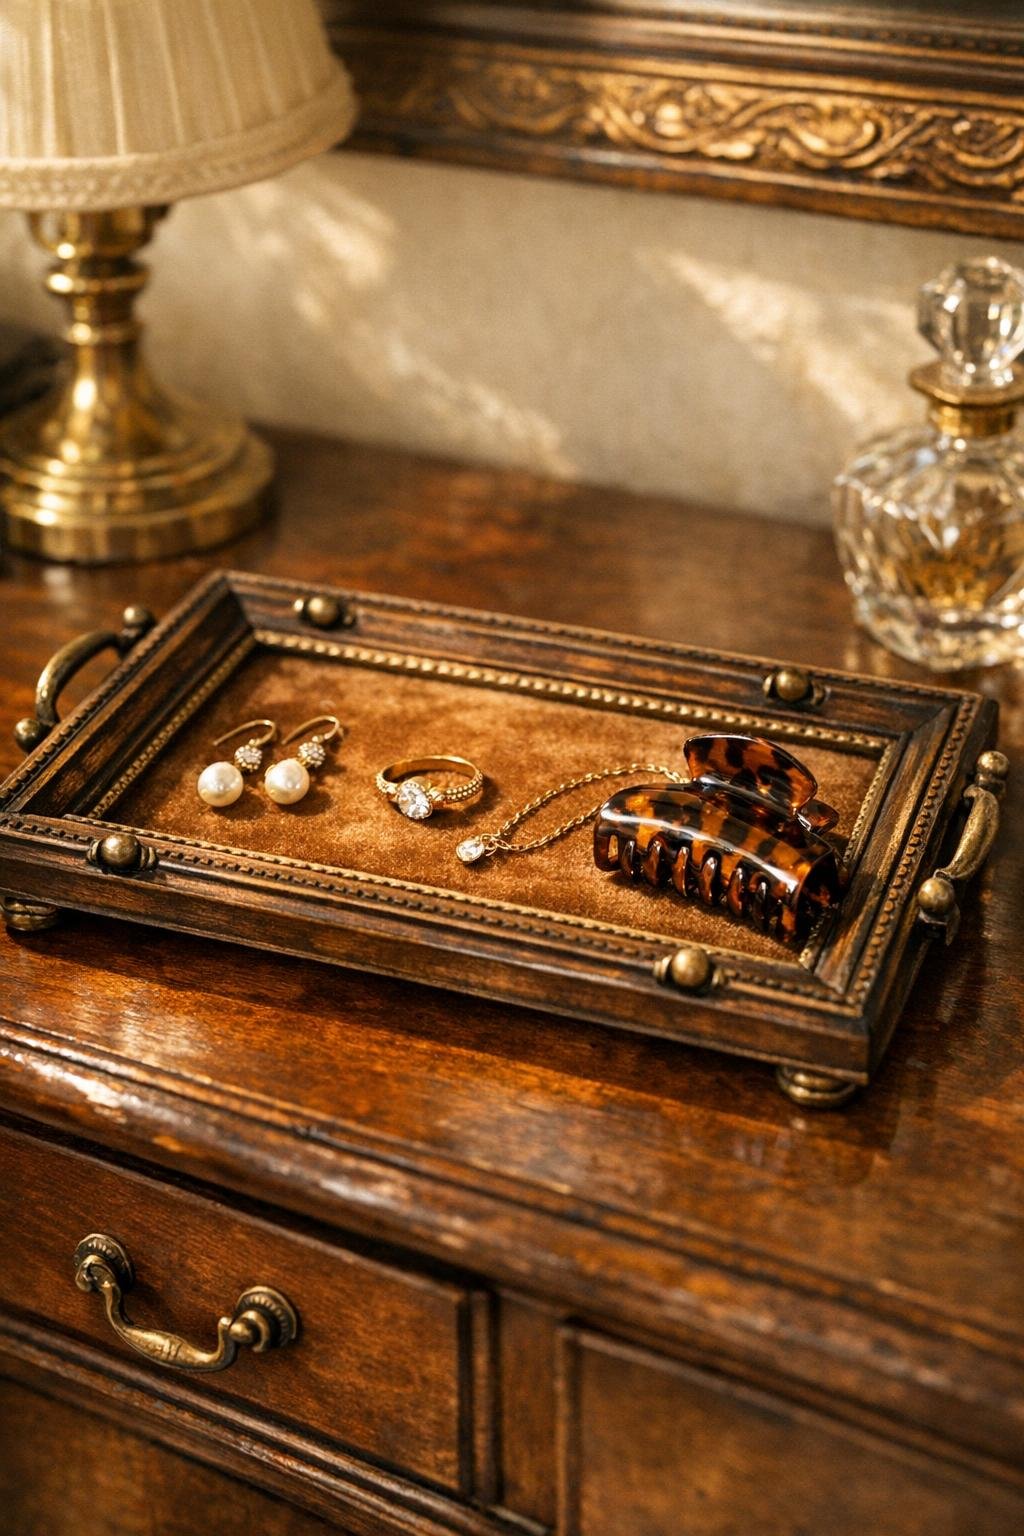
I’ve always had a soft spot for little bedroom touches that make everyday life feel calmer, prettier, and a bit more put together. This accessory tray turns a vintage wooden picture frame into a lovely catchall for jewelry, hair clips, watches, and those small treasures that used to end up scattered across the dresser. By adding petite brass drawer pulls around the frame and lining the center with velvet, you get something that looks charmingly old-fashioned but works beautifully in a modern bedroom.
Projects like this remind me of the way my mother and aunts would save good pieces instead of tossing them aside. An old frame, a scrap of fabric, a handful of hardware—around here, that’s the beginning of something useful. If you’re comfortable with a drill and a screwdriver, this is a beginner-friendly afternoon project that gives you a custom tray with plenty of vintage character.
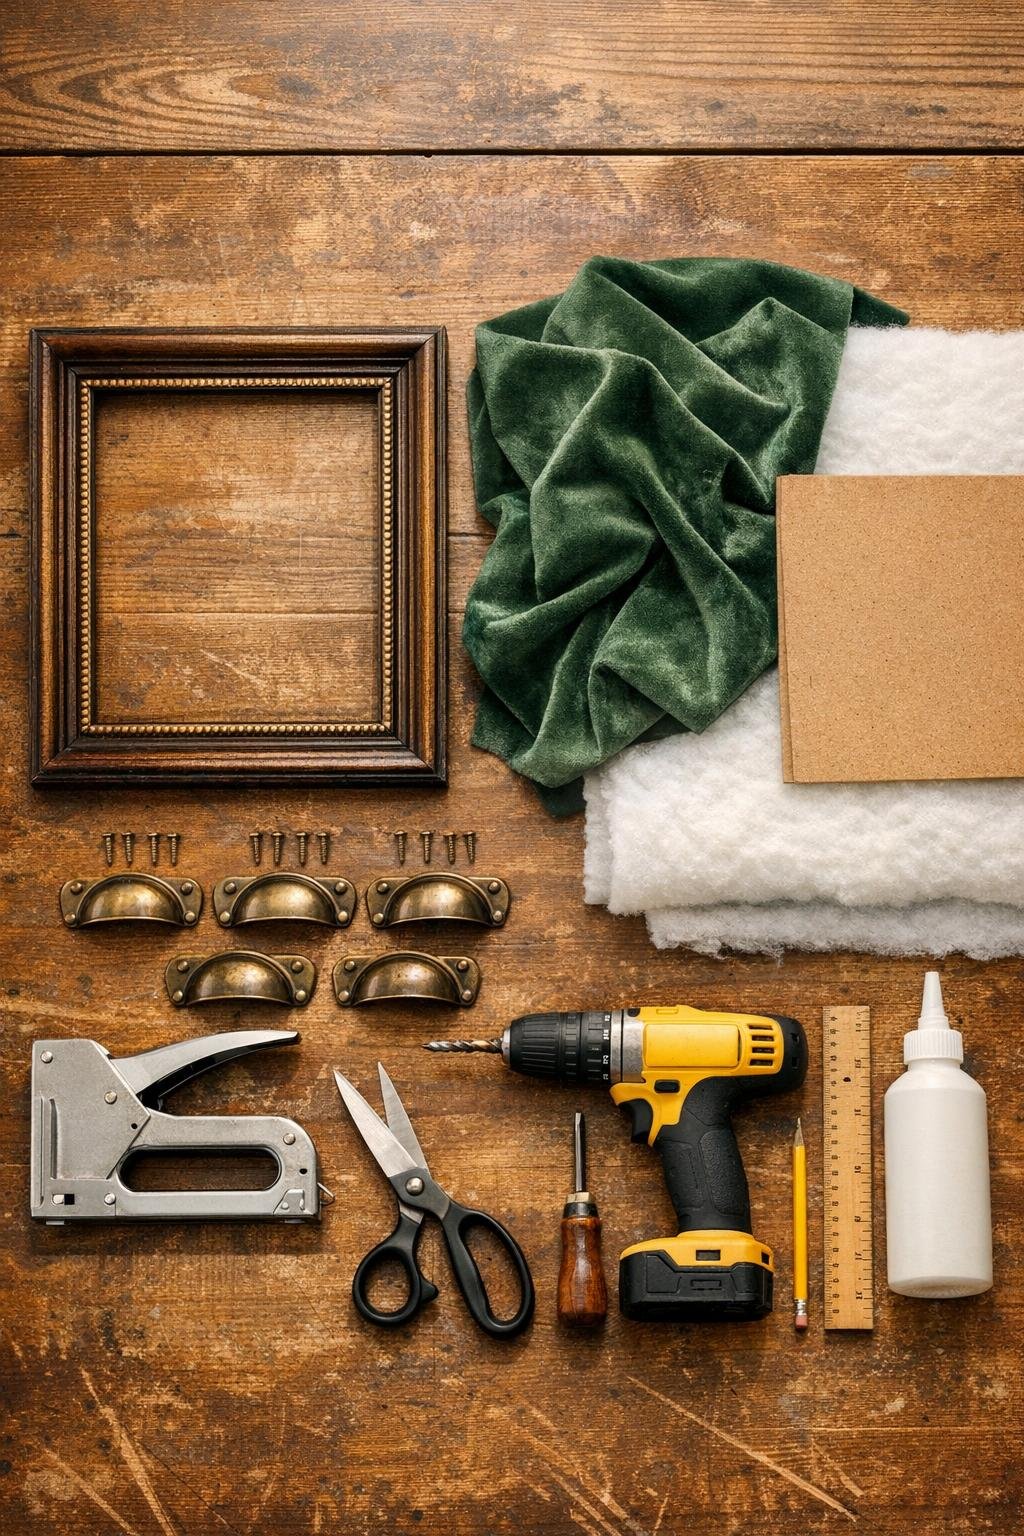
Materials
1 vintage wooden picture frame, 8 x 10 inches, with glass and original insert removed
Instructions
1. Remove the glass, backing, and any hardware from the picture frame so you are left with just the wooden frame. Wipe it clean and lightly sand any rough spots with 220-grit sandpaper.
2. Rub on a small amount of furniture wax or wood polish if you want to freshen the wood without changing its aged look. Let it dry fully before moving on.
3. Measure and mark the placement for the brass drawer pulls on the outer sides of the frame, centering one on each side or placing two on the long sides if that suits your frame better. Keep the marks at least 3/4 inch from the inner edge so the wood stays sturdy.
4. Drill the mounting holes for the drawer pulls at your marked spots, using a bit sized for the screws. Drill slowly to avoid splitting the old wood.
5. Attach the brass drawer pulls with their screws and add a washer on the back side if needed for a snug fit. Tighten them until secure, but don’t overtighten and risk cracking the frame.
6. Lay the batting on top of the backing board, then center the velvet fabric over both pieces with the right side facing out. Smooth the fabric gently with your hands so there are no ripples.
7. Wrap the velvet around to the back of the board and secure it with staples or a thin line of craft glue, pulling lightly as you go for a soft, padded surface. Fold the corners neatly, the same way you would wrap a gift box.
8. Place the finished velvet-covered insert into the back opening of the frame to check the fit. Trim the edges slightly if it feels too tight, then secure it into the frame with glue, frame tabs, or the original backing points.
9. Turn the tray right side up and press lightly across the velvet to make sure the center sits flat and cushioned. Set it aside for the glue to cure completely before using it.
Variations & Tips
Fabric choice: Velvet gives this tray a soft, elegant look, but linen, cotton, or felt also work well if you prefer a simpler finish. I like richer fabrics for bedrooms because they make even practical storage feel special.
Frame size: An 8 x 10 inch frame is easy to handle, but a larger 11 x 14 inch frame makes a wonderful tray for perfumes, folded handkerchiefs, or a bedside book and reading glasses.
Pull placement: If you want the tray to be more decorative than functional, add pulls only on the long sides. If you plan to lift it often, balanced placement on opposite sides makes it easier to carry.
Padding tip: One layer of batting gives a lightly cushioned base, while two layers create a more plush look for delicate jewelry. Just keep the padding even so the insert still fits the frame neatly.
Vintage frame caution: Older frames can be dry or fragile, so predrilling is important. I’ve learned over the years that old wood rewards a gentle hand more than a hurried one.
Bedroom styling: This tray looks lovely on a dresser, vanity, or nightstand. Pair it with a small dish for rings or a bud vase, and it instantly gives that corner of the room a thoughtful, settled feeling.