
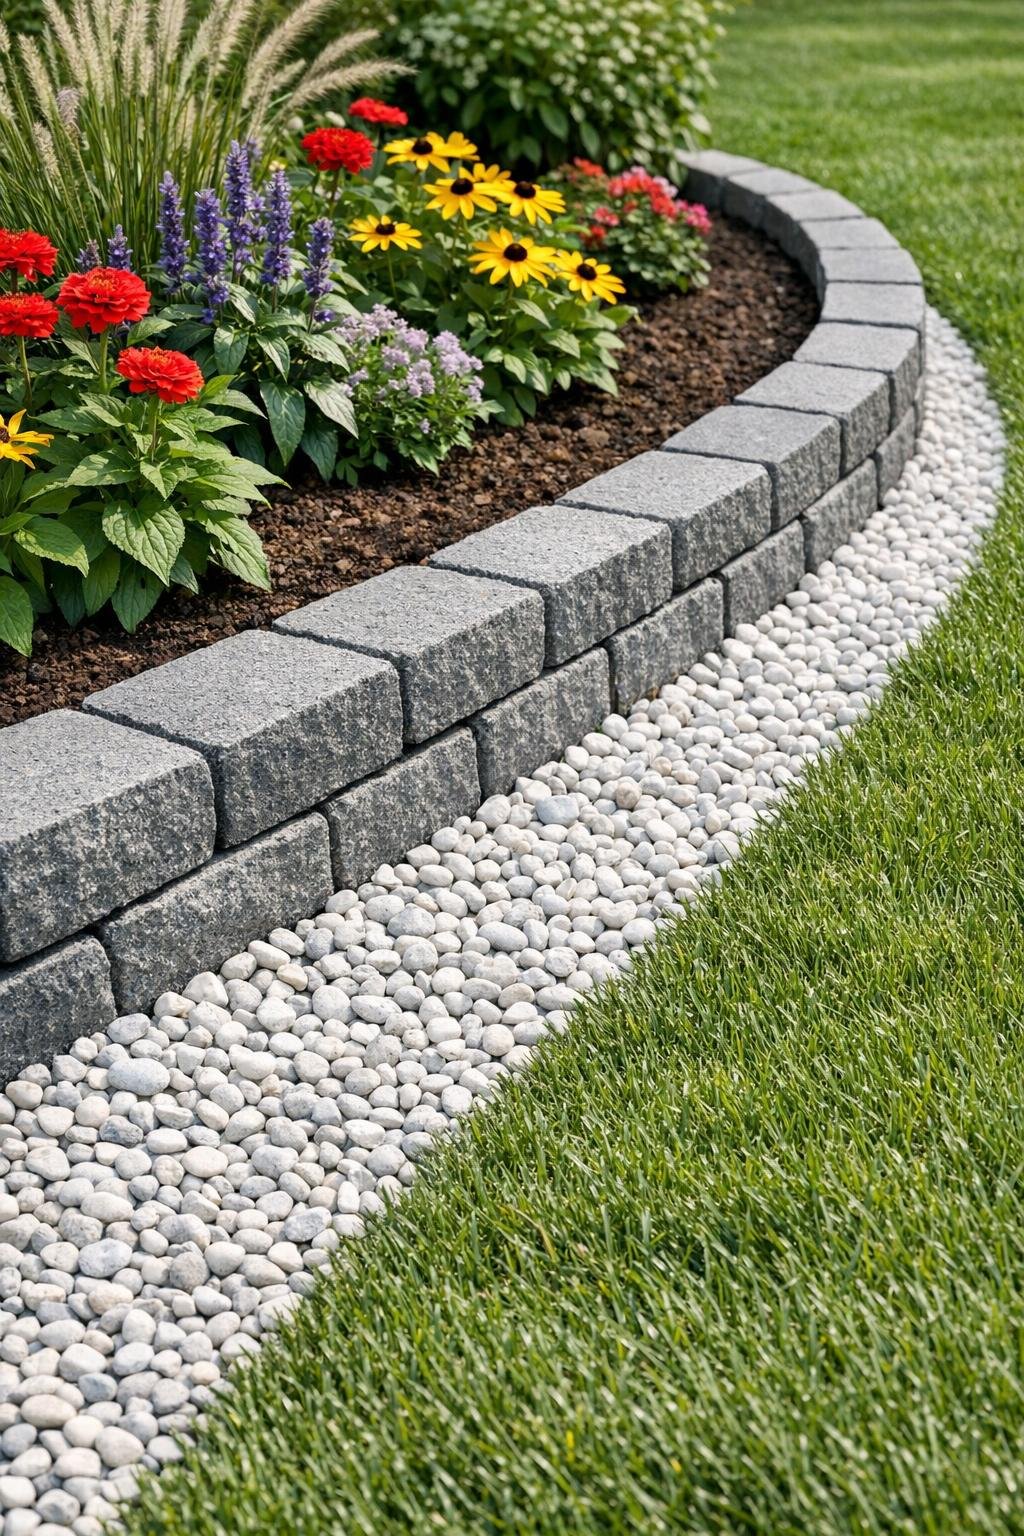
A simple border like this can completely tidy up a garden bed and make the whole yard feel intentional. In this project, I’m setting gray retaining-wall blocks into a strip of white pea gravel to create a clean, charming edge that helps separate planting beds from lawn or walkway space.
I love this kind of weekend project because it gives you a big visual payoff without needing advanced masonry skills. If you’re a homeowner who wants a neater garden edge, or you just want a low-fuss way to highlight flowers and shrubs, this is a very approachable build.
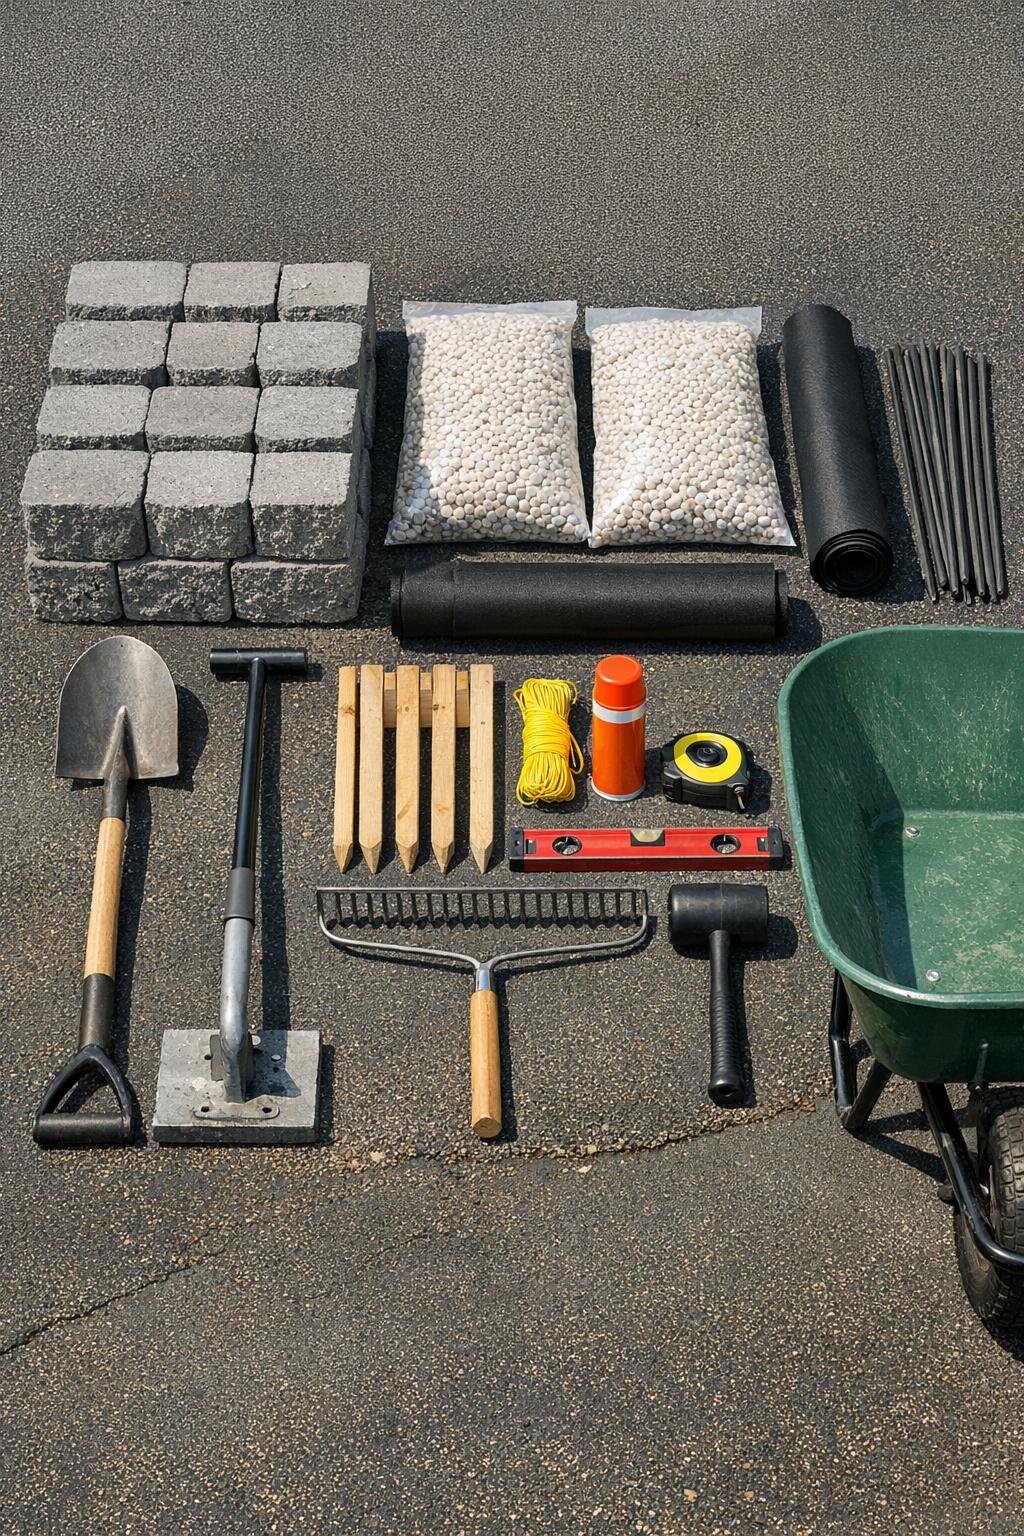
Materials
Instructions
1. Mark the shape of your garden border with marking paint, keeping the line smooth and easy to follow. I like to step back and look from a few angles before I commit, because a gentle curve usually looks the most natural in a family yard.
2. Set wood stakes at both ends and run mason line to establish the front edge and height of the border. Use your tape measure to keep the trench width about 12 inches so the blocks and gravel have a balanced look.
3. Dig a trench along the marked line 12 inches wide and about 6 inches deep, removing grass, roots, and loose soil. Try to keep the bottom as even as possible so the blocks won’t rock later.
4. Add 2 to 3 inches of paver base to the trench, then rake it level and compact it firmly with a hand tamper. This base layer matters more than people think; taking a few extra minutes here helps the border stay tidy through rain and freeze-thaw cycles.
5. Spread 1 inch of leveling sand over the compacted base and smooth it flat. Check with a level as you go so the first row of blocks will sit evenly.
6. Lay the retaining-wall blocks one by one onto the sand bed, pressing each block into place and tapping gently with a rubber mallet. Check every few blocks with your level and keep the faces aligned with the mason line.
7. Adjust individual blocks as needed by lifting them and adding or removing a little sand underneath. Take your time here, because once the gravel goes in, the crisp line of the border is what makes the whole garden look finished.
8. Line the exposed soil behind and around the blocks with landscape fabric, overlapping seams by at least 4 inches. Pin it down with landscape fabric stakes so the gravel stays cleaner and weeds have a harder time coming through.
9. Pour white pea gravel around the blocks and spread it into an even layer about 2 inches deep. Sweep or brush stray stones off the tops of the blocks so the contrast between gray block and white gravel really shows.
10. Water the surrounding soil lightly and make one final pass checking for low gravel spots or uneven blocks. Once everything looks even, tuck your plants or mulch inside the bed side of the border for a polished finish.
Variations & Tips
For tighter budgets: Use standard gray blocks and reserve the white pea gravel for the most visible front edge. If needed, you can stretch the look by using a slightly narrower gravel strip.
For picky maintenance preferences: If you’re like me and want less weeding later, don’t skip the landscape fabric and make sure the gravel layer is thick enough to cover it fully. A quick top-up once a year usually keeps everything looking fresh.
For curved beds: Shorter retaining-wall blocks are easier to fit into gentle curves without awkward gaps. Dry-fit a few pieces first before finishing the whole trench.
For drainage: In heavy clay soil, make the trench an inch deeper and add a little extra compacted base. That helps keep water from pooling around the blocks after a hard rain.
For a softer garden look: Plant low flowers, creeping thyme, or small mounding annuals just inside the border. It’s one of my favorite ways to make a simple hardscape feel welcoming instead of stark.
For long-term stability: Recheck level as you work instead of waiting until the end. Fixing one block at a time is much easier than redoing a whole run after the gravel is already in place.