
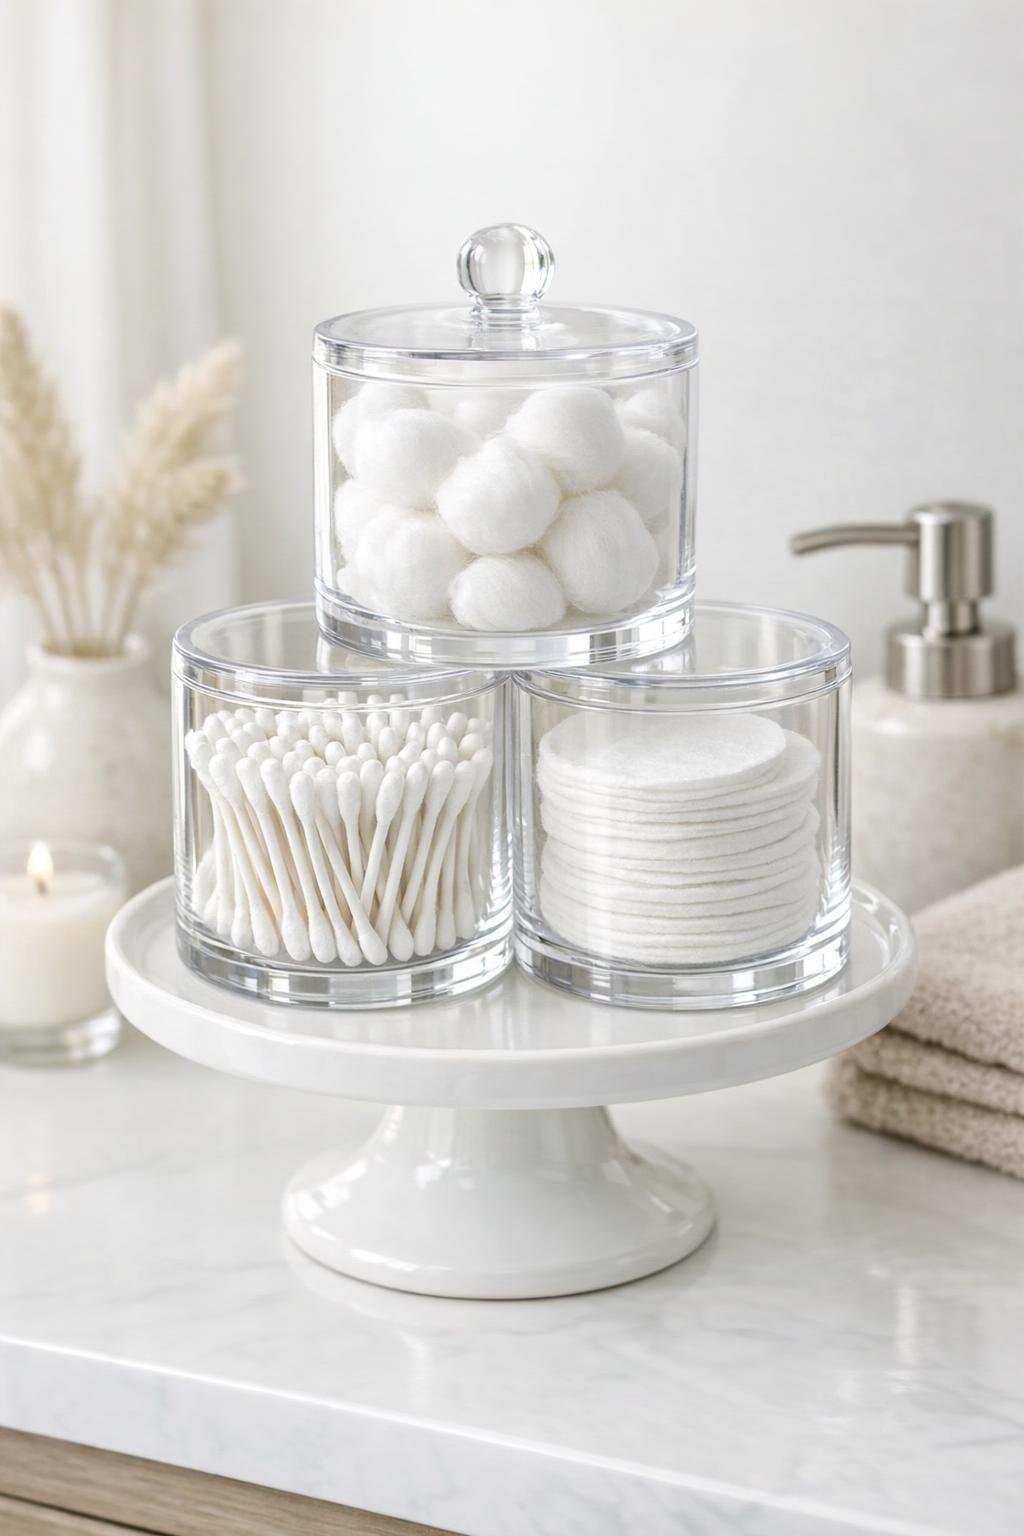
There’s something mighty satisfying about turning a handful of simple pieces into something that looks polished and thoughtful, and that’s exactly what this little bathroom cotton dispenser does. By stacking clear acrylic canisters onto a small white ceramic cake stand, you can make an organizer that keeps cotton balls, swabs, and pads tidy while looking far prettier than the usual store-bought setup.
I’ve always believed the bathroom deserves the same kind of care as the kitchen table did in my mother’s house—everything in its place, but still easy on the eyes. This project is a good fit for anyone who wants a quick home décor DIY without power tools or complicated steps, and it’s especially handy if you like a clean, bright countertop with a touch of old-fashioned charm.
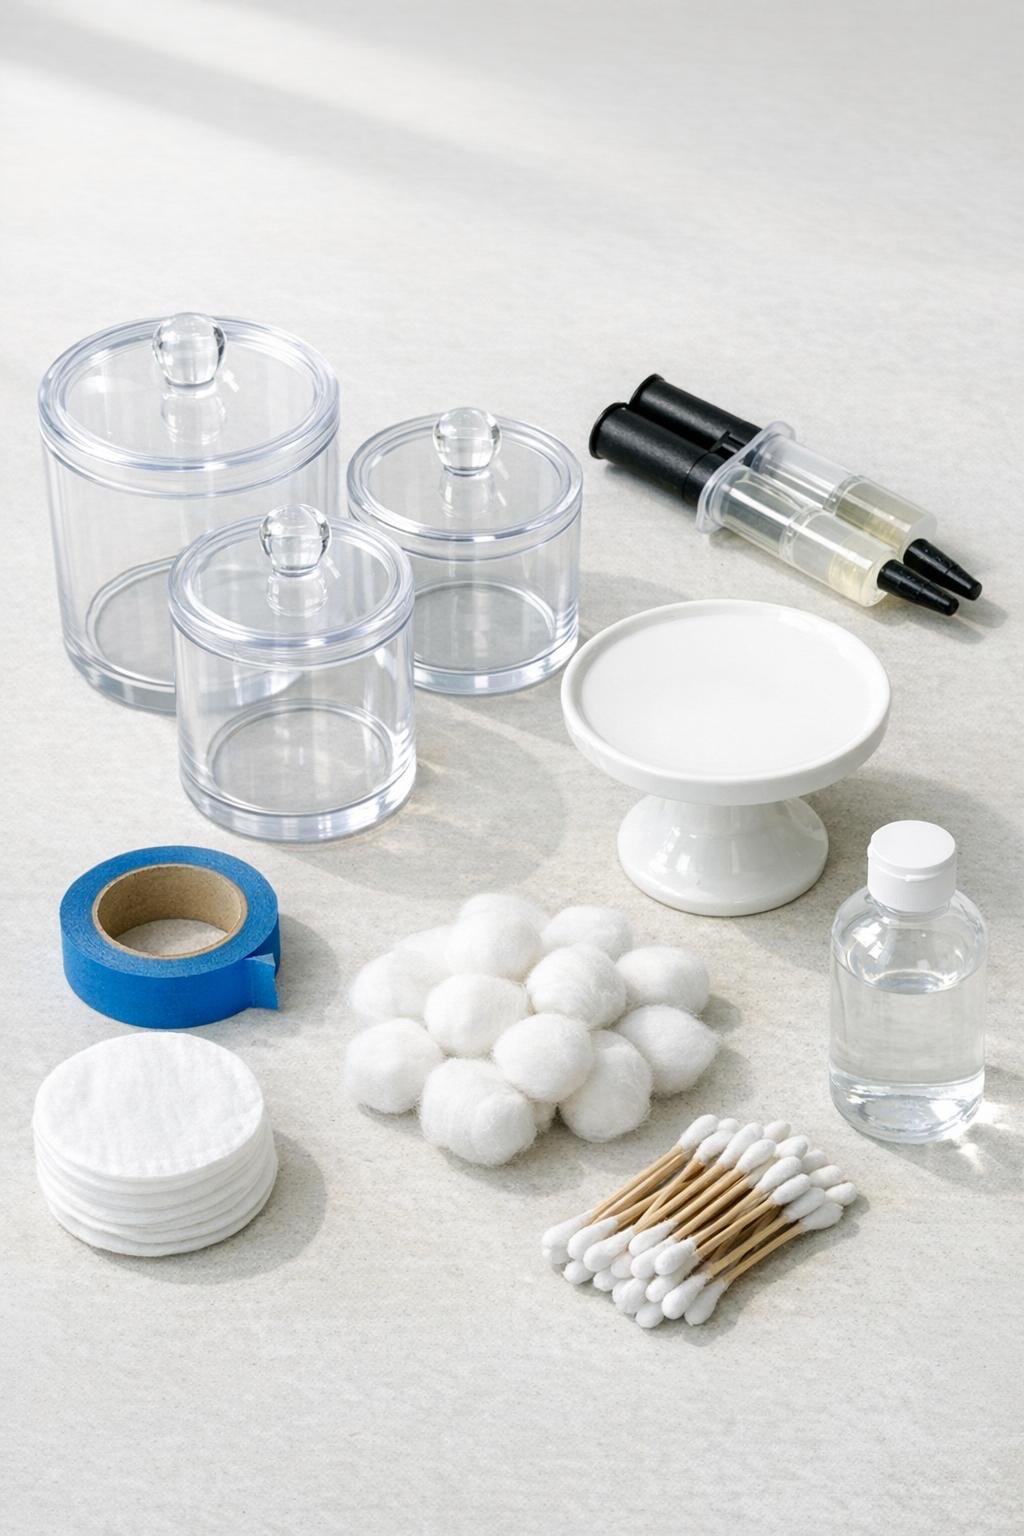
Materials
1 small white ceramic pedestal cake stand, 6 to 8 inches wide
Instructions
1. Wash the cake stand and acrylic canisters with warm soapy water, then dry them fully. Wipe the spots that will be glued with rubbing alcohol so the adhesive bonds cleanly.
2. Set the cake stand on a flat surface and test different arrangements with the canisters before gluing. A tidy triangle of three canisters usually fits best on a small pedestal and leaves the lids easy to remove.
3. Mark the canister positions lightly with small pieces of painter’s tape on the cake stand rim or top. This gives you a guide so each piece goes back in the same place once glue is applied.
4. Apply a thin, even bead of clear adhesive around the bottom edge of the first canister. Press it onto the cake stand inside your tape guides and hold it steady for 20 to 30 seconds.
5. Repeat with the second and third canisters, leaving a small gap between them so the lids can lift off comfortably. Wipe away any glue smears right away with a cloth before they set.
6. Add short strips of painter’s tape across the sides of the canisters if they need help staying put while curing. Let the adhesive cure for the full time listed on the package, usually 24 hours, without moving the stand.
7. Remove the tape and gently check that each canister is secure. If any edge feels loose, add a small extra bead of adhesive at the base and let it cure again.
8. Fill one canister with cotton balls, one with cotton swabs, and one with round cotton pads. Place the lids on top and set the finished dispenser on the bathroom counter where it’s easy to reach.
Variations & Tips
Use matching sizes: The cleanest look comes from canisters with the same diameter, even if one is a little taller than the others.
Check lid clearance: Before gluing, lift each lid straight up in your test arrangement to make sure your fingers can still grab it easily.
Pick the right adhesive: A clear waterproof adhesive works best in a bathroom where steam and splashes are part of daily life.
Try a two-canister version: If your countertop is narrow, use just two canisters on a smaller pedestal for a slimmer organizer.
Add a soft accent: I like this left simple and white, but you can set it on a tray or beside a little green plant to make the whole bathroom corner feel finished.
Keep it easy to clean: Wipe the acrylic with a soft damp cloth instead of anything abrasive, so it stays clear and shiny over time.