
I love a project that turns something headed for the recycling bin into something pretty enough to leave out on the counter, and this fall kitchen canister set does exactly that. Using four old glass peanut butter jars, a little paint, and a few simple finishing touches, you can make a matching set of canisters that feels cozy, seasonal, and genuinely useful.
These are especially nice if you like decorating your kitchen without spending much, or if you want a simple weekend craft that still gives you something practical at the end. I’ve made versions of these for flour, sugar, tea, and little snack mixes, and they always make the kitchen feel just a bit warmer when the weather starts turning cool.
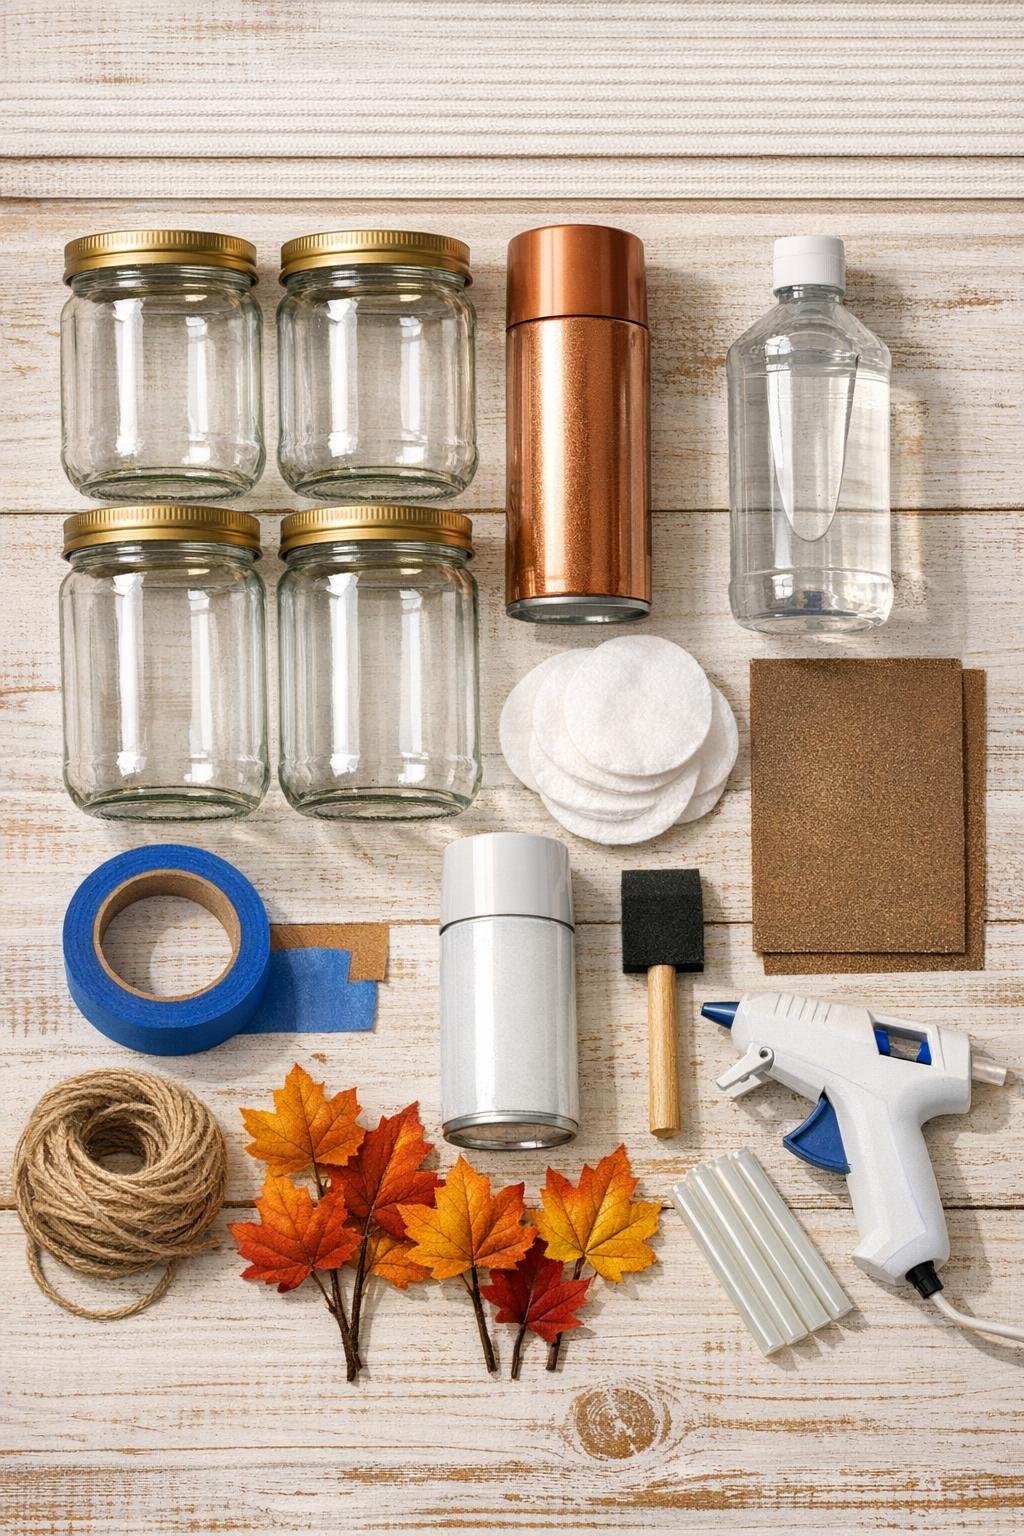
Materials
4 empty glass peanut butter jars with lids, 16 oz size, washed and labels removed
Instructions
1. Wash the four peanut butter jars and lids in hot soapy water, then remove every bit of label and adhesive so the glass looks clear and smooth.
2. Dry everything completely, then wipe the lids with rubbing alcohol or vinegar to remove any oil so the paint sticks well.
3. Lightly sand the tops and sides of the lids with 220-grit sandpaper, and wipe away the dust with a clean cloth.
4. Cover your work surface with kraft paper or cardboard, then set the lids upside down with a little space between them for painting.
5. Spray the first light coat of copper paint onto the lids from about 8 to 10 inches away, using smooth passes so the finish stays even.
6. Let the first coat dry according to the can directions, then apply a second light coat for full copper coverage.
7. Once the copper paint is fully dry, spray on a light coat of matte clear sealer and let the lids cure completely before handling.
8. While the lids finish curing, clean the outside of the glass jars one more time so they’re free of fingerprints and dust.
9. Cut or separate your faux fall leaf sprigs into four small clusters, then pair each cluster with two mini pinecones for a simple topper accent.
10. Tie one piece of jute twine around the neck of each jar and knot it neatly in front or on the side, trimming the ends if needed.
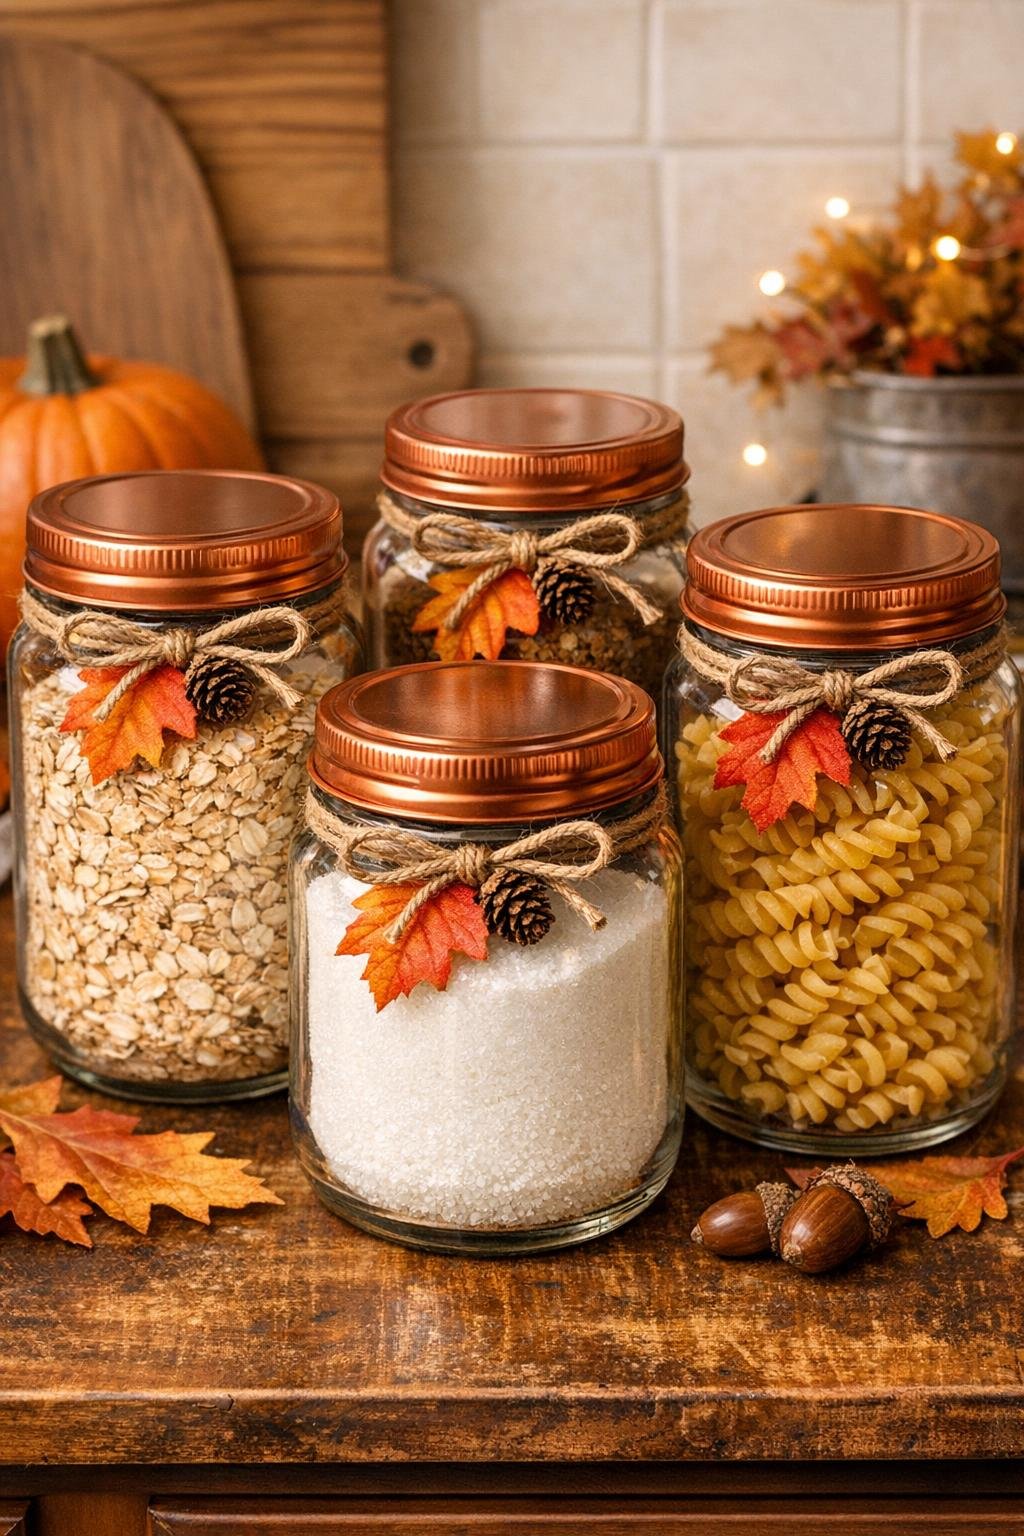
11. Use a small dab of hot glue to attach one leaf cluster and two mini pinecones to each lid, keeping the decoration low enough that the canister can still be opened easily.
12. Screw the finished lids onto the jars and arrange the set together on your counter, shelf, or coffee station.
Variations & Tips
For food use: If you plan to store dry food inside, keep all paint and glue on the outside only, and make sure the jars and the inside of the lids stay clean and food-safe.
For picky decorators: If your family prefers a simpler look, skip the pinecones and use just twine with one small leaf sprig for a cleaner canister set.
Color option: Copper is what gives this set that warm fall glow, but brushed gold, matte black, or cream lids also look beautiful if you want the canisters to work past autumn.
Label idea: You can add removable vinyl labels or small hanging tags for sugar, flour, cocoa, or tea, especially if you’re using these every day like I do.
Gift set tip: Fill the jars with cookie mix, tea bags, wrapped candies, or homemade snack mix before gifting; it makes the whole project feel extra thoughtful without much extra cost.
Painting tip: Several light coats always look better than one heavy coat, and that’s the trick that keeps the copper finish from dripping or turning tacky.