
When my garlic comes out of the garden, I always need one simple thing right away: a spot with good airflow where the bulbs can dry without getting piled on top of each other. This little curing rack is one of those practical projects that feels almost too easy, but once you make it, you’ll wonder why you didn’t do it years ago. It uses wire coat hangers and two inexpensive dollar-store supplies to create a lightweight hanging rack that works beautifully for end-of-season garlic.
I like this project for home gardeners, beginner DIYers, and anyone who wants a tidier harvest setup without buying specialty equipment. The finished rack is sturdy enough for a backyard garlic haul, easy to hang in a shed or basement, and simple to make in an afternoon.
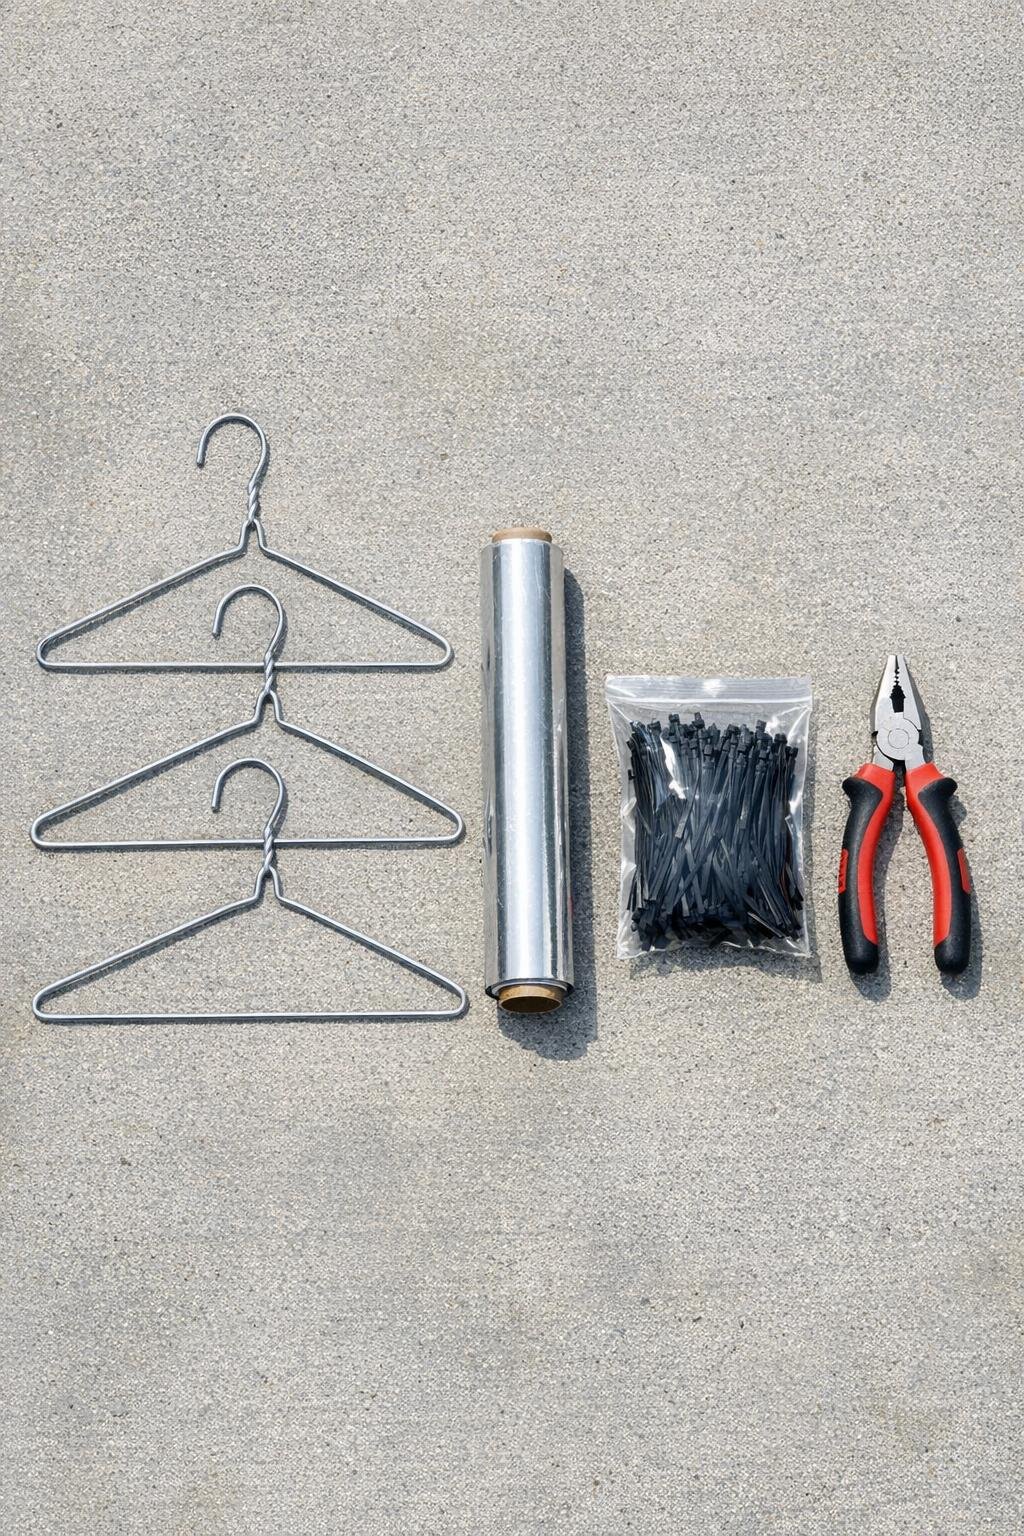
Materials
Instructions
1. Preheat your oven to 200°F and line a large baking sheet with aluminum foil. Set the three wire coat hangers on the sheet in a single layer so they heat evenly.
2. Bake the hangers for 10 minutes, then remove the tray carefully with oven mitts. The gentle heat helps the wire bend a little more easily, but the hangers will still be hot, so let them cool just enough to handle with gloves.
3. Use pliers to untwist the neck of each hanger and open them into long single pieces of wire. Straighten the worst bends with your hands and pliers, keeping one hook intact on one hanger for hanging the finished rack.
4. Shape two of the wires into matching long ovals about 14 inches tall and 9 inches wide. These will become the two side frames of your garlic curing rack.
5. Bend the third wire into three crossbars: one 9-inch top bar, one 9-inch middle bar, and one 9-inch bottom bar, leaving a little extra wire at each end to wrap around the side frames. Keep the original hanger hook attached to the top bar section if possible so the rack can hang from it.
6. Attach the top, middle, and bottom crossbars between the two oval side frames, spacing them evenly from top to bottom. Wrap each wire end tightly with pliers, then reinforce every joint with a zip tie pulled snug.
7. Add four more zip ties along each side where the frames and bars meet or overlap, trimming the tails neatly. Give the whole rack a little shake and tighten any weak spots until it feels firm and balanced.
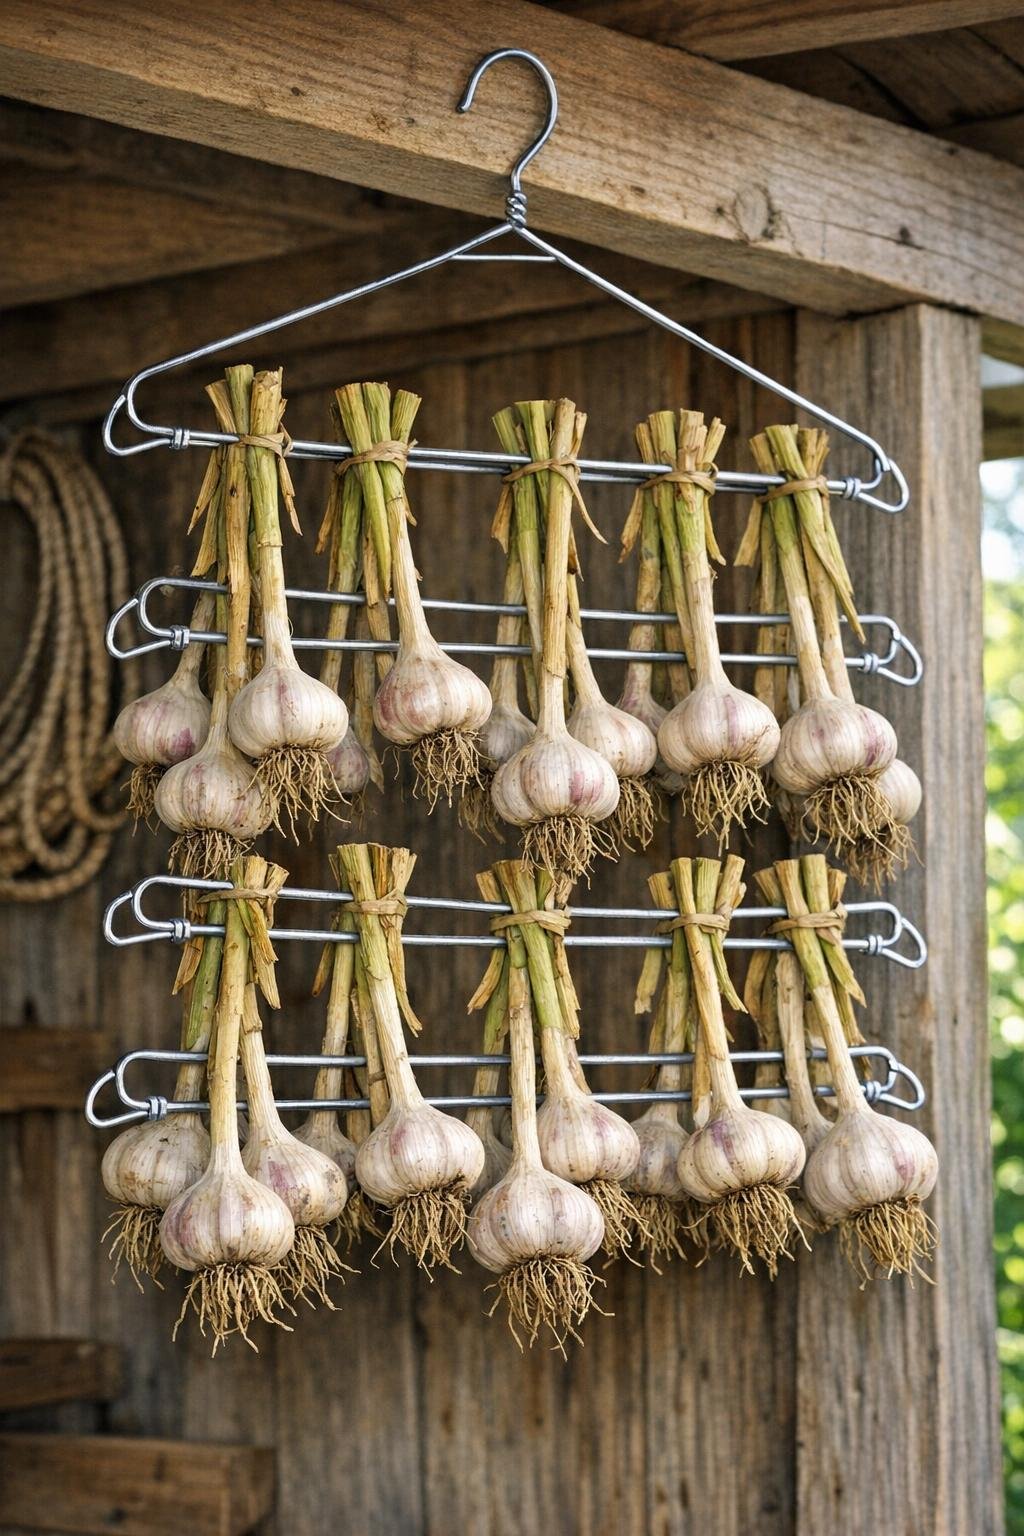
8. Hang the rack by its wire hook in a dry, shady spot with airflow, then tuck garlic stems over the bars so the bulbs hang freely without crowding. Leave a little space between each bulb so they cure evenly.
Variations & Tips
For bigger harvests: Make two identical racks and hang them a few inches apart instead of overloading one. Garlic cures better with extra airflow than with extra crowding.
If your hangers are flimsy: Double up the side frames by twisting two wires together for each side. I’ve done this when I had especially soft dollar-store hangers, and it helps a lot.
For small garlic varieties: Use extra zip ties to create little divider loops along the bars so bulbs don’t slide together. This is especially handy if you grow smaller hardneck types.
Drying location tip: Keep the rack out of direct sun and away from damp corners. A garage, covered porch, breezy mudroom, or garden shed usually works better than a hot windowsill.
Family-garden tip: If kids help harvest, let them hand you the bulbs while you space them on the rack. It turns the whole end-of-season job into less of a chore and more of a little harvest tradition.