
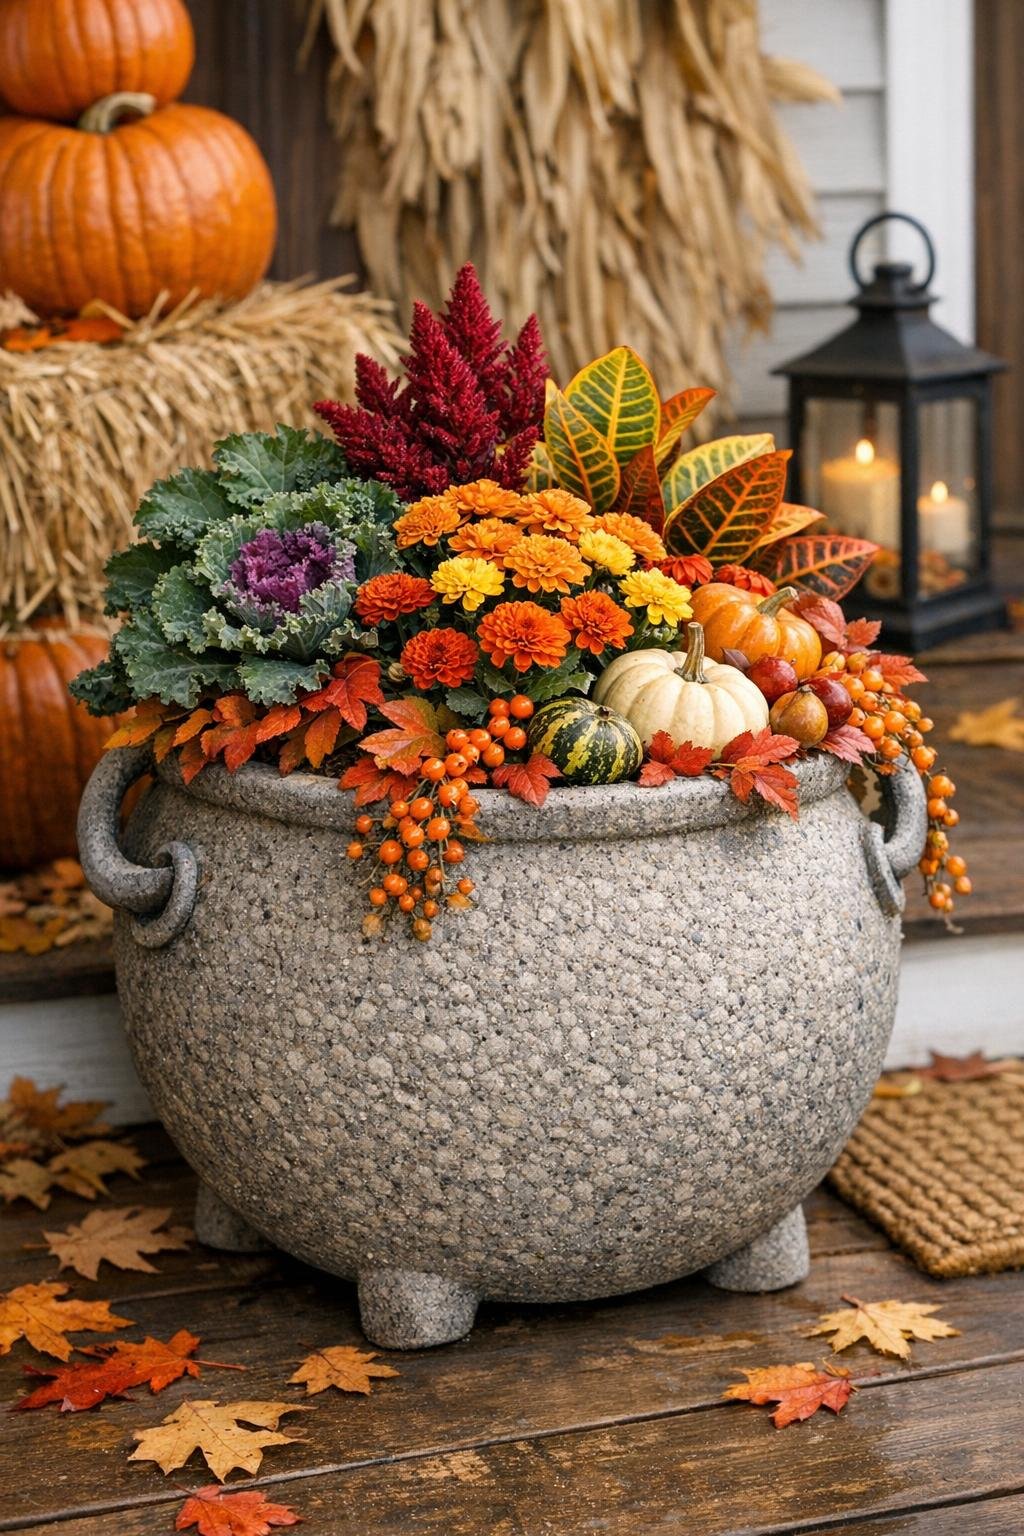
There’s something especially satisfying about turning a seasonal plastic cauldron into a planter that looks weighty, rustic, and completely at home on an autumn porch. In this project, I use wet concrete plus two simple pantry items to create a textured, harvest-inspired finish that feels far more expensive than the materials suggest. The result is a sturdy decorative planter with plenty of character.
I love projects like this because they borrow from kitchen-style improvising: a little structure, a little texture, and a very ordinary ingredient doing surprising work. If you enjoy fall decorating, container gardening, or just a good upcycling project, this one is approachable and genuinely useful.
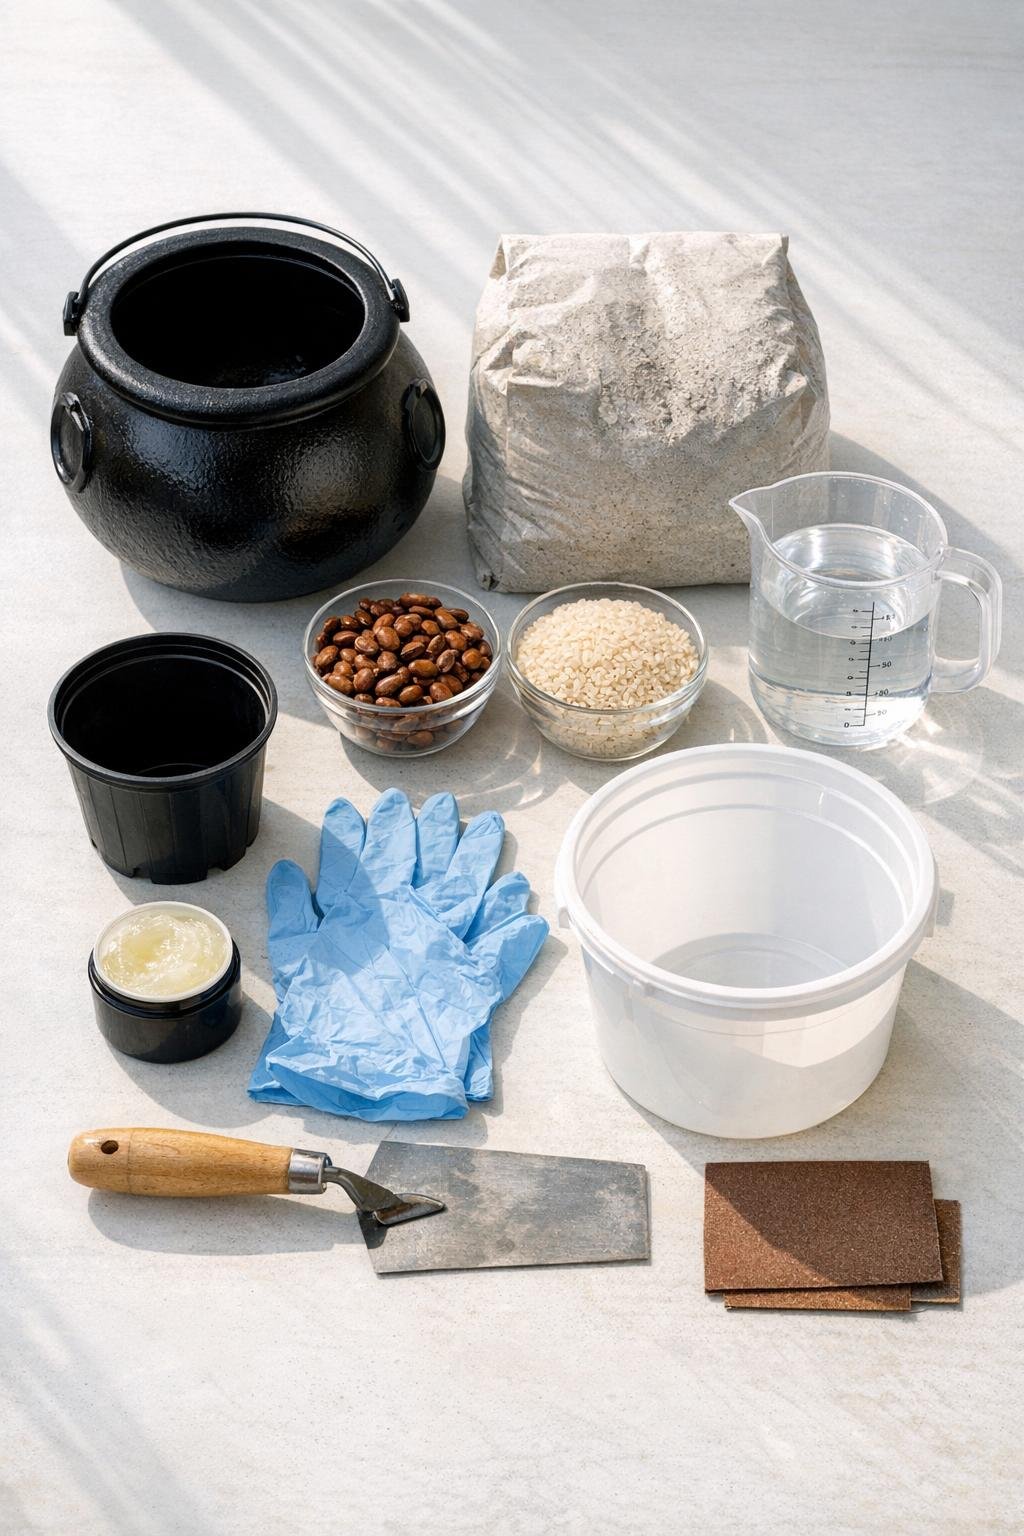
Materials
1 plastic trick-or-treat cauldron, 10 to 12 inches wide
Instructions
1. Cover your work surface and place the plastic cauldron on a level area where it can sit undisturbed for at least 24 hours. Put on gloves and lightly coat the inside of the cauldron with a thin film of petroleum jelly.
2. Coat the outside of the nursery pot or inner container with cooking spray so it will release easily later. Set it aside within reach before mixing the concrete.
3. In a mixing bucket, combine the fast-setting concrete mix with water according to the package directions. Stir until it reaches a thick brownie-batter consistency that holds its shape but still settles when tapped.
4. Spoon concrete into the cauldron until it is about one-third full, then tap the sides several times to release trapped air bubbles. This first layer helps the base settle evenly.
5. Sprinkle in 1 cup of dry beans and 1 cup of rice around the outer edge, pressing some of it lightly against the sides for texture. Add more concrete, alternating with the remaining beans and rice, until the cauldron is filled to about 1 inch below the rim.
6. Center the greased nursery pot on top of the wet concrete and press it down slowly to create the planting cavity. Leave at least 1 1/2 inches of concrete on all sides, and add rocks or sand inside the pot if it tries to float upward.
7. Smooth the top edge with a trowel or gloved fingers, then tap the cauldron again to settle the mix. Wipe away any splashes on the rim for a cleaner finished shape.
8. Let the planter cure undisturbed for 24 to 48 hours, or until fully hard. If the weather is very dry, loosely cover it with plastic so the concrete cures more evenly.
9. Remove the inner pot by twisting it gently, then peel or cut away the plastic cauldron from the outside. Brush away any loose rice or beans that remain on the surface.
10. Sand any rough edges lightly, then let the planter continue curing for another 2 to 3 days before planting. Add a layer of gravel and your favorite fall mums, ornamental kale, or trailing ivy.
Variations & Tips
Swap the pantry texture: If you want a different surface pattern, try lentils, split peas, or coarse cornmeal in place of one of the pantry items. I prefer mixing sizes because the finished concrete looks more organic and less uniform.
Add drainage: If the planter will live outdoors full-time, press a cork or short piece of dowel into the bottom area before the concrete fully sets to create a drainage hole. Good drainage makes a big difference, especially with mums.
Use it as a cachepot: If you’d rather skip drainage altogether, set a nursery pot inside and use the concrete piece as a decorative outer planter. That’s often what I do on apartment balconies because it keeps cleanup simple.
Control the finish: For a smoother look, use fewer beans and rice and keep them closer to the outer wall only. For a more rugged harvest texture, press a few pieces deeper into the surface before the concrete starts to firm up.
Choose the right cauldron: A thicker plastic cauldron holds its shape better under the weight of concrete. Very flimsy ones can bow outward, so I like to set them inside a bowl or ring of towels for support while they cure.
Let it cure fully before planting: Concrete continues to harden after it feels dry to the touch. Waiting a few extra days gives you a stronger planter, and in my experience, that patience always pays off.