
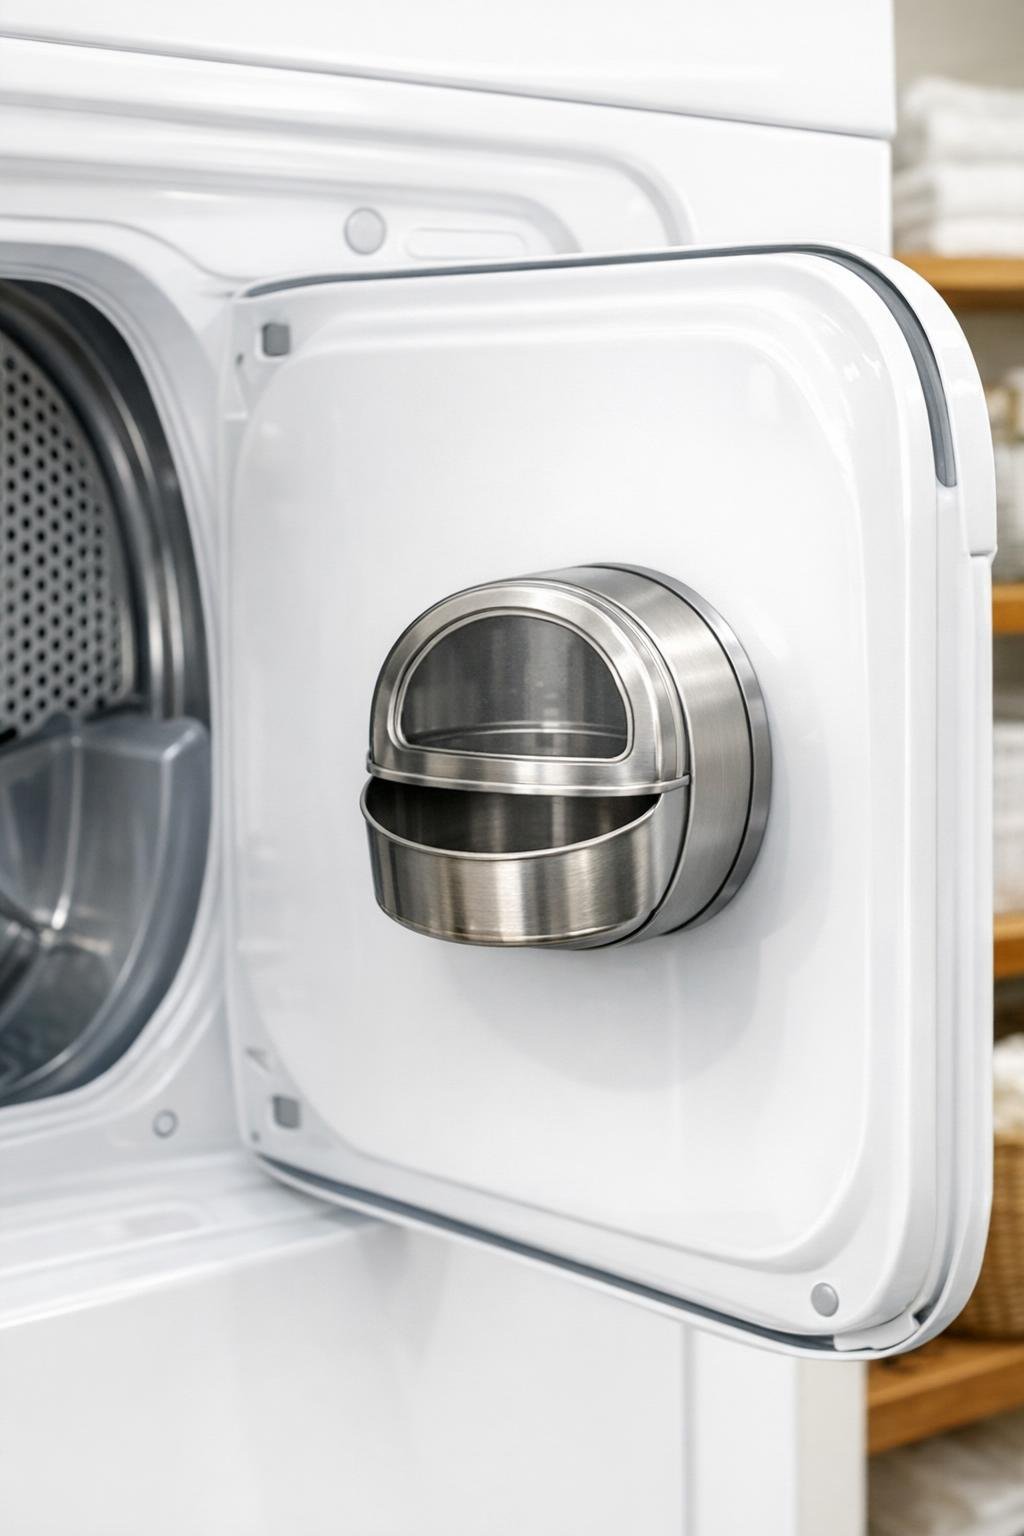
In a small laundry room, I’m always looking for ways to keep the mess under control without giving up any floor or shelf space. This little lint bin is one of those wonderfully practical fixes: a small round tin mounted behind the dryer door with strong magnets, so the lint has a dedicated place to go the second I clean the trap.
I like this project because it’s fast, inexpensive, and doesn’t require drilling into the appliance or the wall. If you want a tidier laundry routine and a spot to catch dryer lint before it wanders onto the floor, this is an easy afternoon project that feels surprisingly satisfying.
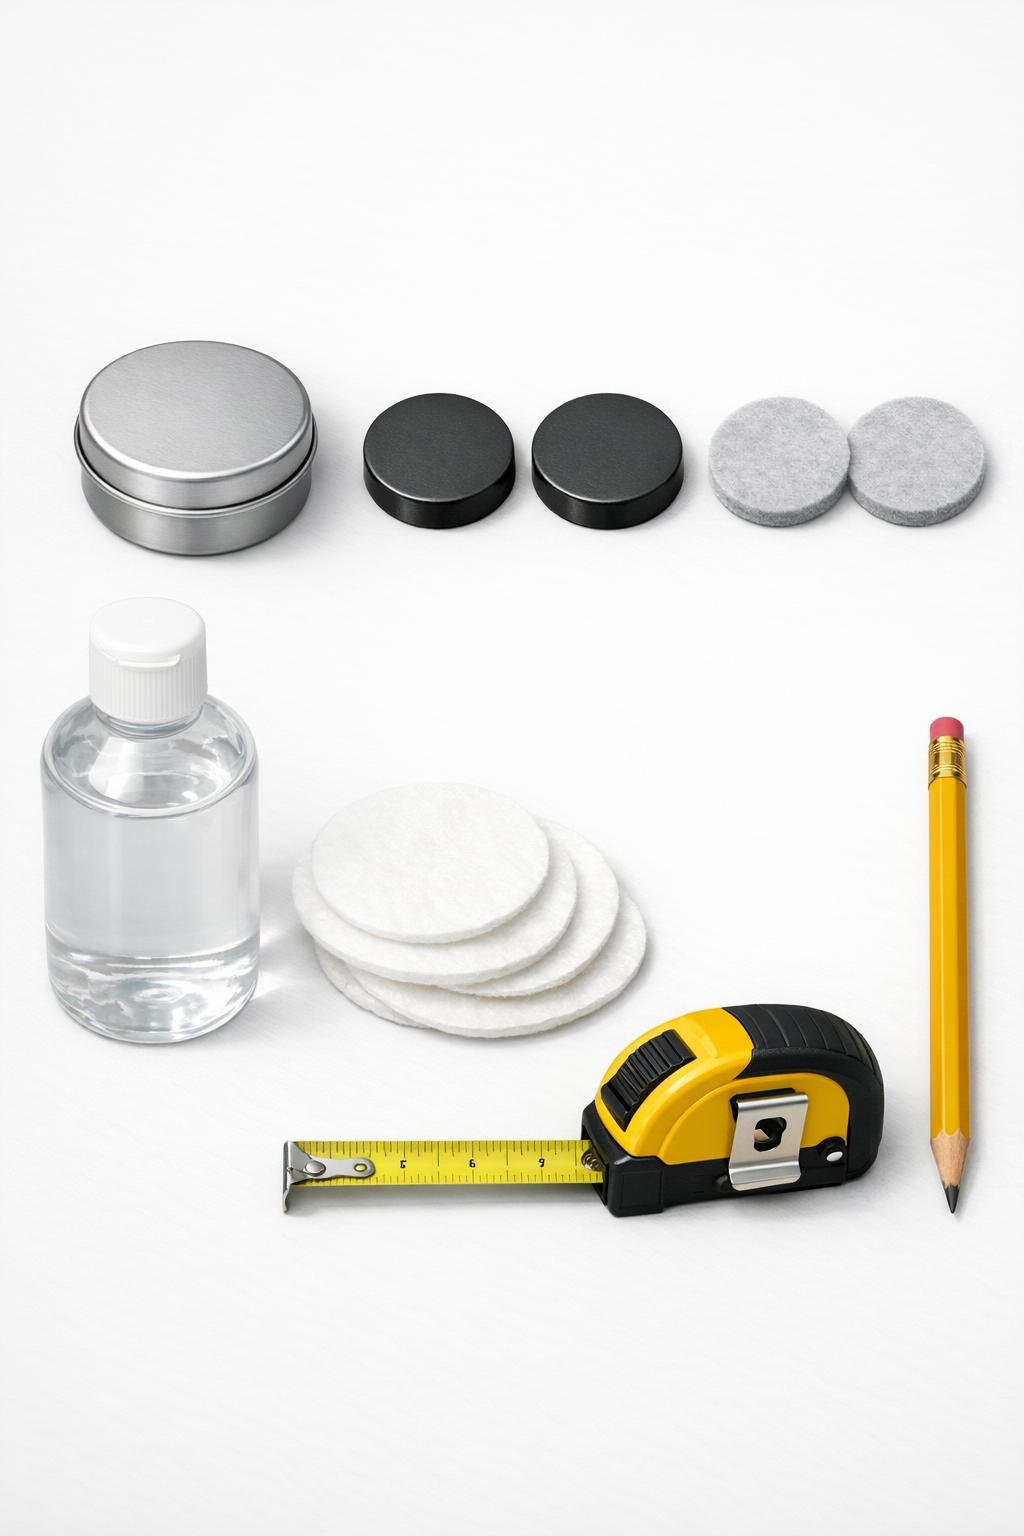
Materials
Instructions
1. Open the dryer door and choose a flat spot on the back side of the white dryer door where the tin will sit without hitting the drum opening or door seal when closed.
2. Hold the small round tin in place and test the door swing to make sure it clears all edges comfortably; mark the spot lightly with pencil.
3. Clean the marked area on the dryer door and the contact area on the back of the tin with rubbing alcohol, then let both dry completely so the magnets grip cleanly.
4. Place the two industrial magnets inside the tin against the back wall, spacing them evenly so the tin will stay balanced when mounted.
5. Add an adhesive felt pad over each magnet inside the tin if needed to reduce rattling and help keep the magnets from shifting.
6. Press the tin onto the marked spot behind the dryer door so the magnets grab the metal door panel and hold the container firmly in place.
7. Close and open the dryer door slowly a few times to confirm the tin stays secure and does not interfere with the door frame or gasket.
8. Start using the tin as a lint bin by emptying the dryer filter directly into it after each load, and empty the tin into the trash regularly.
Variations & Tips
Use a lidded tin: I prefer a tin with a lid because it keeps lint contained and looks neater, especially in a laundry area that’s visible from another room.
Check door clearance first: Dryer doors vary more than people think, so always test the location before committing to it; even a half inch can make a difference.
Choose the right magnet strength: If your tin is larger or heavier, size up the magnets so the container stays put when the door opens and closes repeatedly.
Add a soft buffer: Felt pads or small silicone bumpers can cut down on noise if the tin taps the door during use.
Keep it for lint only: I would not use this for damp items or trash with residue, since laundry lint is dry and lightweight and that’s exactly what makes this setup work so well.
Empty it often: From a housekeeping and safety standpoint, I treat this as a temporary catch bin, not long-term storage, and I empty it before the lint builds up too much.