
When the cabbage moths and curious rabbits start making rounds in my garden, I reach for simple fixes before I reach for anything expensive. This little fall pest barrier is one of those projects that looks surprisingly polished, but it’s made from wire hardware cloth plus two easy dollar store supplies. It gives young plants and cool-weather greens a little protective fence without making the bed look fussy.
I like this project for anyone who wants a practical garden solution that still feels tidy enough to leave out all season. If you can cut wire strips and layer a couple of lightweight materials together, you can make this in an afternoon. It’s especially nice for raised beds, lettuce patches, and spots where you want a quick barrier that’s easy to move when it’s time to weed or harvest.
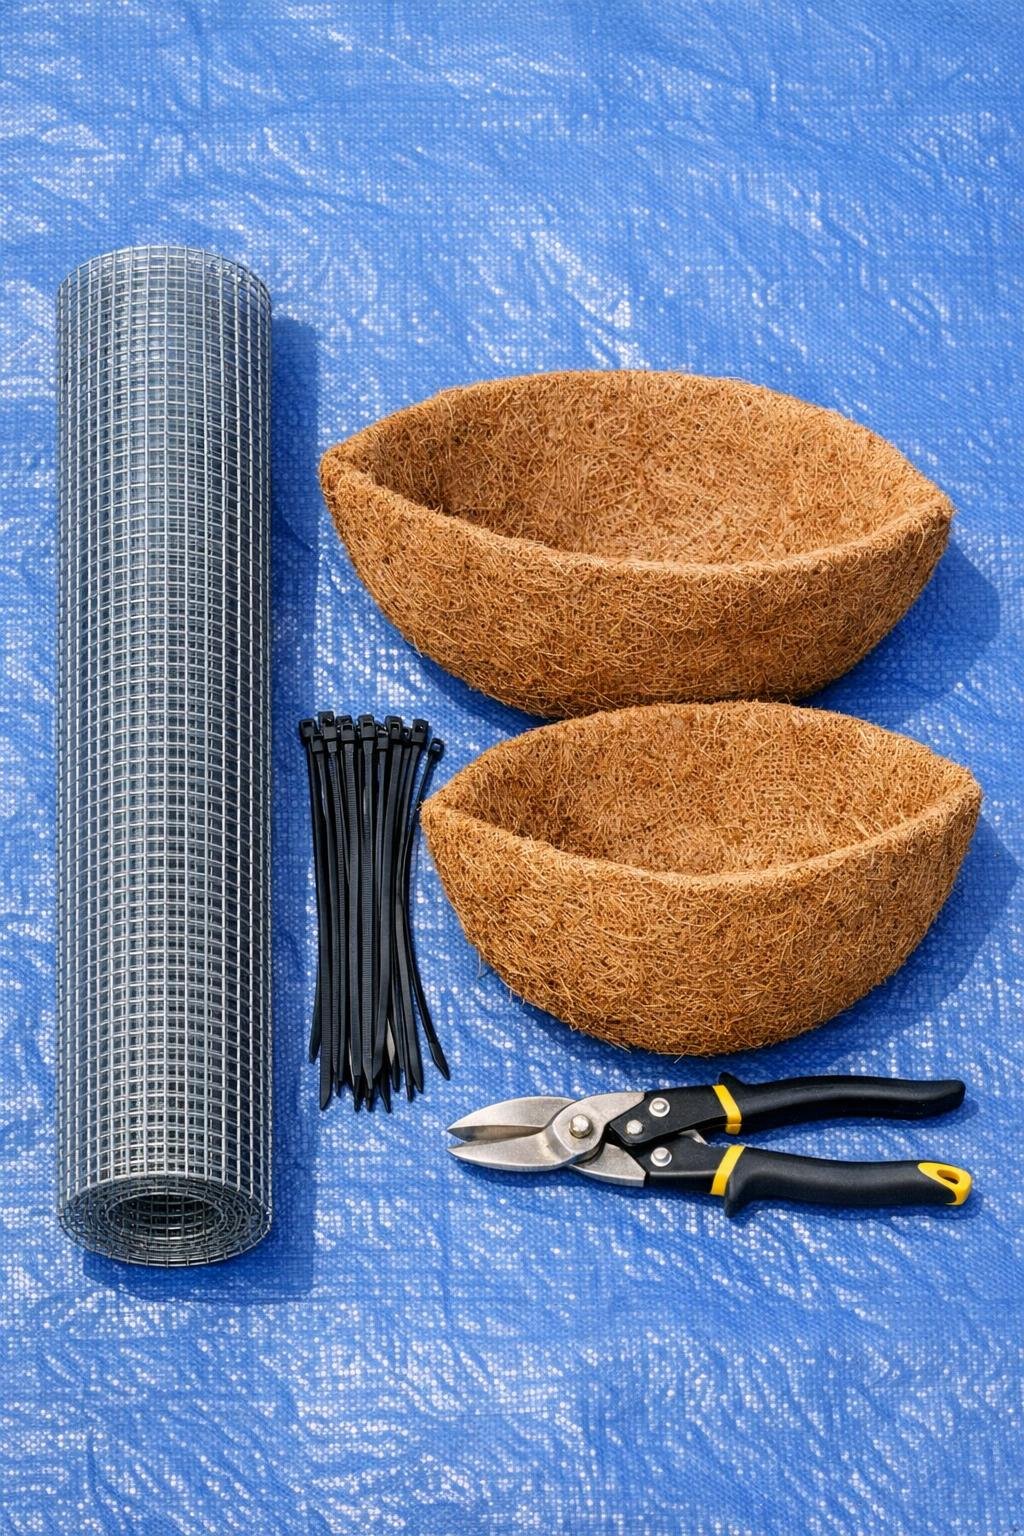
Materials
1 roll silver wire hardware cloth, 1/2-inch grid, 10 inches tall x 5 feet long
Instructions
1. Spread the blue tarp on a flat surface and unroll the hardware cloth on top so the wire stays cleaner and easier to measure.
2. Cut the hardware cloth into 3 strips, each about 10 inches tall x 20 inches long, using tin snips and working slowly along the grid lines for straighter edges.
3. Fold over any sharp cut wire ends by about 1/2 inch with gloved hands or pliers so the strips are safer to handle around plants and little helpers.
4. Shape each strip into a gentle cylinder or curved panel, depending on whether you want to surround one plant or line the front of a garden row.
5. Cut the coco liners into long bands about 4 inches tall, trimming enough pieces to cover the lower inside portion of each hardware cloth strip.
6. Lay a coco liner band against the inside of one wire strip and secure it in place with cable ties every 4 to 5 inches along the top edge.
7. Add a second coco liner band anywhere you want extra coverage, especially near the bottom, to help block small pests from pushing through while still allowing airflow.
8. Repeat the layering and fastening process for the remaining wire strips, trimming the cable tie tails neatly after each section is secured.
9. Set each finished barrier around seedlings, lettuce, kale, or fall flowers, pressing the bottom edge 1 to 2 inches into the soil so the barrier stays upright.
Variations & Tips
For picky garden spots: If one bed gets more pest pressure than another, double the coco liner only on that side instead of making every panel extra thick. I do this near the back fence where nibbling visitors always seem to appear first.
For row crops: Use the strips as a low curved wall along a short row of greens instead of forming circles. It makes harvesting easier when you’re picking dinner a handful at a time.
For taller plants: Buy a taller roll of hardware cloth, around 16 to 24 inches high, and cut the same way if you need more height for young brassicas or newly planted mums.
To make it look tidier: Use all black cable ties for a cleaner finish, and trim every tail flush. That little step is what makes homemade garden fixes look store-bought.
Safety tip: Hardware cloth edges can be sharp, so I always wear gloves and keep the cut ends folded in. It’s worth the extra minute, especially if kids are helping in the garden.
Weather tip: Coco liner will soften and wear down over time outdoors, but that’s fine for a seasonal fall barrier. If you want to reuse it next year, store the barriers somewhere dry once the season wraps up.