
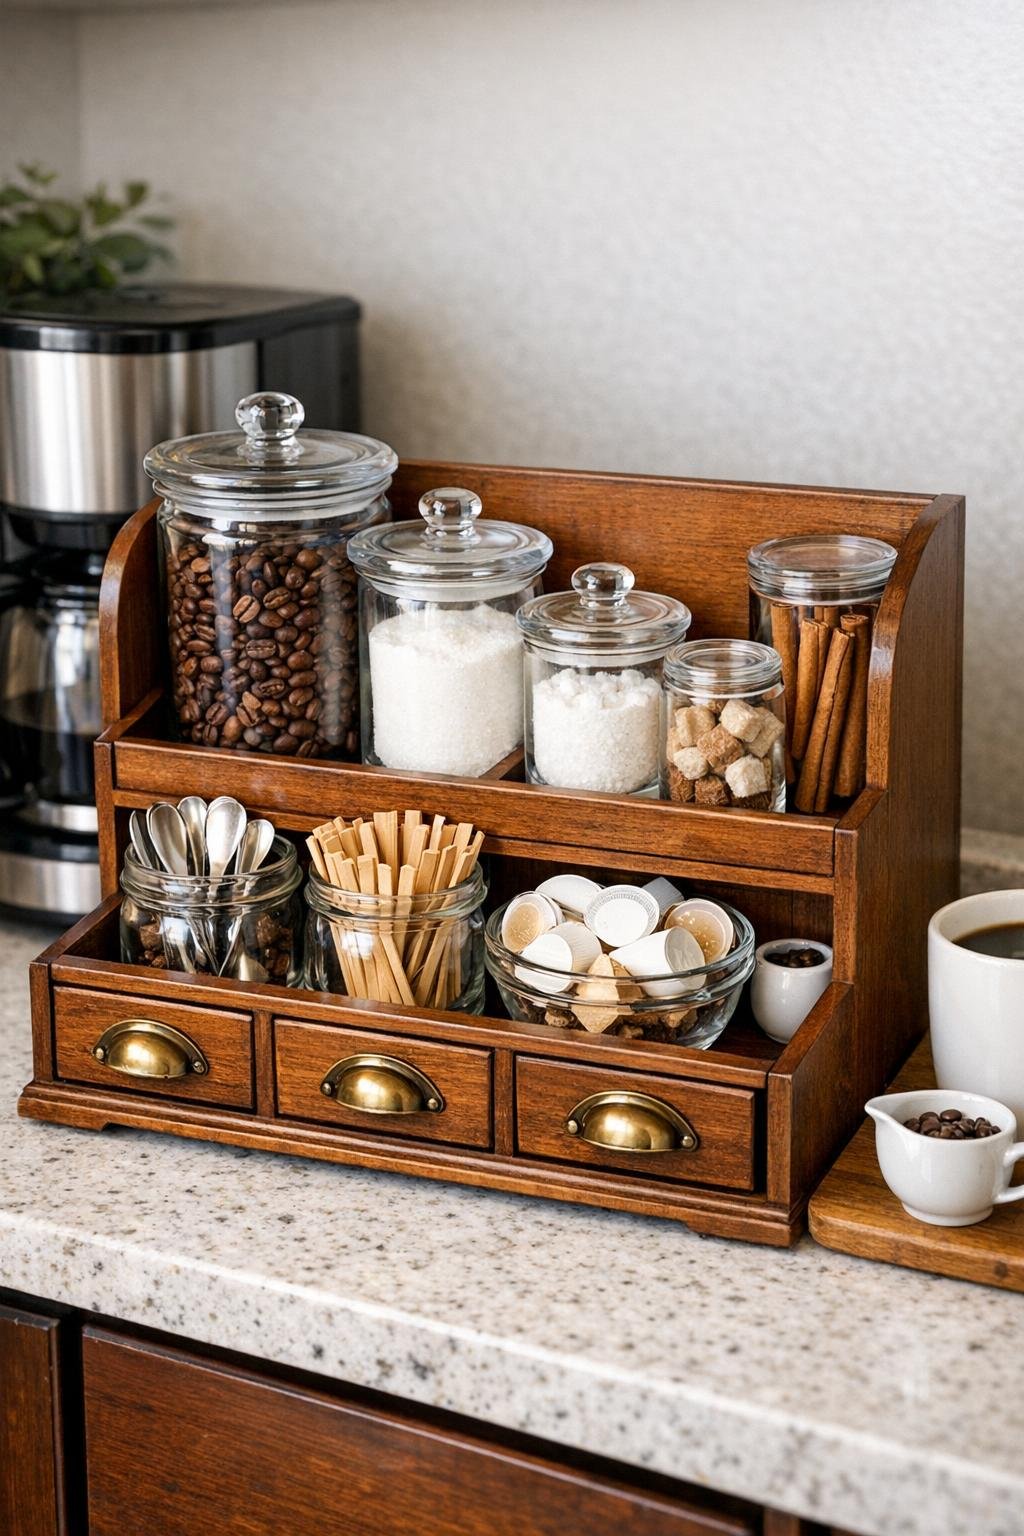
I love a project that solves a kitchen problem without looking like a “solution,” and this one does exactly that. By repurposing a vintage wooden desk organizer and fitting it with clear glass canisters, you can create a compact coffee station that keeps beans, sugar, pods, stirrers, or tea sachets tidy and easy to reach. It has the warmth of old office furniture, but it works beautifully on a countertop, especially if you like your kitchen to feel collected rather than overly matched.
This is a good beginner-friendly upcycling project because the structure is already there; I’m not asking you to build cabinetry from scratch. You’re mostly cleaning, measuring, and styling with purpose. As someone who spends a lot of time organizing ingredients and tools in my own kitchen, I can tell you that clear containers make a morning routine smoother, and the little brass pulls give the whole piece that polished, intentional look.
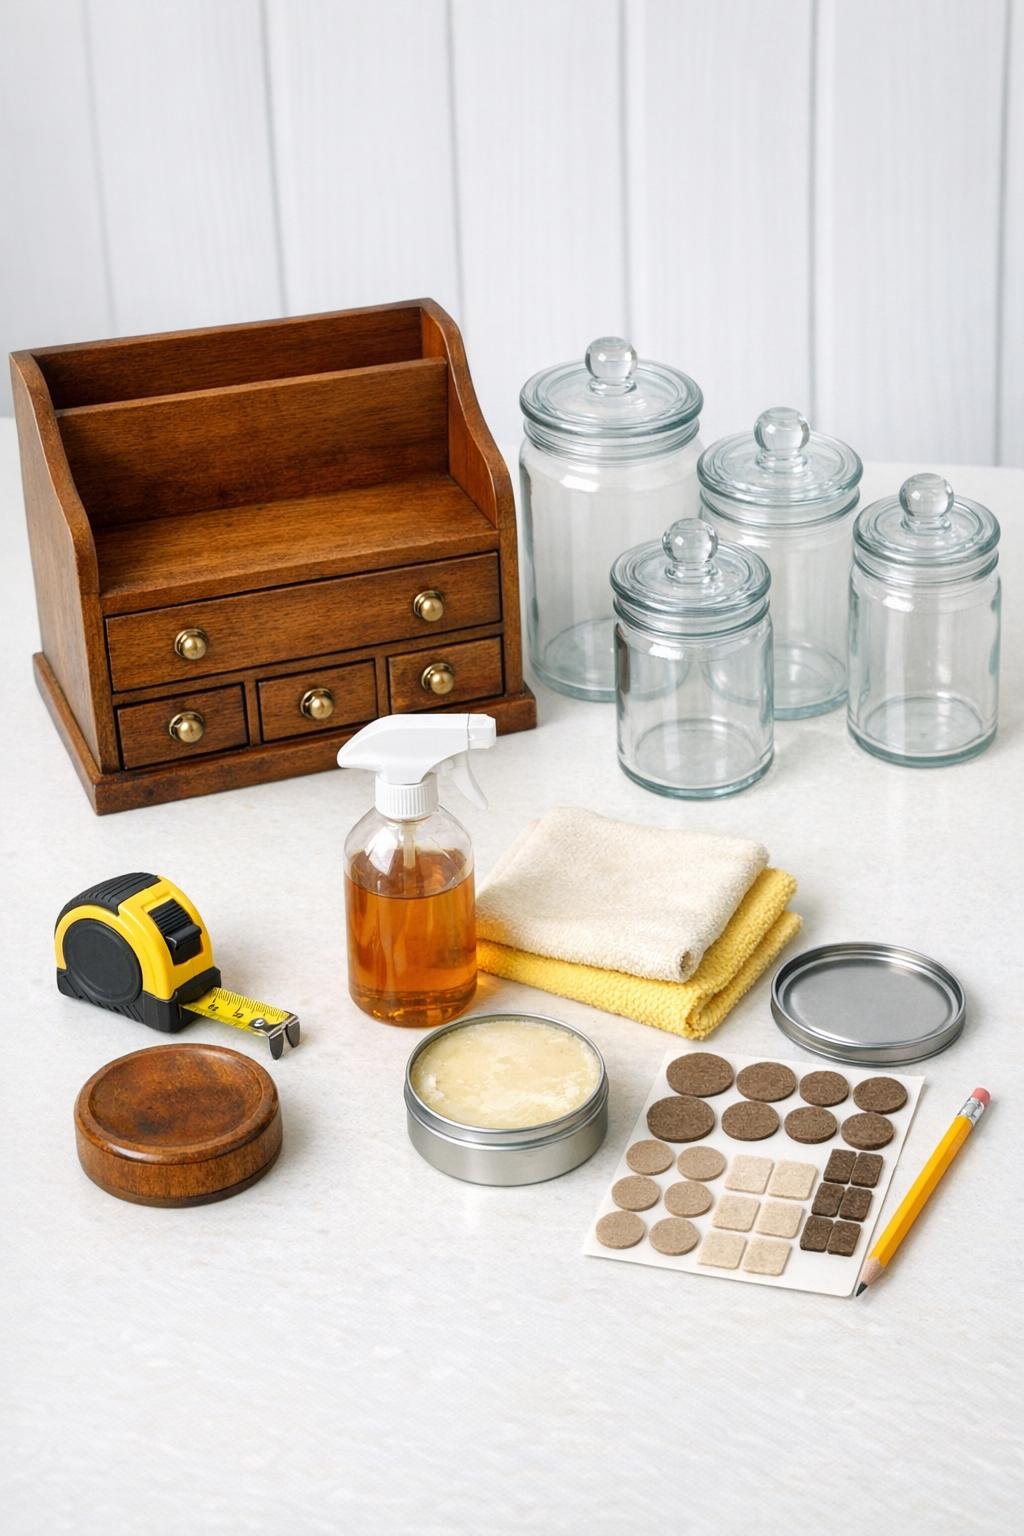
Materials
1 vintage wooden desk organizer, approximately 14 to 18 inches wide with 4 to 6 compartments or cubbies
Instructions
1. Empty the vintage wooden desk organizer completely and wipe away dust, crumbs, and loose debris with a dry cloth so you can assess its condition.
2. Clean the wood with a small amount of wood cleaner on a soft cloth, working into corners, drawer fronts, and around the brass pulls, then let it dry fully.
3. Measure the width and depth of each cubby or compartment, then compare those dimensions to your glass canisters to confirm they slide in easily without scraping.
4. If needed, replace mismatched or damaged hardware by installing the small brass drawer pulls with their screws, tightening them just enough to sit straight without stressing the old wood.
5. Apply a thin coat of furniture wax or wood balm over the organizer, then buff it with a clean cloth to deepen the finish and protect the surface from kitchen use.
6. Cut pieces of non-slip shelf liner to fit the bottoms of the cubbies where the glass canisters will sit, trimming neatly so the liner stays hidden.
7. Add adhesive felt pads under the organizer’s base corners so it won’t scratch your countertop and can be moved easily when you clean behind it.
8. Wash and dry the glass canisters thoroughly, then fill them with coffee beans, ground coffee, sugar, sweetener packets, biscotti, tea bags, or whatever suits your routine best.
9. Slide the filled canisters into the organizer one at a time, placing the heaviest items in the sturdiest lower or wider compartments for better balance.
10. Set the finished piece near your coffee maker and test the flow of your morning setup, adjusting the canister arrangement so the items you reach for most are in front or at the easiest height.
Variations & Tips
For a tea station: Use the canisters for loose tea, honey sticks, sugar cubes, and lemon packets instead of coffee supplies. This works especially well if the organizer has a mix of open cubbies and shallow drawers.
If the fit is close: Leave at least 1/4 inch of clearance around each canister so you can remove it comfortably. I always test with empty jars first before filling them, which saves a lot of awkward pouring later.
To protect older wood: Avoid soaking the organizer or using harsh degreasers. Vintage finishes can be surprisingly delicate, much like old cutting boards that need conditioning rather than scrubbing.
For a more uniform look: Choose matching canisters with the same lid style and height. The visual rhythm makes the station feel more custom and less cobbled together.
For small extras: Use any tiny drawers for coffee filters, measuring scoops, or wrapped sweeteners. Those little hidden compartments are what make this sort of repurposed piece so satisfying in a working kitchen.
Placement tip: Keep the station away from the stove and direct steam if possible. Coffee and wood both hold onto moisture and odors, so a dry corner of the counter is the better long-term home.