
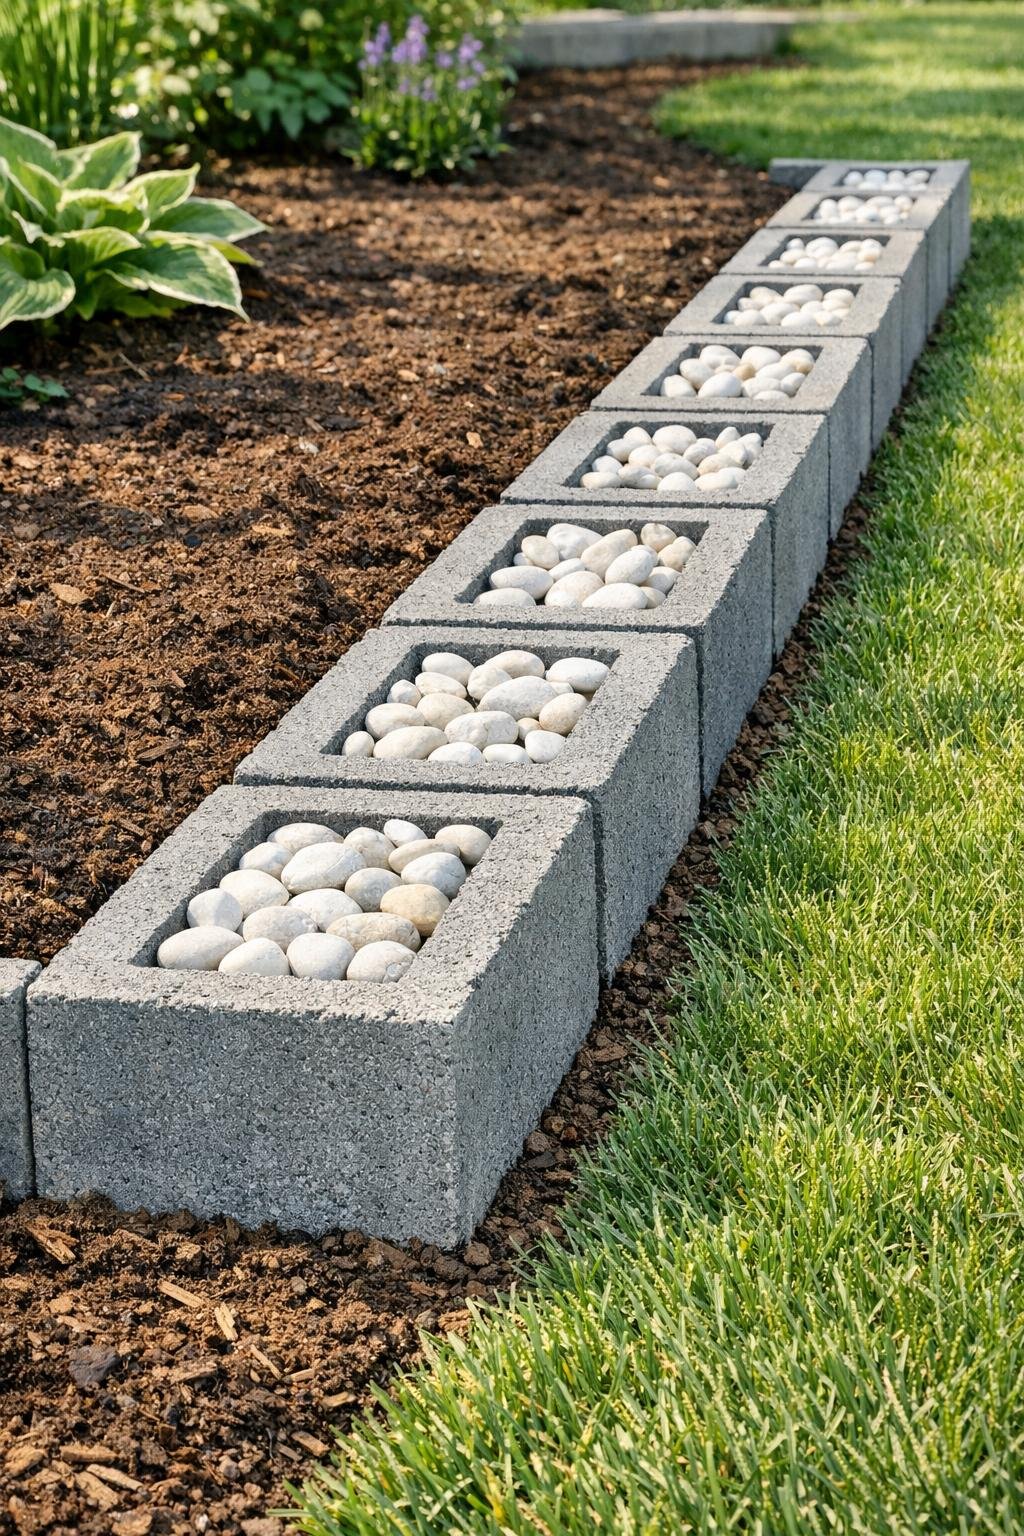
If you want a garden border that looks tidy, sturdy, and a little bit special without getting overly fussy, this is one of my favorite weekend projects. By setting large grey cinder blocks in place and filling the openings with white river rock, you get a border that feels clean and charming, with enough weight to stay put through wind, rain, and busy family traffic through the yard.
I especially like this idea for families who want something simple to maintain. It gives flower beds, veggie plots, or walkways a finished look, and the white stone brightens everything up beautifully. If you have a spot in the yard that needs definition but you do not want to fuss with mortar or complicated masonry, this is a very approachable project.
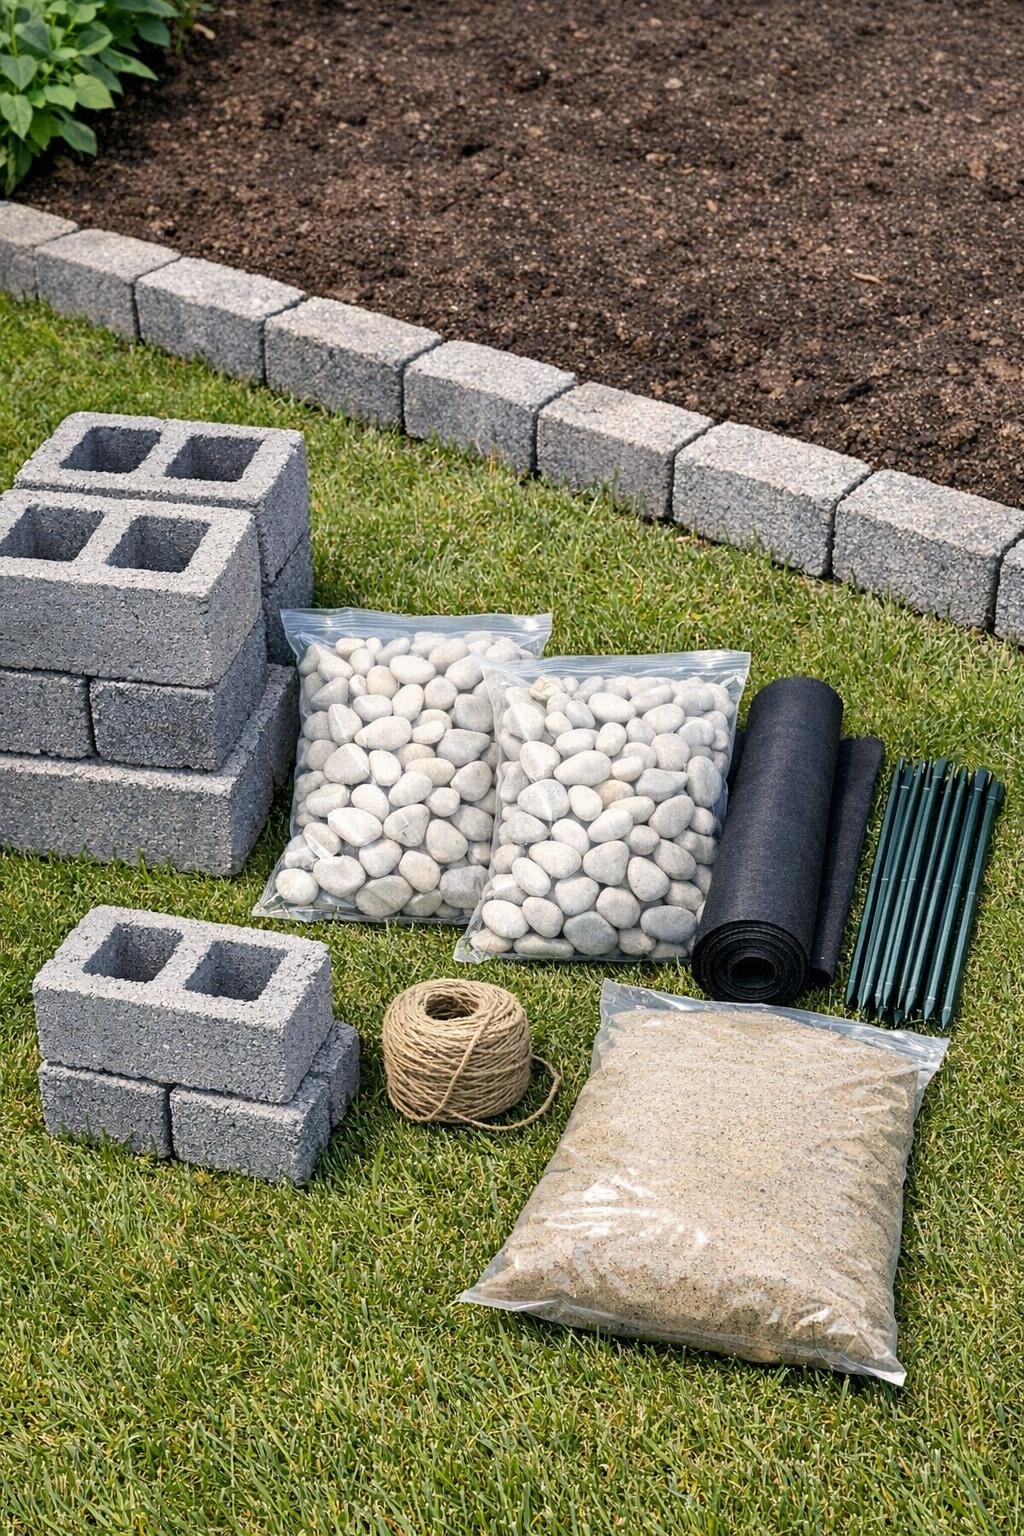
Materials
Large grey cinder blocks, 12 to 20 blocks depending on border length, standard 8 in. x 8 in. x 16 in.
Instructions
1. Mark the line of your border with stakes and twine, or lay out a gentle curve directly on the ground with a garden hose first. Step back and make sure the shape looks natural from the main viewing angle.
2. Clear the area where the cinder blocks will sit, removing grass, weeds, and loose roots along a strip about 8 inches wide. Dig down 2 to 3 inches so the blocks can sit slightly into the ground and look settled instead of perched on top.
3. Spread 1 to 2 inches of leveling sand or paver base in the trench and smooth it flat. This small step makes a big difference and helps the blocks sit evenly.
4. Set the large grey cinder blocks in place one by one, with the openings facing up. Check each block as you go so the tops stay as level as possible and the faces line up neatly.
5. Adjust the blocks until the full row looks straight or smoothly curved, depending on your design. If one block sits too high, lift it and remove a little base material; if it sits too low, add a bit more sand underneath.
6. Cut strips of landscape fabric and tuck them into each cinder block opening, letting the fabric cover the bottom of the cavity. This helps keep weeds from sprouting up through the rock over time.
7. Pour white river rock into each cinder block opening and spread it evenly to the top. I like to shake the rock down with my hand so the cavities fill nicely and look full from every angle.
8. Backfill around the outside of the border with soil or mulch so the base of the blocks looks anchored. Brush off any dirt from the top edges and add a final handful of river rock wherever the fill settled.
9. Water the nearby soil lightly to settle everything in place, then take one last look for alignment. Once the border feels solid and the stones are evenly distributed, your edging is ready to enjoy.
Variations & Tips
For curved beds: This border works best with gentle curves rather than tight turns. Lay the blocks out dry first so you can tweak the shape before digging.
For picky maintenance needs: If you are like me and prefer less weeding later, do not skip the landscape fabric inside the block openings. It saves time in the long run and keeps the white rock looking cleaner.
For extra color: Plant low flowers, herbs, or trailing greenery just behind the blocks to soften the concrete look. The white river rock really makes green foliage and bright blooms pop.
For better drainage: Use river rock that is washed and uniform in size so water drains well and the finished border looks tidy. Mixed muddy stone can dull the crisp contrast that makes this project so appealing.
For a longer border: Buy one or two extra bags of rock and a few extra blocks if you are covering a large area. I have learned the hard way that running short right at the end always seems to happen when the kids are asking what is for dinner.
For safety and stability: Wear gloves when handling the blocks and stones, and press each block firmly into the base before filling. A steady foundation is what makes this border hold up through the seasons.