
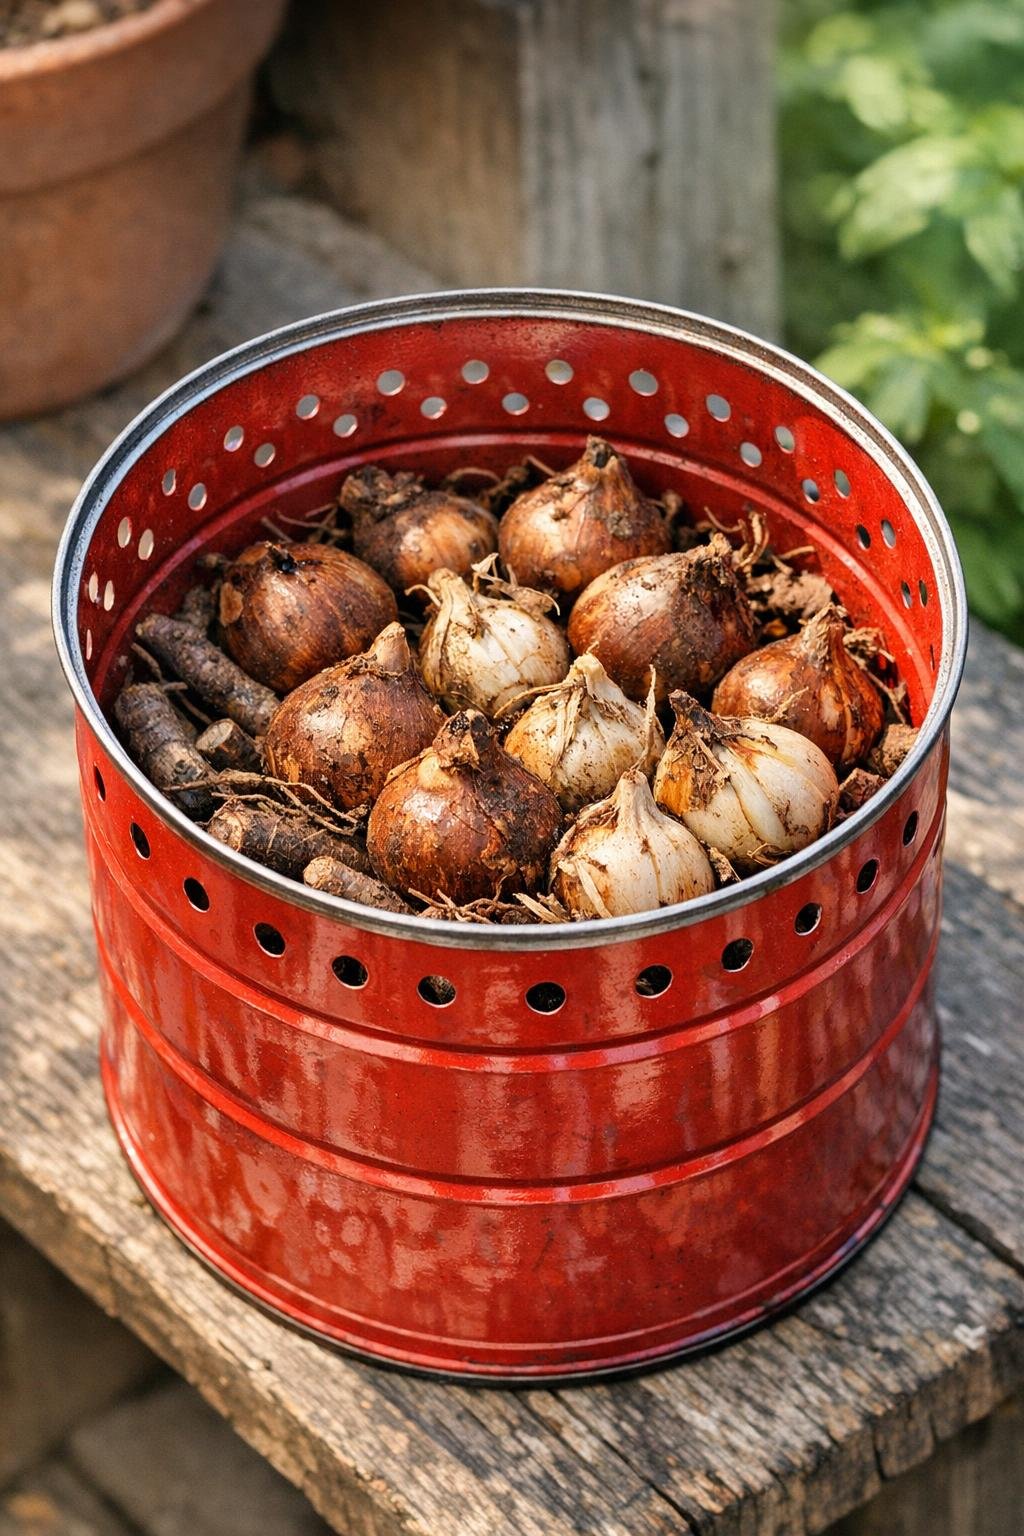
By late summer, when the garden starts giving up its last big show, I’m usually thinking ahead to next year. If you grow tender bulbs, corms, or tubers and need a simple place to let them dry out before storage, this little curing container is about as handy as they come. It uses an empty metal coffee can and a common yard item to create airflow, and it’s one of those practical fixes that feels downright satisfying the first time you use it.
I like projects like this because they solve a real problem without sending you off to buy some fancy organizer. If you’ve got dahlias, gladiolus, caladiums, or similar bulbs that need a little breathing room at the end of the season, this is for you. It reminds me of the old way folks around here handled garden work: use what you have, make it sturdy, and let simple things do good work.

Materials
1 empty metal coffee can, about 6 to 7 inches tall and 5 to 6 inches wide
Instructions
1. Wash and dry the empty metal coffee can, then remove any paper label if it has one so the outside stays clean and easy to handle.
2. Put on gloves and turn the can upside down on concrete or another hard surface. Mark rows of hole placement around the sides and across the bottom, spacing them about 1 inch apart.
3. Use the nail and hammer to punch holes at each mark, making enough openings for steady airflow without weakening the can. Leave the top rim unpunched so the can keeps its shape.
4. Check the inside and outside for sharp metal burrs, and trim or flatten them with the metal snips so they won’t scrape your hands or damage the bulbs.
5. Cut the tree branch into 3 pieces, each roughly the inside width of the can. These will act as a loose false bottom to lift the bulbs slightly and let air move underneath.
6. Lay the branch pieces in the bottom of the can with small gaps between them. If one rolls too much, trim it a little flatter on one side so it sits steady.
7. Brush loose soil off your dug bulbs, corms, or tubers, but don’t wash them. Set them in the can in a single loose layer, or at most two shallow layers, so air can still circulate.
8. Place the filled can in a dry, shady, breezy spot such as a porch, shed shelf, or garage bench. Let the bulbs cure for several days to two weeks, depending on the type and the weather.
9. Rotate or gently stir the bulbs every day or two so all sides dry evenly. Remove any bulb that feels soft or shows mold so it doesn’t affect the rest.
10. Once the outer skins are dry and papery, move the cured bulbs to their long-term winter storage. Wash out the can, and it’ll be ready again next season.
Variations & Tips
For larger bulbs: Use a bigger institutional-size coffee can and thicker branch pieces so heavier tubers stay lifted off the metal bottom.
For small corms: Add a loose layer of window screen or hardware cloth cut to fit over the branch pieces if you’re curing very small bulbs that might slip through wide gaps.
For extra airflow: Punch a few more holes near the upper sides of the can, but keep at least 1 inch of solid metal near the rim so the can stays sturdy.
Keep it shaded: I never cure bulbs in direct sun, because too much heat can shrivel them faster than you want. Dry air is good; baking hot metal is not.
Label by batch: If you’re curing more than one variety, tie a tag to the rim or set separate cans side by side. After one season of mixing bulbs by accident, I learned that lesson the hard way.
Use only dry branch wood: Fresh green wood can hold moisture, and that works against the whole idea of curing. A fallen twig from the yard that’s already dry is usually just right.