
There’s something especially satisfying about turning thrift-store glass into storage that looks polished enough for a boutique hotel bathroom. In this project, I use four mismatched glass apothecary-style bottles and jars, line them up as a coordinated set, and give them a warm fall look with simple finishes and practical labels. The result is a storage collection that keeps cotton balls, bath salts, swabs, and soaps tidy without losing that collected, vintage charm.
I like this kind of project because it sits right at the intersection of usefulness and atmosphere. If you enjoy decorating seasonally but don’t want your bathroom to feel cluttered or overly themed, this is a very manageable weekend DIY. It’s ideal for anyone who loves thrift finds, small-space organization, or the kind of handmade detail that makes guests ask where you bought it.
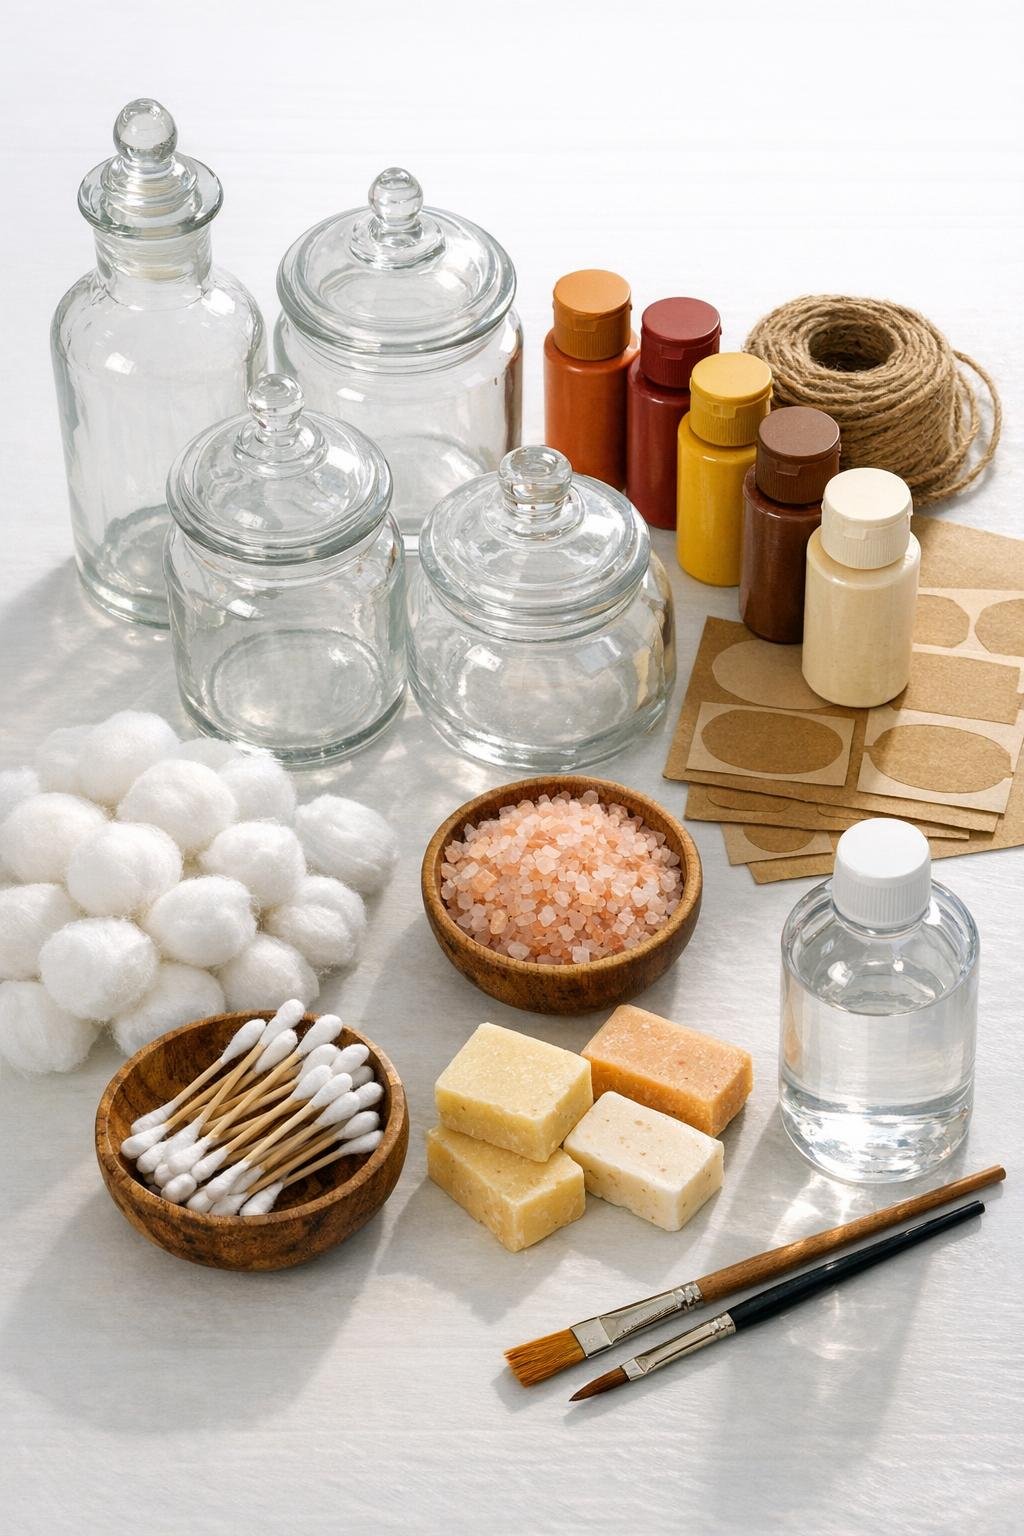
Materials
4 thrifted glass apothecary bottles or lidded jars, 8 to 12 inches tall total assortment
Instructions
1. Wash the four thrifted bottles and lids in warm soapy water, then dry them completely. Wipe the exterior with rubbing alcohol so paint and labels will stick cleanly.
2. Arrange the bottles in a line and choose their roles before decorating: one for cotton balls, one for swabs, one for bath salts, and one for soaps. I always do this early because the opening size matters more than the bottle height.
3. Lightly sand only the areas you want to paint, such as lids, bottle neck bands, or the lower inch of each bottle. Dust everything off with the microfiber cloth.
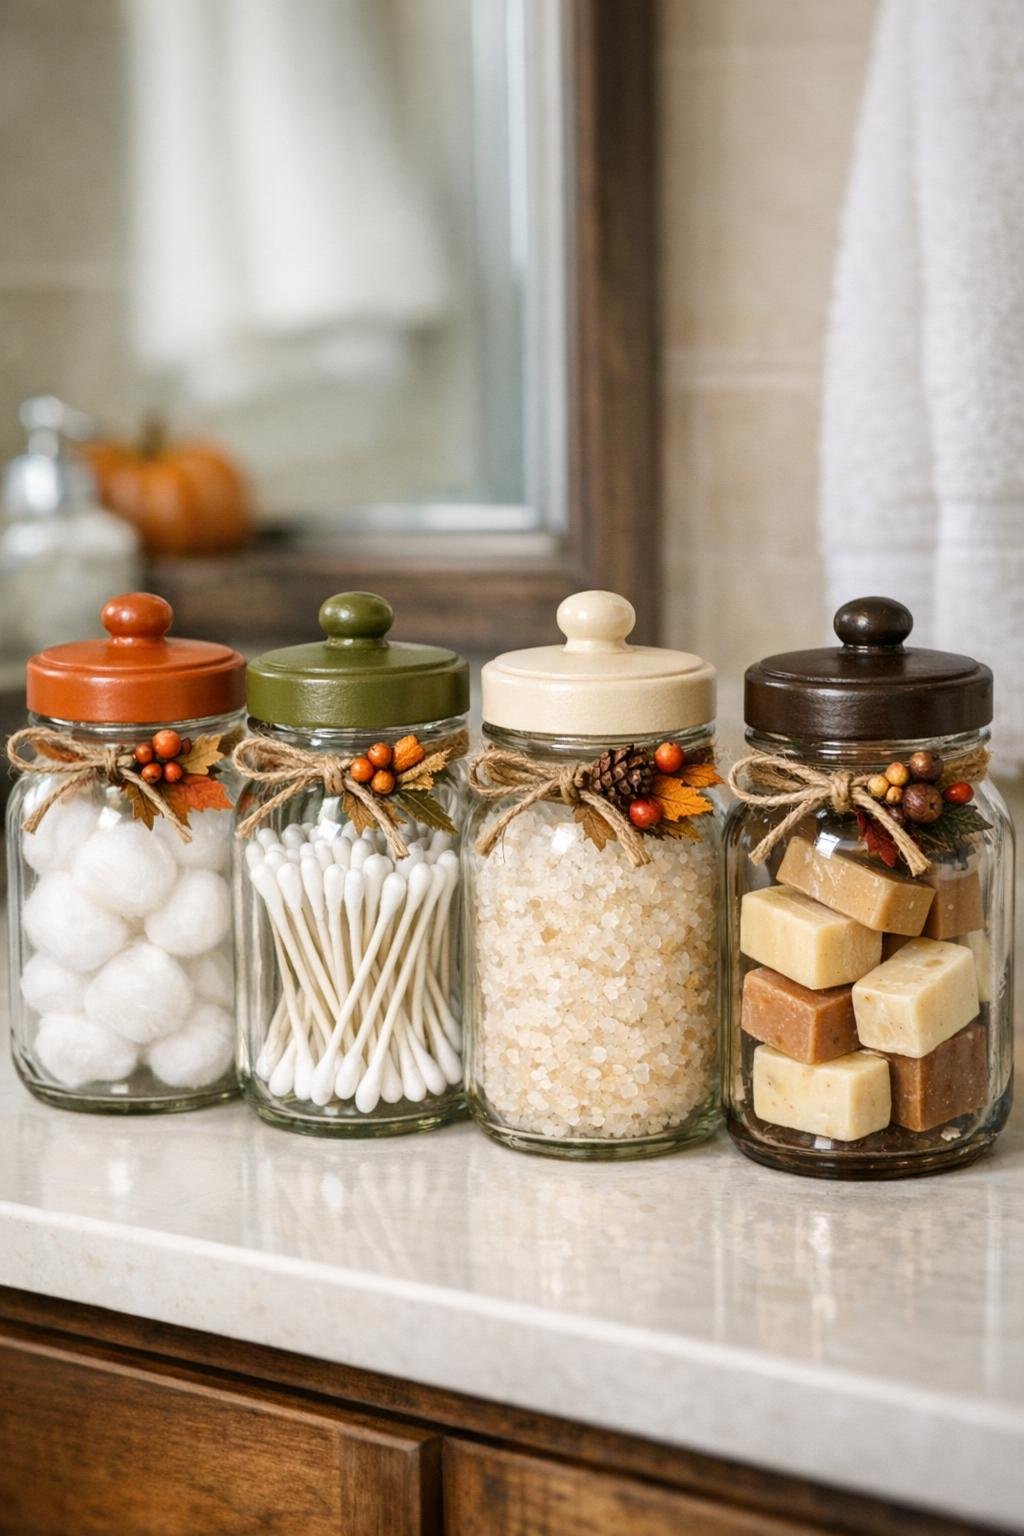
4. Paint the lids and accent areas in your fall palette, using one or two thin coats rather than one thick one. I like alternating burnt orange, muted olive, cream, and deep brown so the set feels collected but still coordinated.
5. Let the paint dry fully, then apply a thin coat of matte clear sealer to the painted areas. Allow the sealer to cure according to the package so the finish holds up in a humid bathroom.
6. Wrap jute twine around the neck or shoulder of each bottle two or three times and knot it neatly. Tuck in a small faux stem or preserved leaf on each one for a subtle fall detail.
7. Apply one adhesive label to each bottle and keep the wording simple, such as Cotton, Swabs, Salts, and Soap. Press the labels down firmly, especially along curved glass.
8. Add felt pads to the underside of any bottle bases that feel rough or uneven. This small step keeps glass from scratching a painted tray or stone countertop.
9. Fill each bottle with its assigned contents, keeping the nicest-looking items toward the front if the glass is clear. For bath salts, use a small funnel or folded paper to avoid stray crystals on the rim.
10. Line the finished bottles up on a vanity, shelf, or narrow tray with the tallest piece in back or at one end. Adjust the spacing so the four old glass bottles still read as a matched set, even though their shapes are slightly different.
Variations & Tips
For a more minimal look: Skip the faux stems and use only cream and brown paint accents. The bottles will still feel warm and seasonal without reading overly decorative.
If your bottles are very mismatched: Unify them by painting all lids the same color and using identical labels. In my experience, repeating just two design elements is often enough to make thrifted pieces feel intentional.
For bathroom-safe styling: Keep embellishments near the necks and lids, not the lower body where water drips tend to collect. Matte sealer helps, but less exposed decoration usually means less maintenance.
For a more elevated finish: Use amber, smoked, or lightly frosted thrifted glass if you can find it. Those tones pair beautifully with fall colors and remind me a bit of the old pantry jars I love spotting in antique markets.
Best filling tip: Choose contents that suit the opening size rather than forcing a bottle to fit a purpose. A narrow-neck bottle is perfect for swabs, while a wide-mouth jar is much better for soaps or cotton rounds.
Easy seasonal swap: Keep the glass bottles year-round and change only the twine accents, labels, or paint colors on replacement lids. That gives you a winter or spring version later without starting over.