
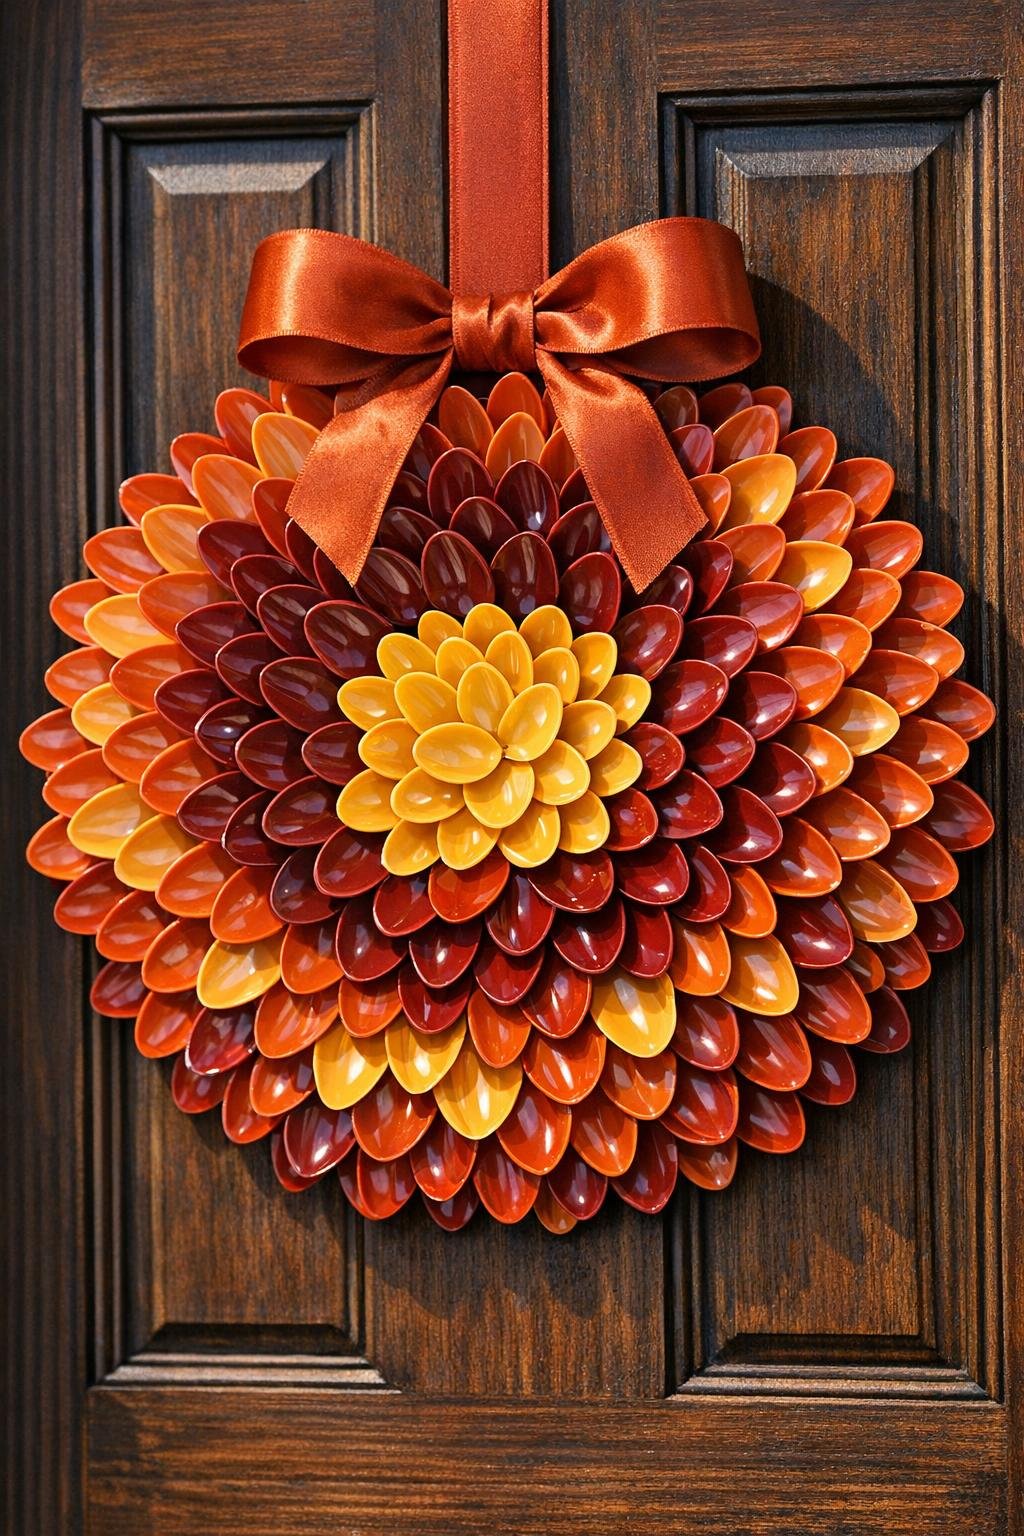
This is one of those dollar-store projects that looks a little ridiculous in the middle and completely worth it by the end. You start with a pile of plain white plastic spoons, a cardboard ring, and a hot glue gun, and after an evening of repetitive but oddly satisfying work, you end up with a wreath that looks far more expensive than it has any right to.
I love projects like this for busy weeks because the steps are simple, you can do them at the kitchen table, and you do not need a full craft room to pull it off. If you like budget-friendly decor and do not mind a little hands-on assembly, this is a very doable weekend or after-dinner project.
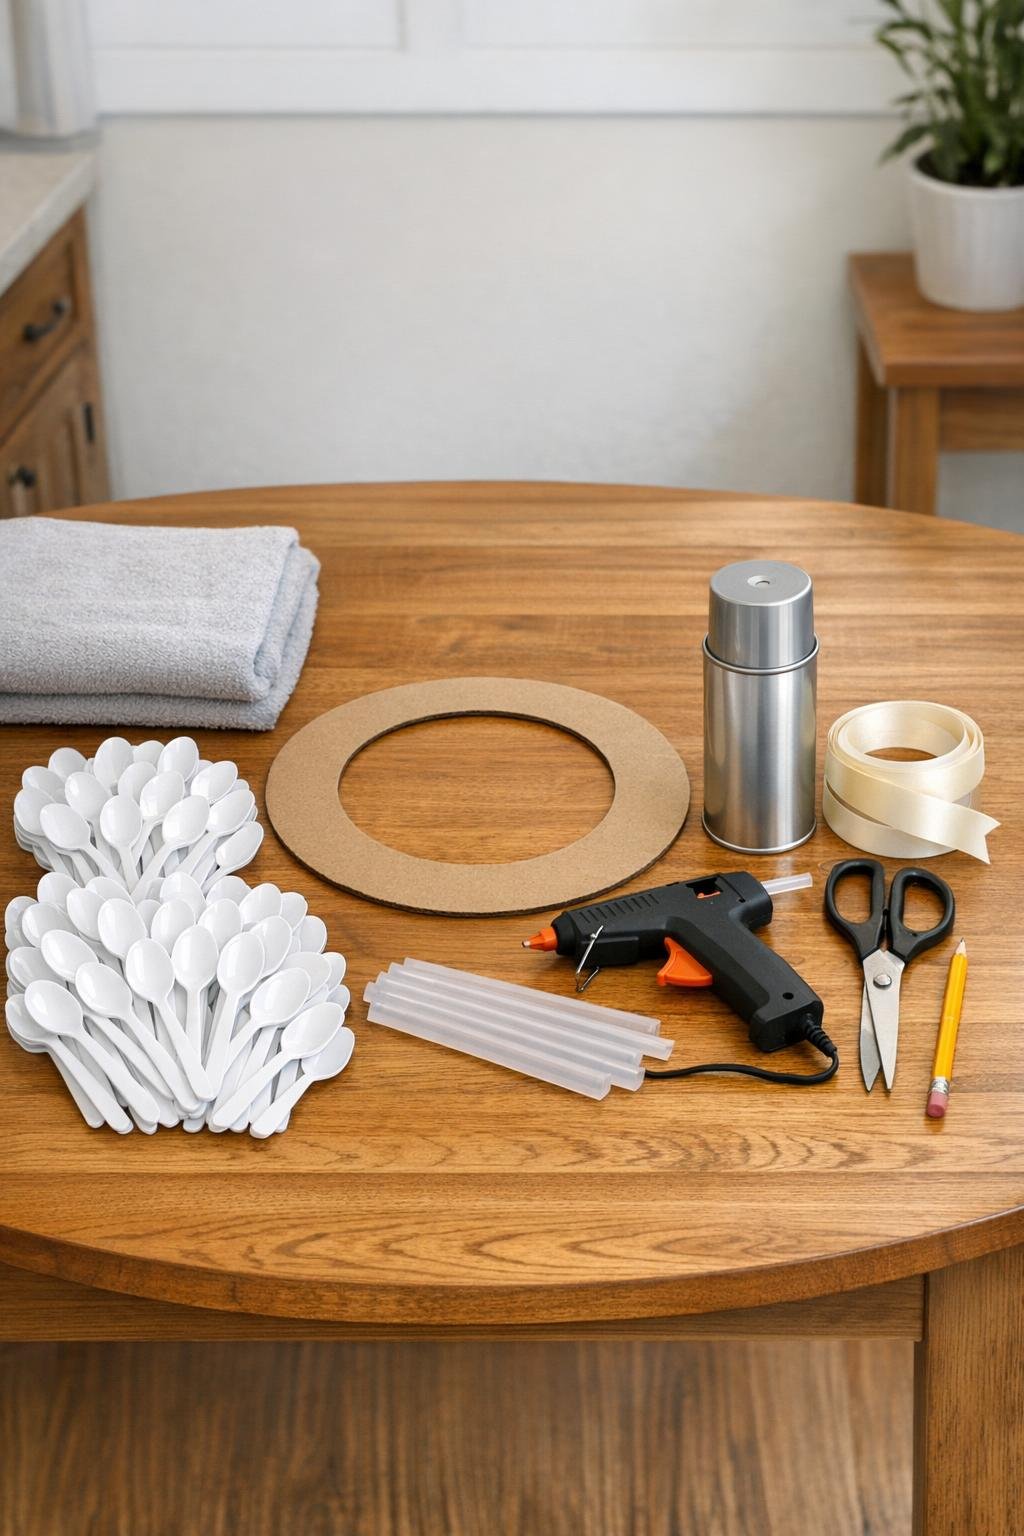
Materials
80 white plastic spoons, standard disposable size
Instructions
1. Draw a cardboard ring that is roughly 12 inches across, then trace a 4- to 5-inch circle in the center and cut both out so you have a sturdy wreath base.
2. Fold a towel over a few spoons or place them inside a sturdy bag, then snap off the handles one at a time so you are left with the spoon heads. Plastic bits can fly when they break, so this part is worth doing slowly and honestly a little carefully.
3. Sort the spoon heads into a pile with the bowls facing the same direction so assembly goes faster once the glue gun is hot. I usually do this little prep step because it saves me from fumbling with warm glue later.
4. Heat the hot glue gun and run a bead of glue along the back of one spoon head, then press it onto the outer edge of the cardboard ring with the bowl side facing up and the rounded end pointing outward.
5. Continue gluing spoon heads all the way around the outside edge, overlapping them slightly so the cardboard disappears and the ring starts to look full.
6. Start the second ring just inside the first, offsetting each spoon head so it lands between two spoons from the row before, like petals on a mum. Keep overlapping enough that no cardboard shows through.
7. Add more inner rings the same way, always working inward and staggering each row, until you reach the center opening and the whole wreath looks evenly packed.
8. Fill the last inner row carefully, trimming spacing by slightly increasing overlap if needed so the center area looks balanced and full.
9. Take the wreath to a well-ventilated area and apply one light coat of spray paint, let it dry, then add a second light coat for even coverage. Two light coats after assembly look much better than one heavy coat and help avoid drips between the spoon layers.
10. Let the paint dry fully, then hot glue the ends of the ribbon together into a loop and attach it to the back of the wreath at the top.
11. Hang the finished wreath indoors or on a covered door, and keep it out of direct sun and rain since heat and weather can soften both hot glue and spray paint over time.
Variations & Tips
Color choice: White looks crisp, but soft blush, matte black, sage green, or metallic gold all give this wreath a completely different personality. I would still stick with spray paint after assembly so every layer reads as one finished piece.
Size adjustment: For a larger wreath, increase the cardboard ring size and buy more spoons. A 12-inch ring takes roughly 80 spoons, so going bigger adds up fast.
Safer snapping: If the spoons feel brittle, snap only a few at a time inside the folded towel or bag and clear the little plastic shards before moving on. It is not a hard step, just messier than people expect.
Cleaner coverage: If you notice cardboard peeking through, tuck an extra spoon head into the gap before painting rather than trying to hide it with thick paint. Heavy paint tends to puddle and makes the layers look muddy.
Hanging tip: A ribbon loop is the easiest option, but you can also glue on a small piece of twine if you want a more understated hanger. Just make sure it is attached well before displaying it.
Best placement: This wreath is happiest indoors or on a covered porch door. I would not use it where it gets full afternoon sun, wind-driven rain, or summer heat for long stretches.