
There’s a reason old garden hacks stick around: when they’re simple, cheap, and genuinely useful, they earn a permanent spot on the potting bench. This little herb drying rack is one of those projects. I’m using soaked wooden popsicle sticks along with two common shed staples to make a compact rack that helps tender herbs dry with good airflow instead of turning musty in a pile on a towel.
I like this project for anyone who snips mint, thyme, oregano, sage, or even small bundles of chives and wants a tidy place to dry them indoors. The soak softens the sticks so they’re less likely to snap while shaping and assembling, and the finished rack is light, practical, and easy to tuck onto a shelf or hang near a sunny utility room window.
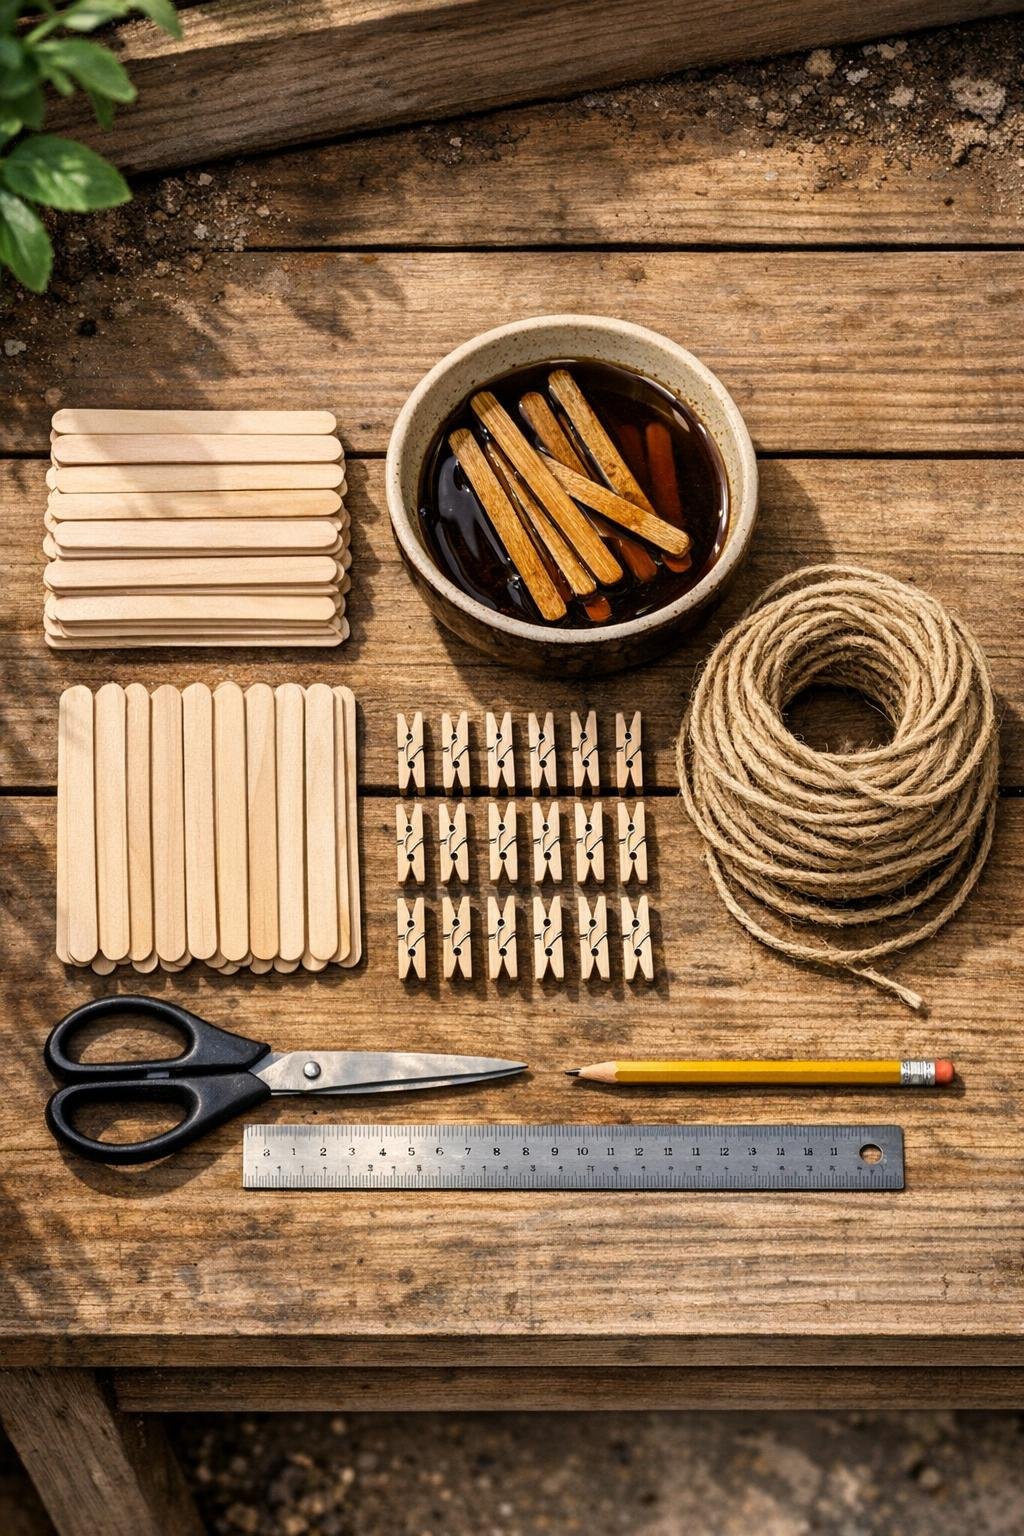
Materials
Instructions
1. Place the popsicle sticks in the bowl of dark brown liquid and soak them for 20 to 30 minutes until they’re evenly damp and slightly more flexible.
2. Remove the sticks and lay them on a towel for 5 minutes so they stay pliable but not dripping wet.
3. Line up 12 sticks side by side with their long edges touching to form the first flat drying panel, about 4 1/2 inches tall and 11 inches wide.
4. Tie one 2-foot piece of twine horizontally around the panel, 1 inch down from the top, looping around each stick and cinching snugly as you go.
5. Tie a second 2-foot piece of twine across the same panel 1 inch up from the bottom, then knot both ends firmly and trim the excess.
6. Repeat the same process with 12 more sticks for a second panel and the last 12 sticks for a third panel.
7. Let all three panels dry flat for 1 to 2 hours so the sticks stiffen again and hold their shape.
8. Lay the three panels edge to edge like a folding screen, leaving a 1/4-inch gap between each panel for the hinges.
9. Use one 8-foot length of twine to lash the first and second panels together at the top, middle, and bottom, wrapping in a figure-eight pattern through the gaps so the panels can still fold.
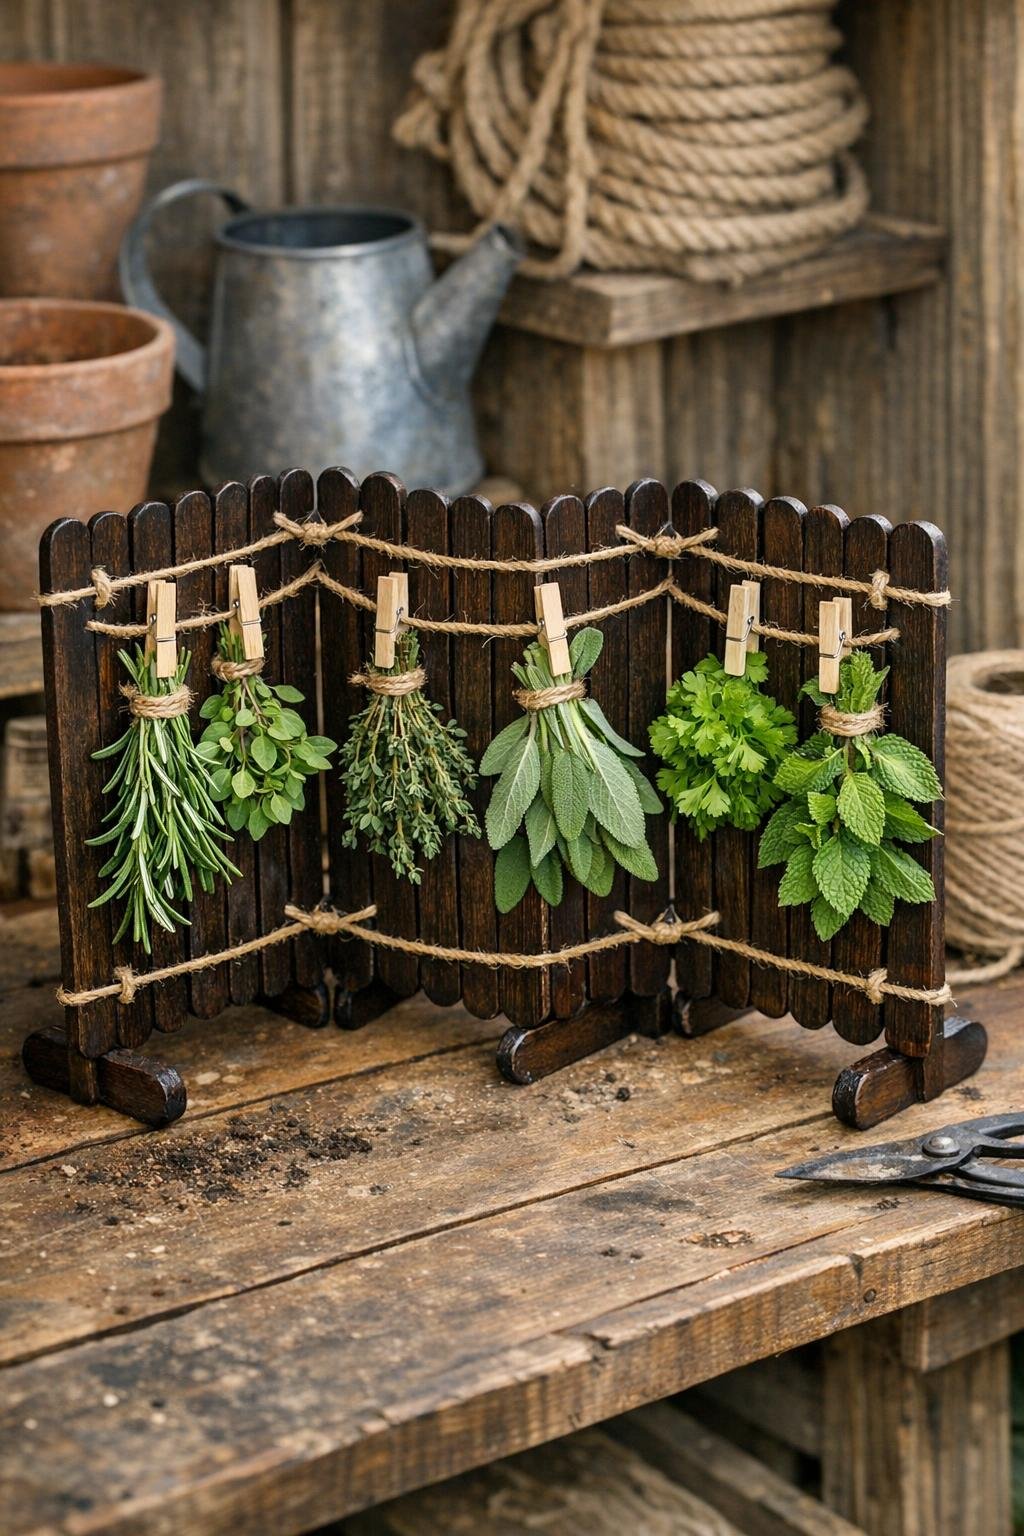
10. Use the second 8-foot length of twine to lash the second and third panels together the same way, creating a freestanding accordion-style rack.
11. Clip 8 small clothespins across the top edge of each panel so you have 24 spots for hanging small herb bundles.
12. Fold and adjust the rack until it stands evenly, then hang herb bundles with enough space between them for airflow while they dry.
Variations & Tips
Tea-stained finish: If you want the darker look from the hero scene without using stain, make very strong black tea and soak the sticks a little longer. I do this often in the kitchen with wood utensils and skewers when I want a softer, aged color.
Best herbs to dry: Woody herbs like thyme, oregano, rosemary, and sage dry especially well on a rack like this. Tender herbs such as basil can darken quickly, so I use those fresh or preserve them another way.
Bundle size: Keep each bunch to 4 to 6 stems. Overstuffed bundles trap moisture in the middle, and that’s exactly what you don’t want.
No clothespins on hand: You can tie herb bundles directly to the top rail with short 6-inch twine scraps. It takes a little longer, but the rack still works beautifully.
Make it wall-hung: Instead of standing the rack accordion-style, tie an extra loop of twine to the top corners of each panel and hang it flat against a wall with a bit of space behind it for ventilation.
Storage tip: Once the herbs are fully crisp, strip the leaves and store them in airtight jars away from heat and light. As with spices in cooking, the real secret is preserving the aroma you worked for in the first place.