
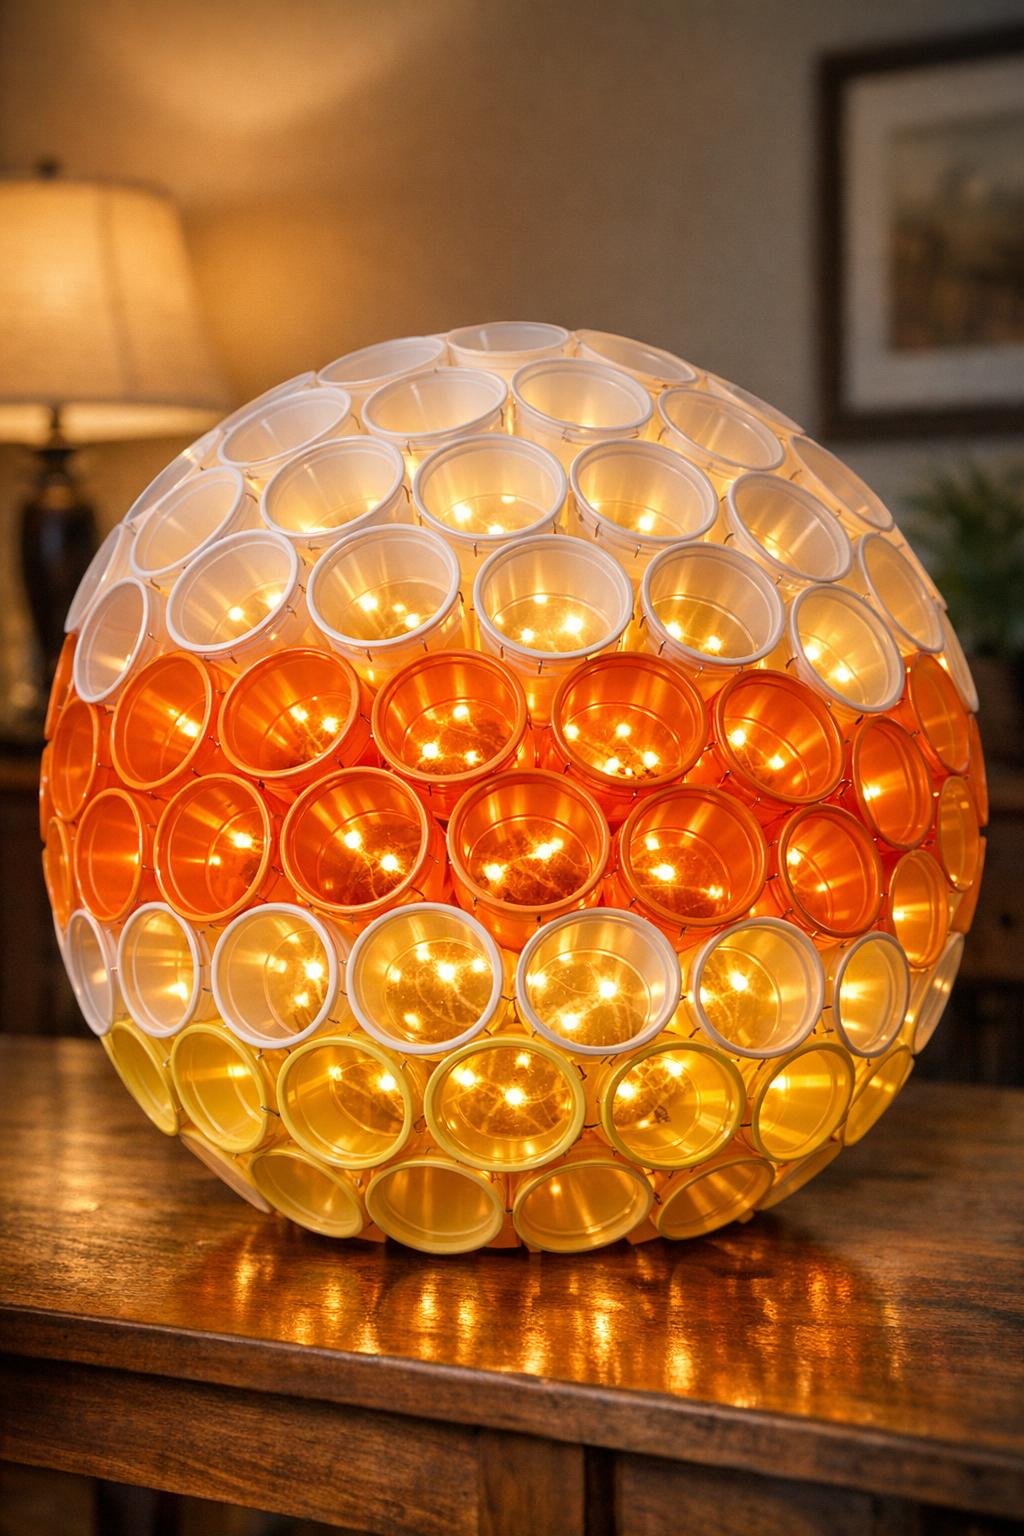
This is one of those delightfully weird projects that looks too simple to work until you staple the first few cups together and suddenly the shape starts happening on its own. By using the natural taper of cheap plastic party cups, you can build a lightweight round globe that’s perfect for Halloween decorating, and with candy-corn colors, it turns into something surprisingly festive without needing fancy supplies.
I love projects like this because they fit into a real weeknight. You can spread the cups out on the floor, put on a show in the background, and make steady progress in under an hour or two. If you want a bold seasonal decoration for indoors or a covered porch and you don’t want to spend much, this one is absolutely worth trying.
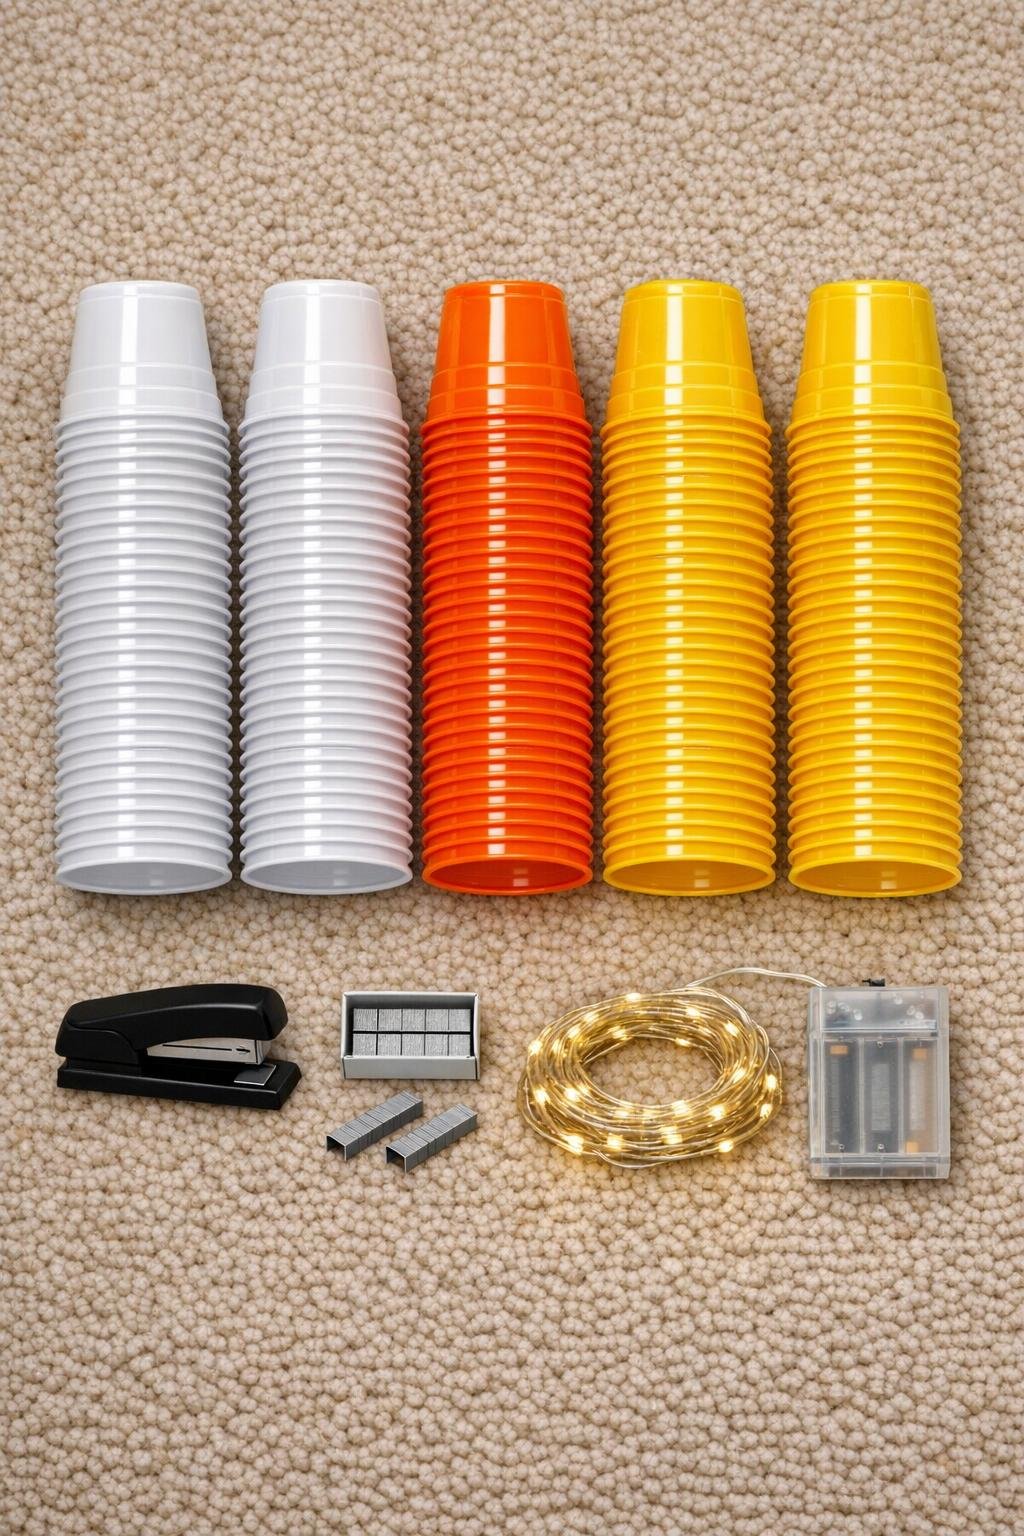
Materials
20 white 9-ounce plastic party cups
Instructions
1. Sort the cups into three color groups and set them beside your work area so you can build one color band at a time. I like working on carpet or a rug because the cups don’t slide around as much.
2. Start with the widest middle ring using the orange cups, stapling two cups side by side right at the rims. Add more cups one by one, always stapling rim to rim, and you’ll see the row naturally curve as the tapered cups pull into an arc.
3. Keep adding orange cups until the row closes into a full ring, which usually takes about 25 cups for a beach-ball-size globe. Staple the last cup to the first cup at the rims to complete the circle.
4. Build the next orange row directly on top of the first ring, offsetting each cup so it bridges the seam between two cups below it. Staple each new cup to the neighboring cup in the same row and to the cups beneath it at the rims.
5. Continue adding rows upward, switching to white cups for the top band so the globe reads like candy corn stripes. Keep each row a single color and keep offsetting the cups so the shape closes smoothly.
6. Build downward from the orange center with yellow cups to create the bottom band. The globe will naturally tighten as the rows get smaller, so you’ll use fewer cups in each of these upper and lower rows.
7. Leave one cup out near the top or bottom, or trim a small opening in one cup, so you have a gap for the light strand. This opening only needs to be large enough to tuck the LEDs and battery pack or plug cord through.
8. Tuck the LED string lights inside the globe and spread them out gently so the light reaches all three color bands. Use LED lights only, never incandescent bulbs, because incandescent bulbs can get hot enough to melt the plastic cups.
9. Test the lights, then rotate the globe so the opening is less visible from the front. If needed, add one or two extra staples anywhere the shape feels loose.
10. Set your finished globe indoors or on a covered porch where it will stay dry and protected from wind. It’s feather-light, so a breezy porch can send it rolling faster than you’d think.
Variations & Tips
Size tip: About 60 cups makes a globe around beach-ball size, which is a great scale for a side table, entry bench, or hearth. If you want it larger, add more cups to the first ring and keep the same offset pattern.
Color swap: If you like the technique but want a different look, try all one color for a modern glowing orb or use red and green for winter. For the candy corn effect, though, keeping each row a single color makes the stripes read much more clearly.
Light choice: Battery-operated LED string lights are the easiest because you can hide the battery pack inside or near the opening. I prefer warm white LEDs because they make the yellow and orange cups glow nicely without looking harsh.
Stapling tip: If the rims crack, you’re stapling too close to the edge or pressing too hard. Move the staple slightly lower on the rim overlap and support the cups with your other hand as you squeeze.
Placement tip: This is best as indoor or covered-porch decor only. Since it’s so light, I wouldn’t trust it on an open porch in Midwest fall wind unless it’s tucked into a protected corner.
Make-ahead tip: You can assemble the cup globe a few days ahead and add the lights right before decorating. That’s usually how I handle seasonal projects when I’m squeezing them in around work and dinner prep.