
This little project turns a plain dollar store vase into something that looks surprisingly polished, but it is still easy enough to make in an afternoon at the kitchen table. The trick is using foam shaving cream, not gel, as the marbling bath so the color sits on top and transfers in soft, stone-like veining.
I love crafts like this because the supplies are inexpensive, the process is quick, and every piece comes out a little different. If you want a simple decorative project for a shelf, table, or gift, this is a fun one to try, especially if you test a couple of color combinations first and let the pattern be the star.
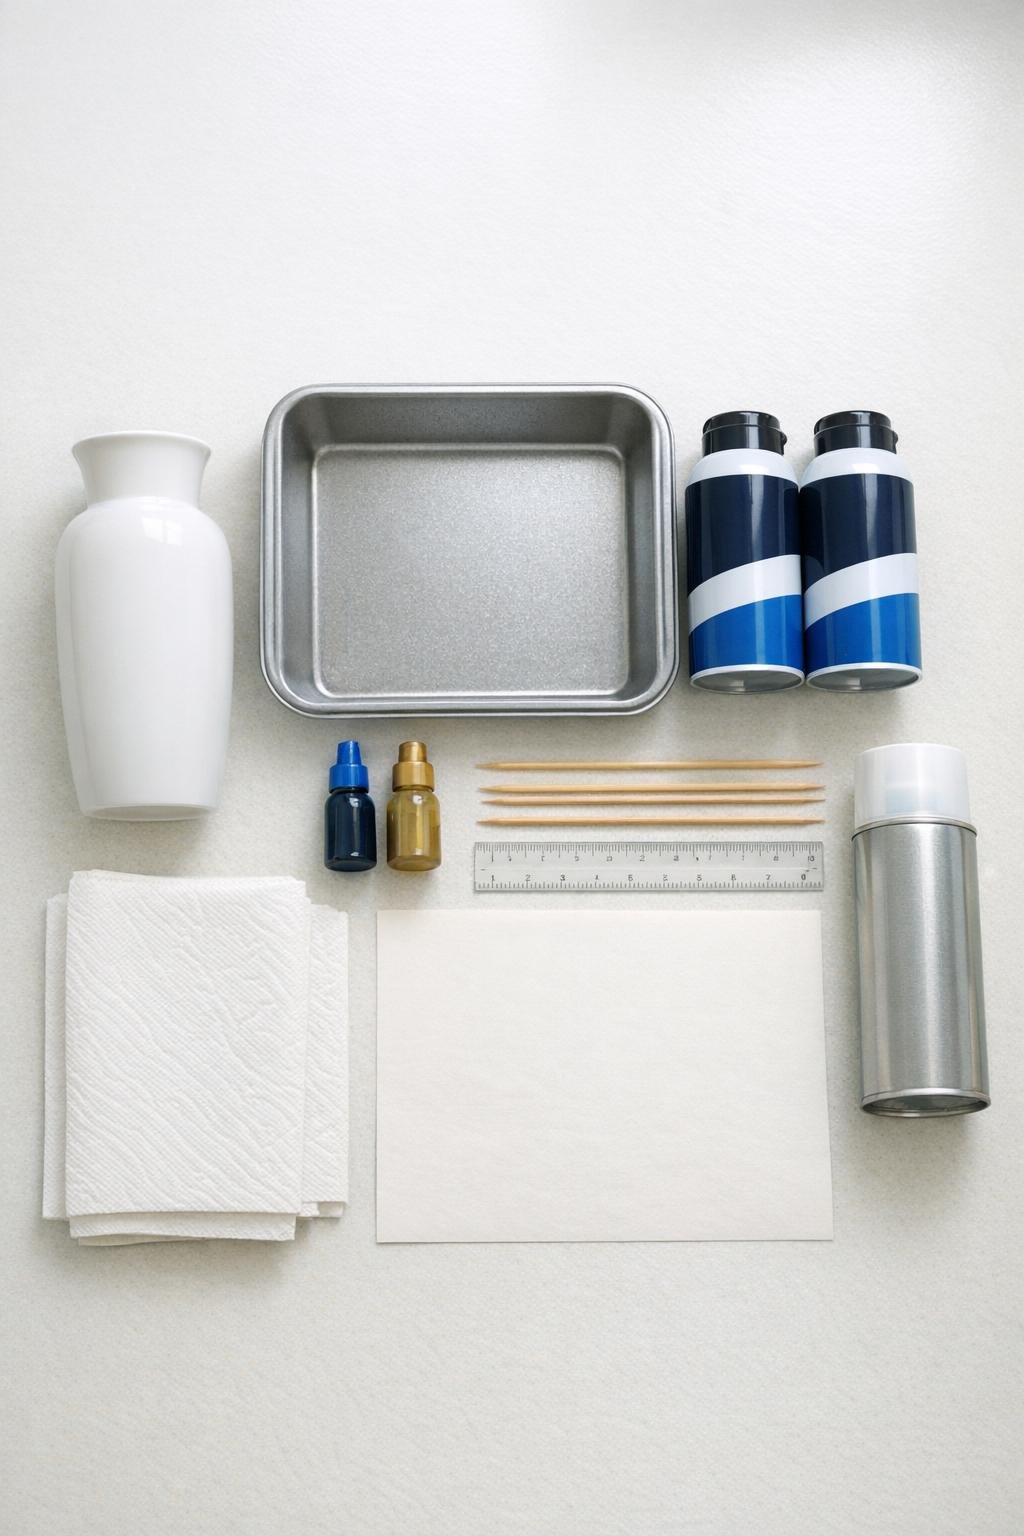
Materials
Instructions
1. Cover your work surface with wax paper or a drop cloth, then set out the vase, pan, colors, skewers, and paper towels. Make sure your vase is clean and fully dry so the color will cling evenly.
2. Spray foam shaving cream into the baking pan until you have about 2 inches of foam. Level the top with the back of the ruler or a skewer so the surface is fairly smooth.
3. Dot blue and gold color across the surface of the foam, spacing the drops out instead of pouring too much in one spot. Test the same color combination on your scrap paper first if you want to see how bold the marbling will look.
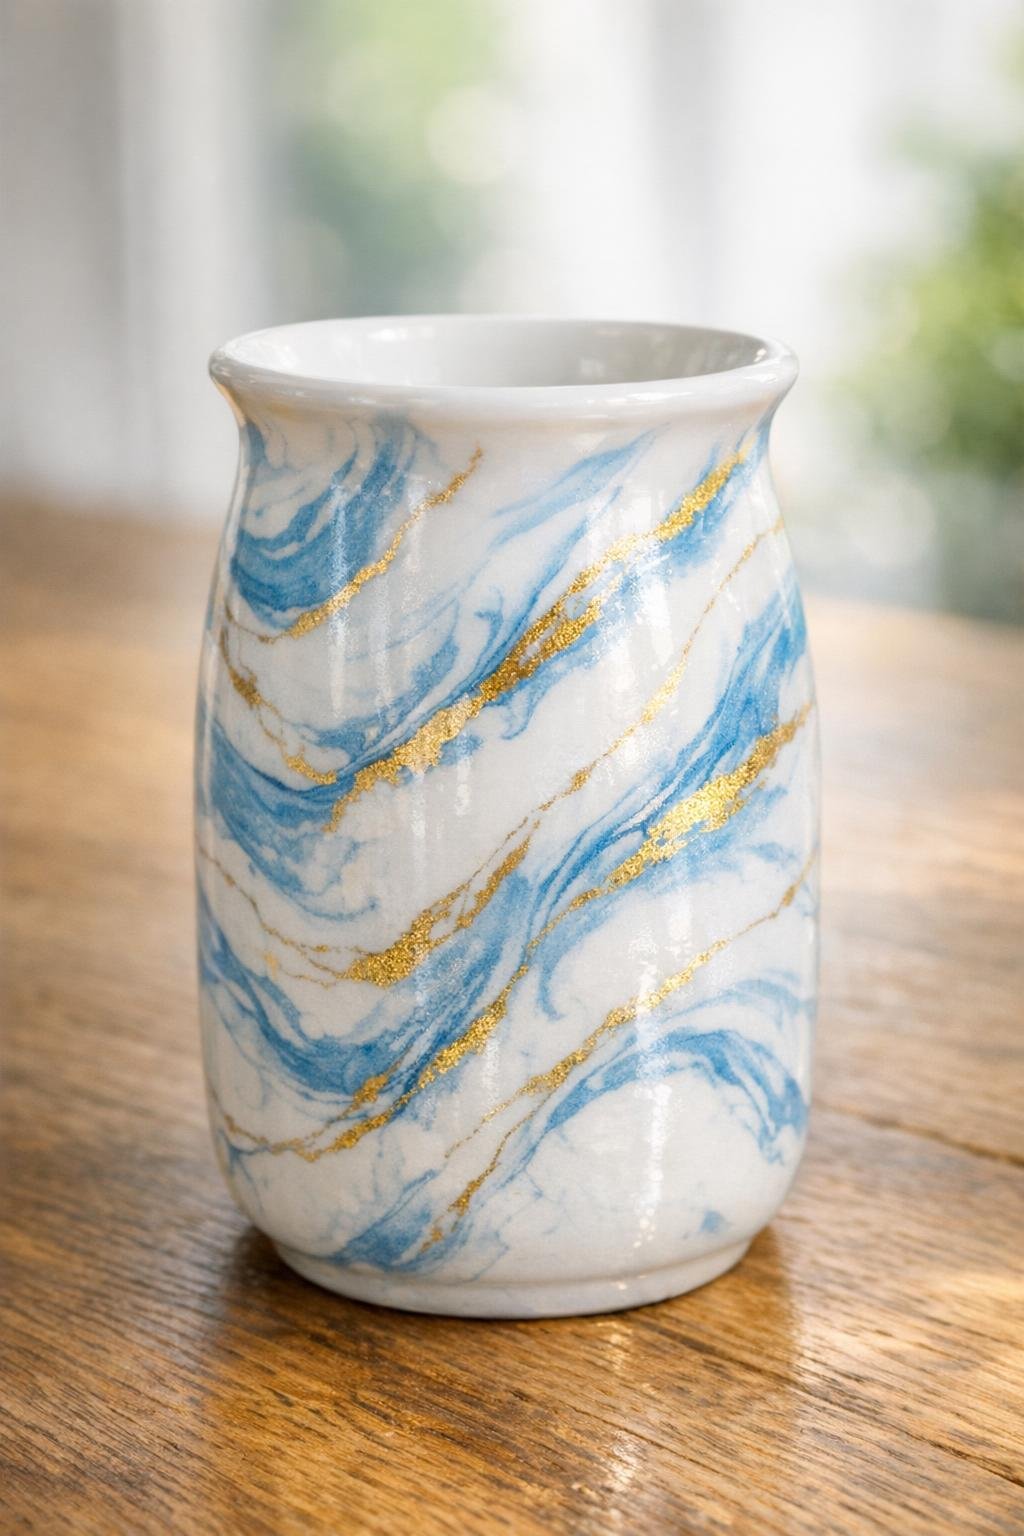
4. Drag a skewer through the color once or twice, then stop. That restraint is the secret to the porcelain look, because over-swirling quickly turns the pattern muddy.
5. Put on gloves and gently roll the outside surface of the vase through the marbled foam. Lift it straight out once the area you want covered has touched the foam.
6. Set the vase upright and wait 2 to 3 minutes so the pigment has time to bite into the surface. Do not leave it much longer, or the colors can soften too much and lose definition.
7. Hold the vase steady and scrape the foam away with the edge of the ruler using light pressure. Blot gently with paper towels to remove any remaining foam without smearing the marbled pattern.
8. Let the vase dry completely for at least 1 hour, or until the surface no longer feels cool or damp. If you want a deeper pattern, repeat the marbling on any plain areas after the first layer dries.
9. Take the dry vase to a well-ventilated area and spray on a light, even coat of clear sealer. Let it dry according to the can directions, then add a second light coat if you want extra protection.
Variations & Tips
Best color pairings: Blue and gold gives a classic look, but soft gray and black, blush and taupe, or sage and white also marble beautifully. I always test on paper first, because a pretty bottle color can look very different once it spreads in the foam.
The real secret: Swirl only once or twice with the skewer and stop there. I know it is tempting to keep going, but that is exactly when the crisp marbling turns cloudy.
For fuller coverage: Roll the vase in one smooth pass instead of pressing it down hard. A gentle roll gives those lovely broken veins that look much more like stone.
Finish choice: Use a gloss clear spray if you want a polished ceramic look, or matte if you prefer a softer, chalkier finish. Either way, several light coats are better than one heavy coat.
Care note: This is a decorative finish, not a food-safe or heavy-duty waterproof coating. Hand-wash only if needed, and avoid soaking the vase.
Sun fading: Unsealed water-based inks can fade in direct sun, and even sealed finishes hold up better indoors. I keep pieces like this on shelves, mantels, and tables rather than in a sunny window.
Family craft tip: If you are making these with kids nearby, set up one pan per color family so everyone does not overmix the same batch. It keeps the patterns cleaner and makes the whole project feel a lot less chaotic.