
There’s something mighty satisfying about turning the plainest little dollar-store find into something that looks like it washed up on a lakeshore. This project uses a simple ice cube tray and hot glue to make faux sea glass gems that catch the light beautifully once they’re finished. It’s easy, inexpensive, and just the sort of craft I love keeping on hand for an afternoon when I want to make something pretty without hauling out half the house.
I especially like this one for folks who enjoy simple home décor crafts and don’t mind a little hands-on finishing work. The magic here isn’t in the pouring alone — it’s in the last step that changes the whole look. These gems are for decorating only, not for small children because they’re a choking hazard, and they should be kept away from heat sources.
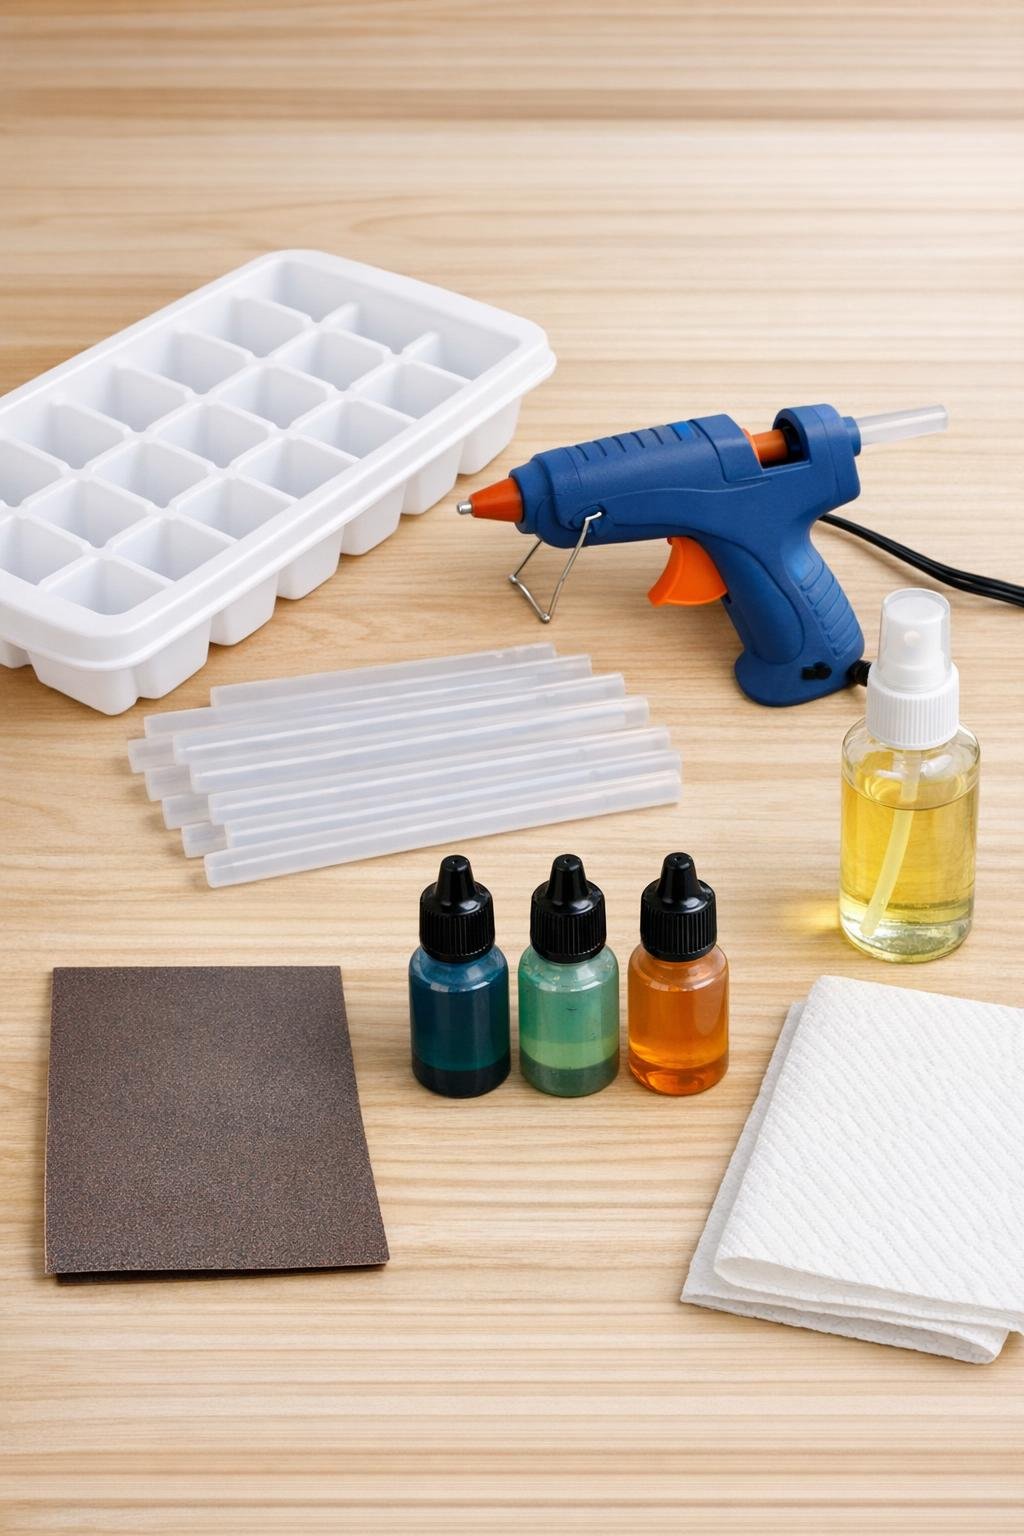
Materials
1 white ice cube tray, 10 to 14 wells, silicone preferred or rigid plastic
Instructions
1. Set your ice cube tray on a flat, protected work surface and plug in the hot glue gun so it can fully heat. If you’re using a rigid plastic tray, give the wells a very light coat of cooking spray and wipe away any puddles with a paper towel.
2. If you want tinted gems, add a small swipe of alcohol ink inside each well before filling, using aqua, seafoam, or amber in a scattered pattern. Keep the color light, because a little goes a long way once the glue goes in.
3. Fill each well slowly with hot glue from the bottom up to avoid bubbles, letting the glue rise rather than whipping it around. Slightly overfill each cavity and let the glue self-level on its own.
4. Continue until all the wells are filled, then leave the tray undisturbed for 15 minutes so the glue can cool completely. Don’t rush this part, or the shapes may warp when you remove them.
5. Flex the tray gently and pop the cooled glue pieces out one by one. If a gem resists, bend the tray a bit more around that well instead of pulling on the glue.
6. Trim away any thin glue strings or ragged edges with your fingers once the pieces are fully cool. Set the cleanest side of each gem facing up so you can see how the shapes turned out.
7. Rub every gem with fine sandpaper to knock down the shine - glossy reads as plastic, frosted reads as genuine sea glass. Sand both sides and the edges until the surface looks softly cloudy instead of slick.
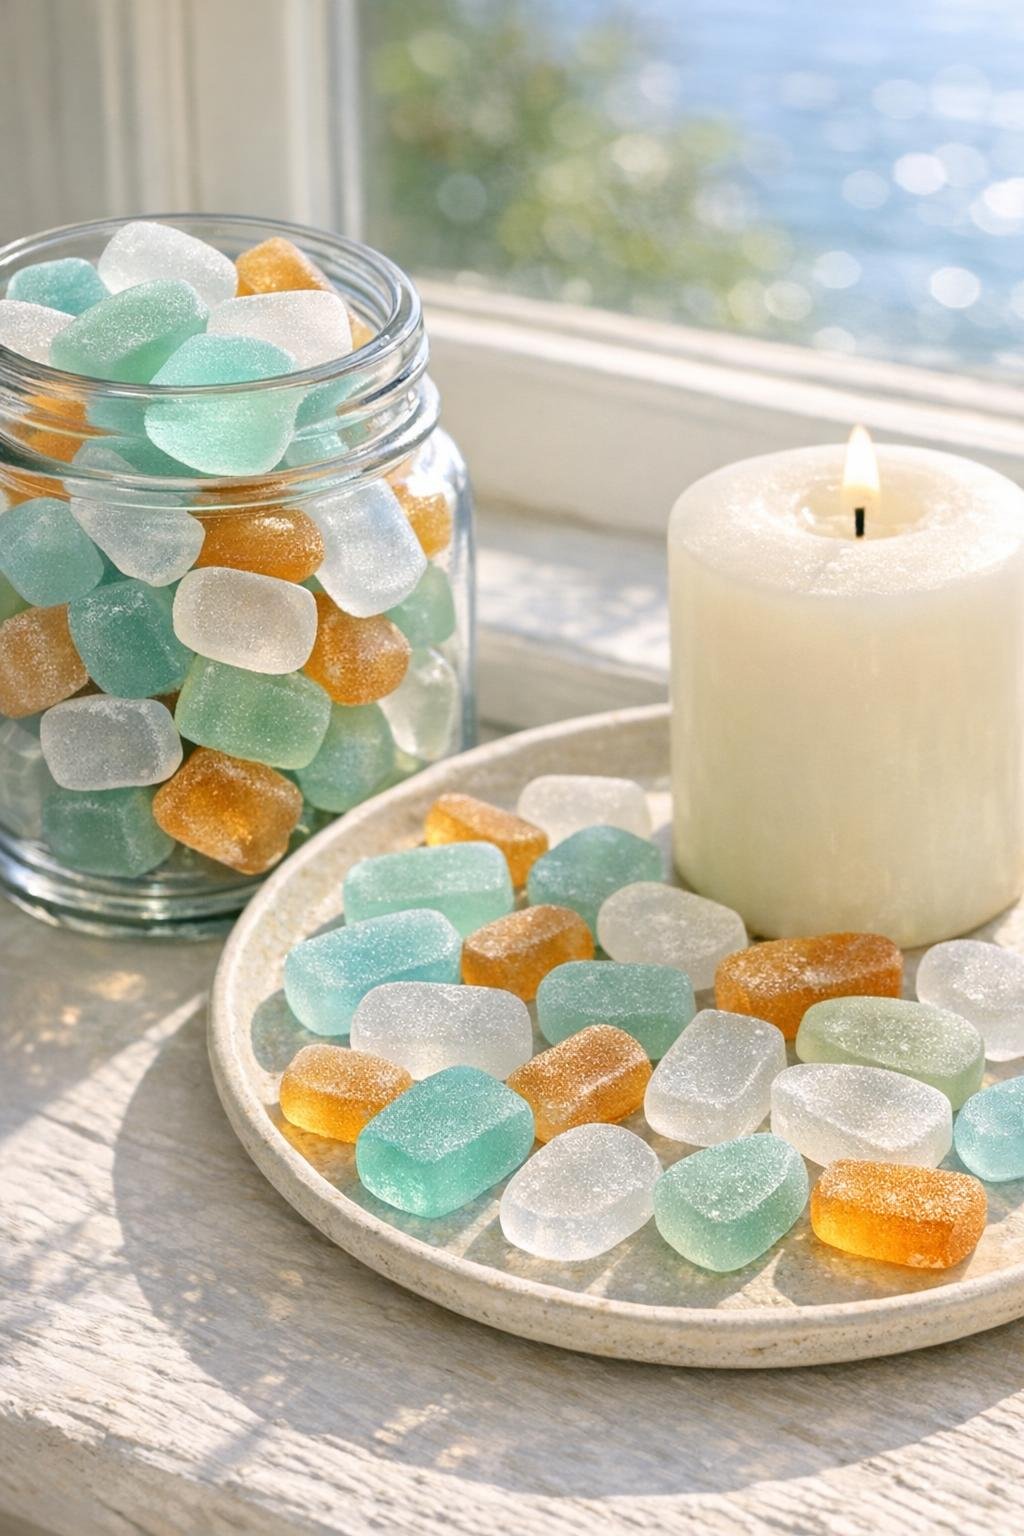
8. Wipe the finished gems with a dry paper towel to remove sanding dust, then display them as vase filler, in sun-catcher jars on a windowsill, or scattered on trays and candle plates. Keep them for décor only, and away from hot surfaces or direct heat.
Variations & Tips
Best tray choice: Silicone trays release the easiest, and I reach for those first whenever I can. If all you have is a rigid plastic tray, that light coat of cooking spray makes a real difference.
Color control: For the prettiest beachy look, stick to soft swipes of aqua, seafoam, and amber rather than fully saturating each well. A little unevenness actually helps them look more natural.
Bubble prevention: Fill slowly and steadily from the bottom up. If you squiggle the glue in too fast, you’re more likely to trap bubbles in the center.
Shape notes: Slightly overfilling the wells gives you fuller, smoother gem tops. If one comes out with a very flat or uneven back, that side is easy to improve with a bit more sanding.
Display ideas: These are lovely as vase filler, tucked into clear jars on a windowsill, or scattered on a tray with candles for a lake-house sort of feel. I think they look especially nice where afternoon light can catch that frosted finish.
Safety reminder: These are not toys and not suitable for small children because they can be a choking hazard. Keep them away from heat sources too, since hot glue can soften if it gets too warm.