
Old wooden cutting boards have a way of hanging around long after they’ve retired from kitchen duty. I’m always a little sentimental about wood with some age on it, and this is one of my favorite ways to give those boards a second life: turn them into a simple autumn key holder with just a few hooks and a warm seasonal finish. It’s practical, it uses very little material, and it adds that cozy, lived-in touch near an entryway that I especially love once the weather turns cool.
This project is ideal if you have three mismatched cutting boards, a free afternoon, and basic tools. I like it because it’s beginner-friendly, but it still leaves room for personality with stain color, paint, and hardware choices. If you enjoy easy upcycling projects that actually get used every day, this one is worth making.
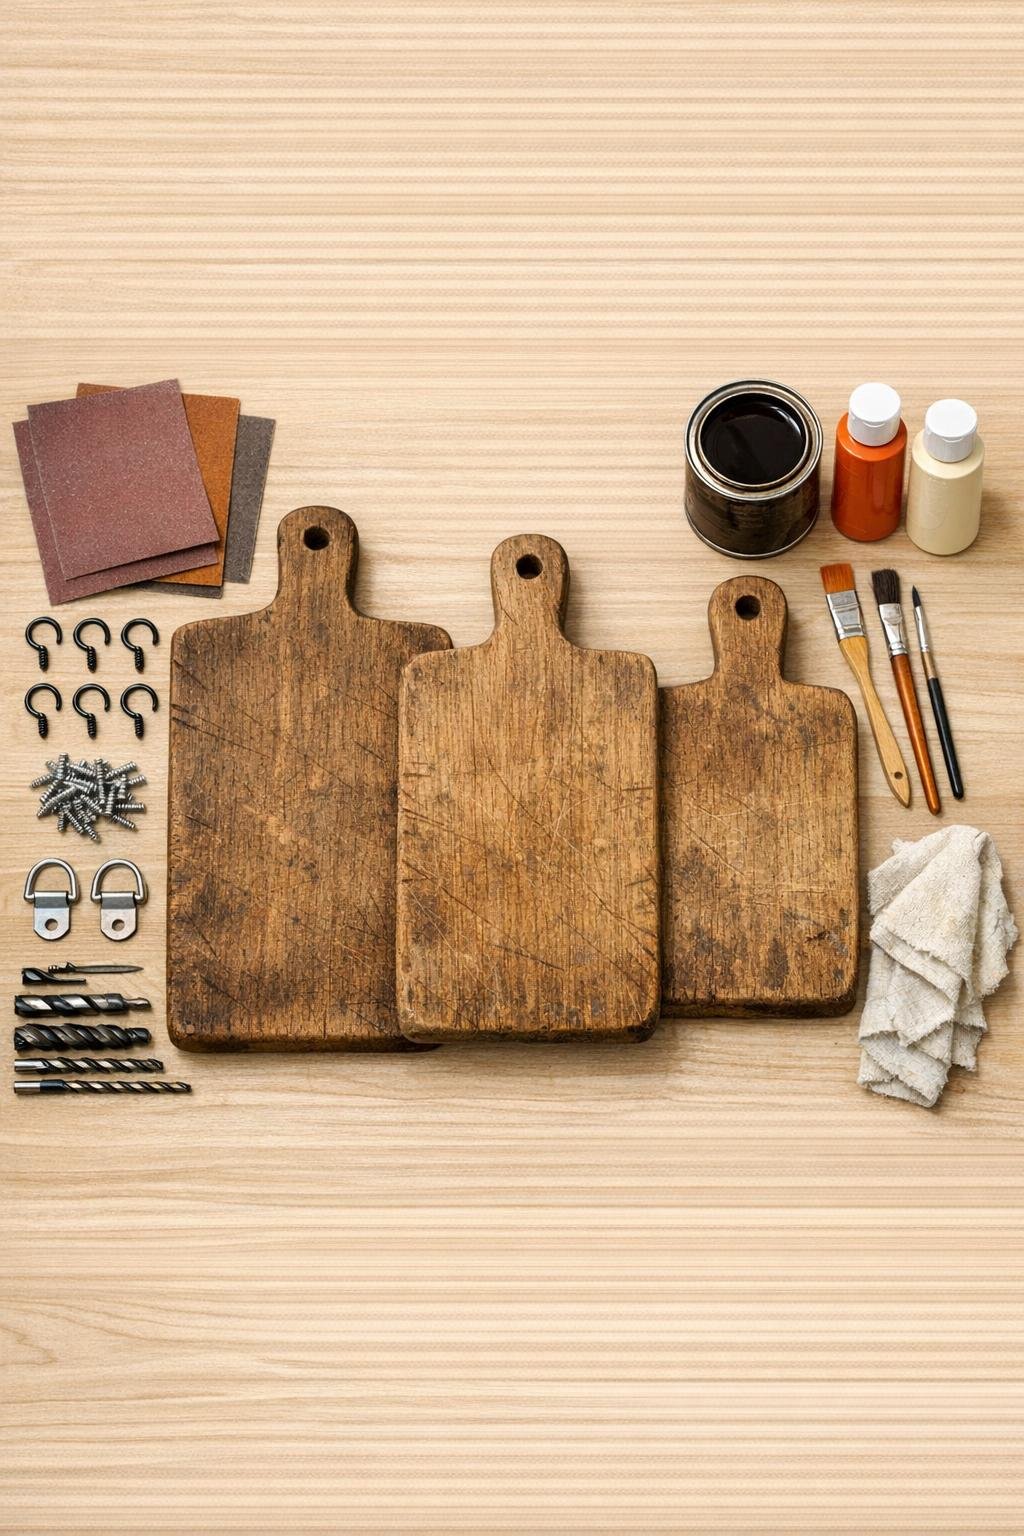
Materials
3 old wooden cutting boards, each about 8 to 12 inches wide and 14 to 18 inches long
Instructions
1. Clean the cutting boards with warm soapy water, rinse lightly, and let them dry completely overnight so no moisture is trapped in the wood.
2. Arrange the three boards side by side in the order you like best, keeping their handles or rounded tops aligned so the set looks intentional before you start finishing them.
3. Sand each board with 120-grit sandpaper to remove rough spots and old finish, then follow with 220-grit for a smoother surface that still keeps some character.
4. Fill any deep knife grooves or chipped edges with a small amount of wood filler if needed, let it dry, and sand those spots smooth so the finished holder sits neatly against the wall.
5. Wipe away all sanding dust with a dry rag, then apply dark walnut stain with a foam brush or rag, working with the grain and wiping off the excess after a few minutes.
6. Let the stain dry fully, then dry-brush a little burnt orange and cream acrylic paint along the edges or in light patchy areas if you want an autumn look without covering the wood grain.
7. Seal the boards with a thin coat of clear matte sealer and allow them to dry completely before adding hardware.
8. Mark hook placement on the lower third of each board, centering two hooks on each board about 2 inches apart so all six hooks line up evenly across the set.
9. Drill small pilot holes for the cup hooks to prevent splitting, then twist the hooks in by hand until they sit straight and snug.
10. Turn the boards over and attach two D-ring hangers to the back of the left and right boards near the top, keeping them level so the finished key holder hangs evenly as one piece.
11. Mount the three boards close together on the wall, or connect them from behind with two narrow scrap wood strips if you want them to hang as a single unit.
12. Step back and make any final spacing adjustments, then load the hooks with keys, a light scarf, or a small dog leash to put your autumn key holder to work right away.
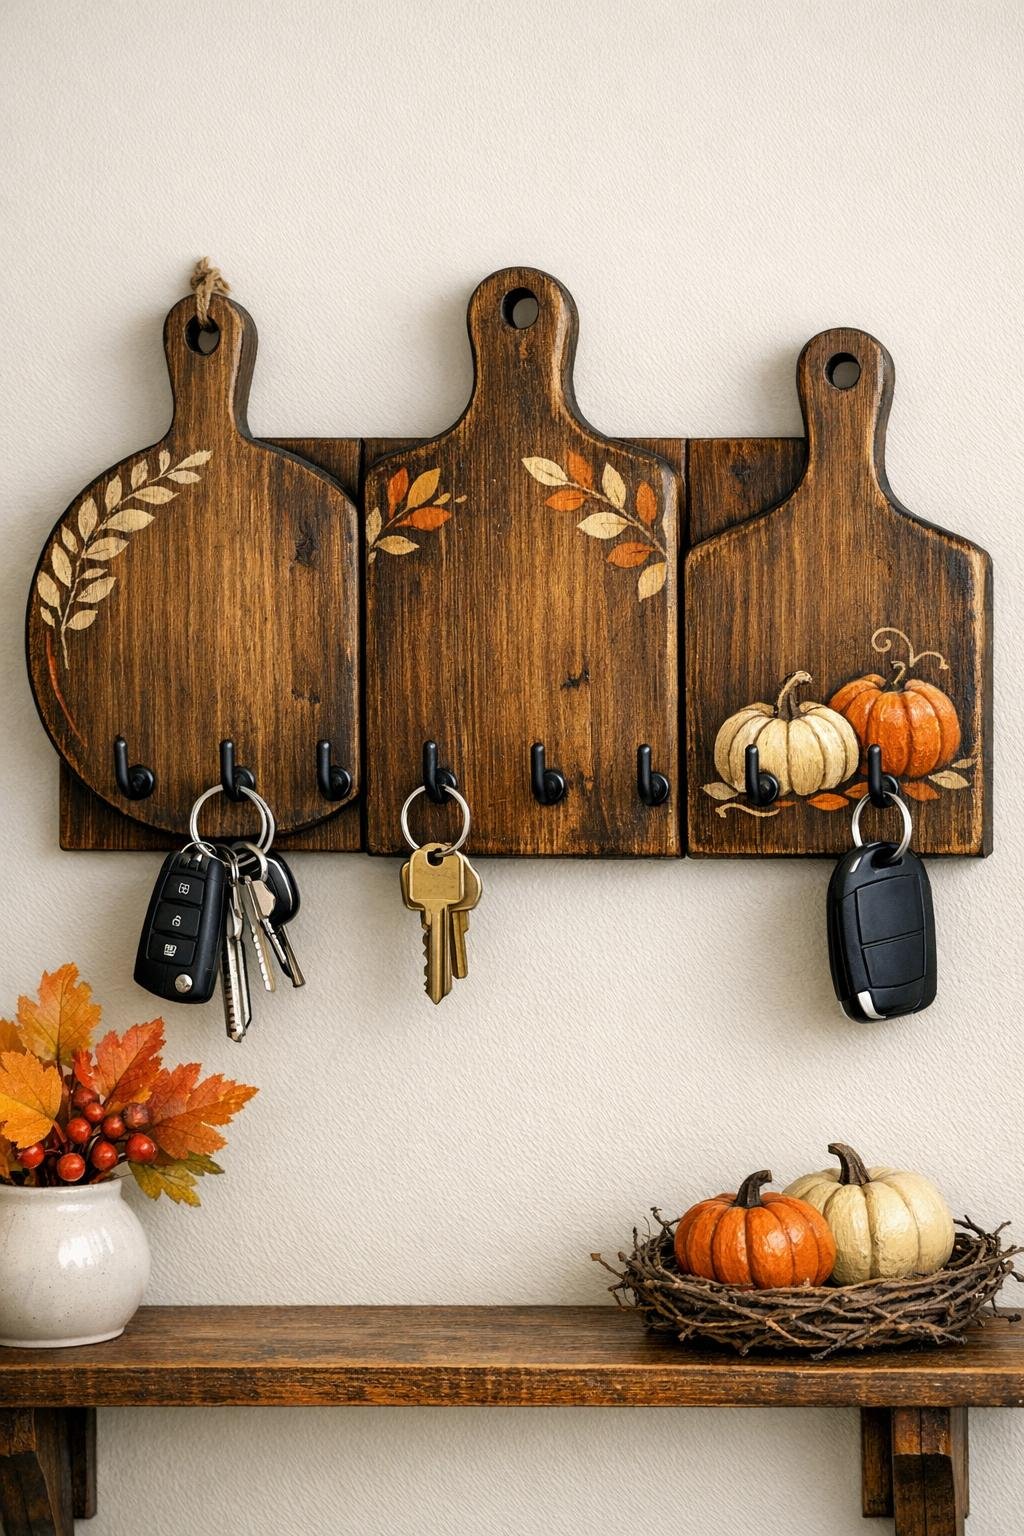
Variations & Tips
Keep the patina: If your boards have beautiful wear marks, don’t over-sand them. I like leaving a few honest signs of age because they make the finished piece feel warmer and less store-bought.
Use one hook per board: If your cutting boards are on the narrow side, install just one centered hook on each board for a true 3-item key holder and a cleaner look.
Try different autumn colors: Mustard, olive, brick red, and deep brown all work nicely here. In my kitchen and entry projects, I usually keep the palette muted so the wood grain stays the star.
Add a connecting backer: If you want easier hanging, screw the three boards to two horizontal wood strips on the back. This turns separate boards into one solid piece and simplifies wall mounting.
Pre-drill every hook hole: Old cutting boards can be surprisingly dry and brittle. A quick pilot hole is the difference between a smooth install and an annoying split.
Seal for durability: Near a busy doorway, hands and keys can wear the finish fast. A matte sealer keeps the look soft while giving the boards a little extra protection.