
There is something especially satisfying about turning would-be trash into something useful and pretty, and these little fall bathroom canisters do exactly that. Using three old glass honey jars, a bit of paint, and some twine, you can make a coordinated set that looks right at home on a bathroom shelf while keeping cotton balls, swabs, or bath salts neatly tucked away.
I have always had a soft spot for glass jars. In my kitchen and pantry, they have held everything from jam to buttons over the years, and I suppose that habit of saving good containers comes from growing up in the Midwest, where we learned not to waste a thing if it still had life left in it. This project is simple enough for a beginner, inexpensive to make, and a lovely way to bring a warm autumn touch into a small everyday space.
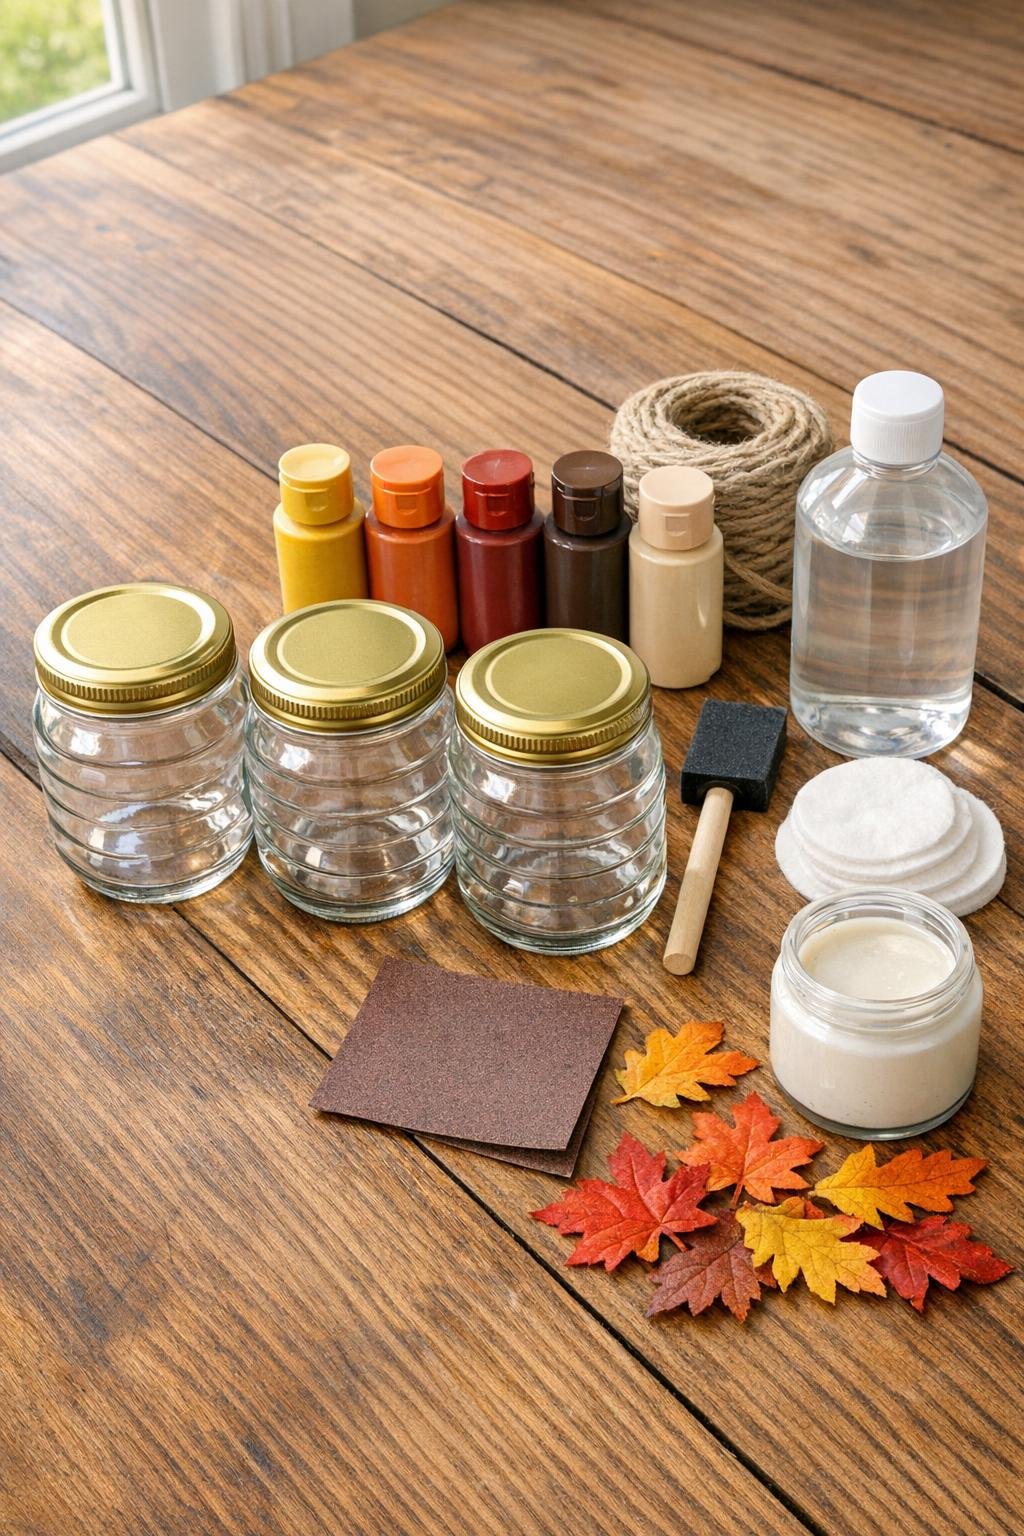
Materials
3 empty glass honey jars with lids, 16-ounce size each
Instructions
1. Wash the three honey jars and lids in warm soapy water, remove any sticky residue, and let them dry completely.
2. Wipe the outside of each jar and lid with rubbing alcohol so the paint will stick cleanly and evenly.
3. Lightly scuff the lids with 220-grit sandpaper, then dust them off; this helps the paint hold better on slick metal surfaces.
4. Paint the lids in your fall colors, using one color per lid or mixing the palette across all three, and let the first coat dry fully.
5. Add a second coat of paint to the lids for solid coverage, then set them aside to dry for at least 30 minutes.
6. If you want a softer farmhouse look, dry-brush a little cream paint over the colored lids so some of the base color still peeks through.
7. Seal the painted lids with a thin coat of matte clear sealer and let them dry completely before handling.
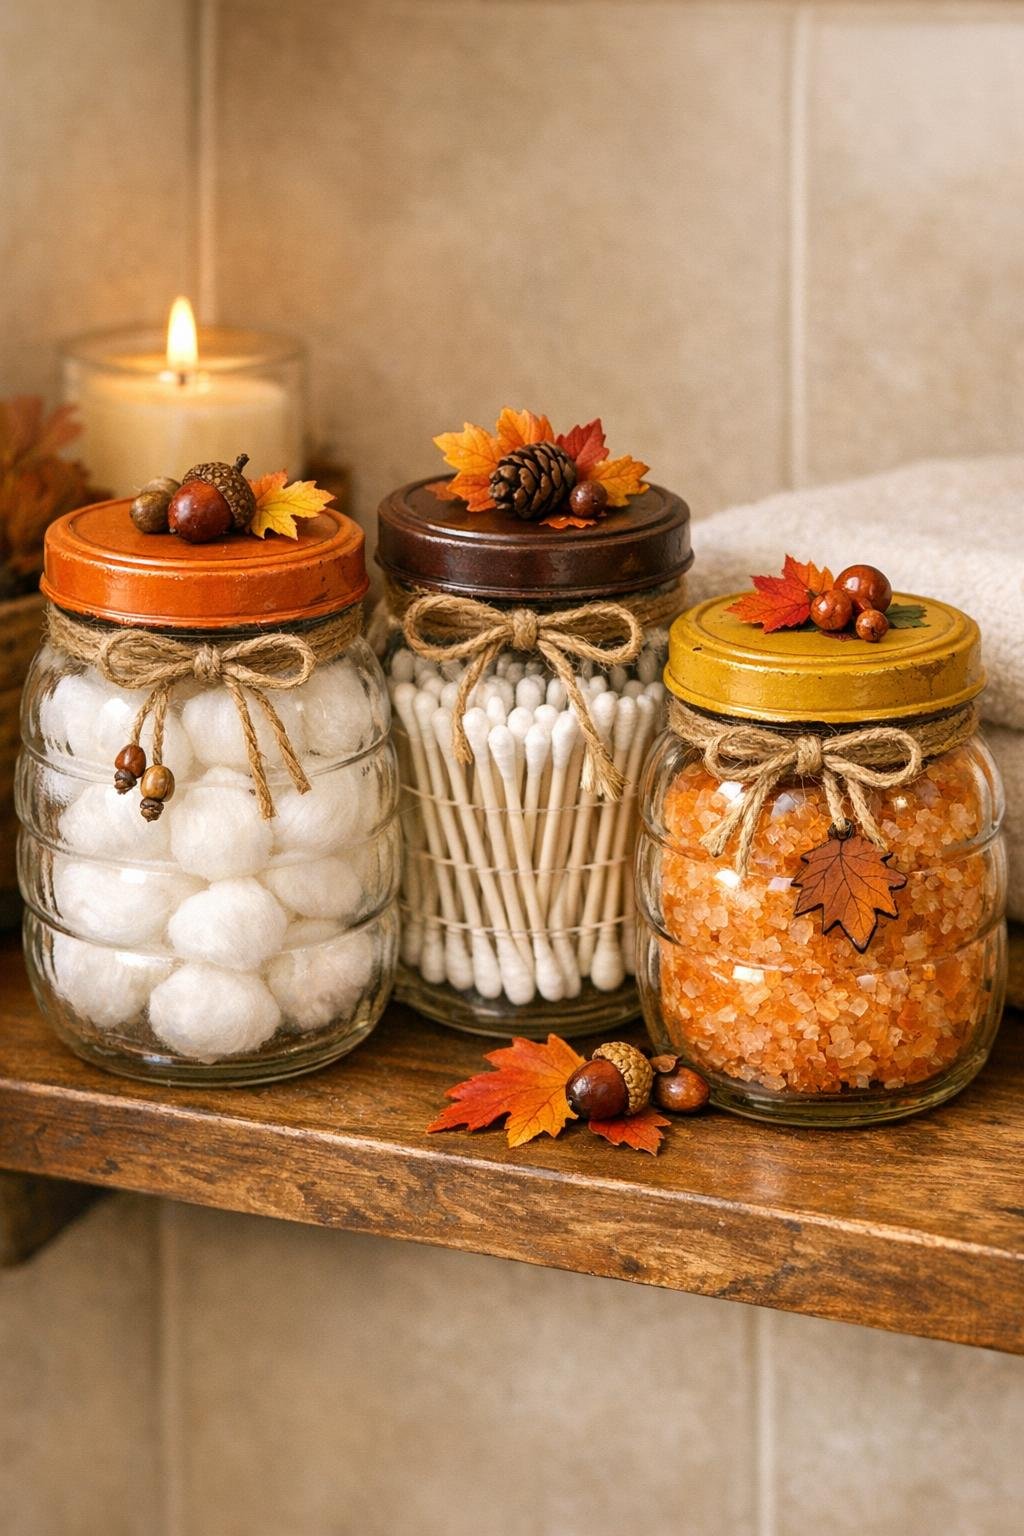
8. Wrap twine around the neck of the first jar 6 to 8 times, tie it in a snug knot, and trim the ends neatly.
9. Repeat with the other two jars, keeping the twine wraps at about the same height so the set looks coordinated.
10. Tuck a small faux fall leaf sprig or mini pinecone into each twine wrap, and add a dot of hot glue underneath only if it needs help staying in place.
11. Screw the painted lids back onto the jars once they are fully dry and check that each jar opens and closes smoothly.
12. Fill the canisters with bathroom essentials like cotton balls, cotton swabs, and bath salts, then set them together on a tray or shelf for a tidy fall display.
Variations & Tips
Use what you have: If your honey jars are not identical, that is perfectly fine. Different heights can still look charming together as long as you repeat the same paint colors and twine.
Choose gentler colors: For a softer autumn look, try sage, dusty orange, and warm ivory instead of brighter harvest shades. In an old farmhouse bathroom, muted colors always seem to settle in more naturally.
Keep the glass clear: I like leaving the jar bodies unpainted so you can see what is inside at a glance. It also keeps those old honey jars recognizable, which is part of the fun.
Make them more durable: If the bathroom gets steamy, add two light coats of matte sealer to the lids instead of one. Let them cure fully overnight before using.
Swap the decorations: Tiny sprigs of eucalyptus, a cinnamon stick, or a little burlap bow can stand in for faux leaves if you want a less seasonal look that lasts longer.
A practical note: These are best for dry bathroom items rather than anything wet. I have learned over the years that simple projects last much longer when we let each material do what it does best.