
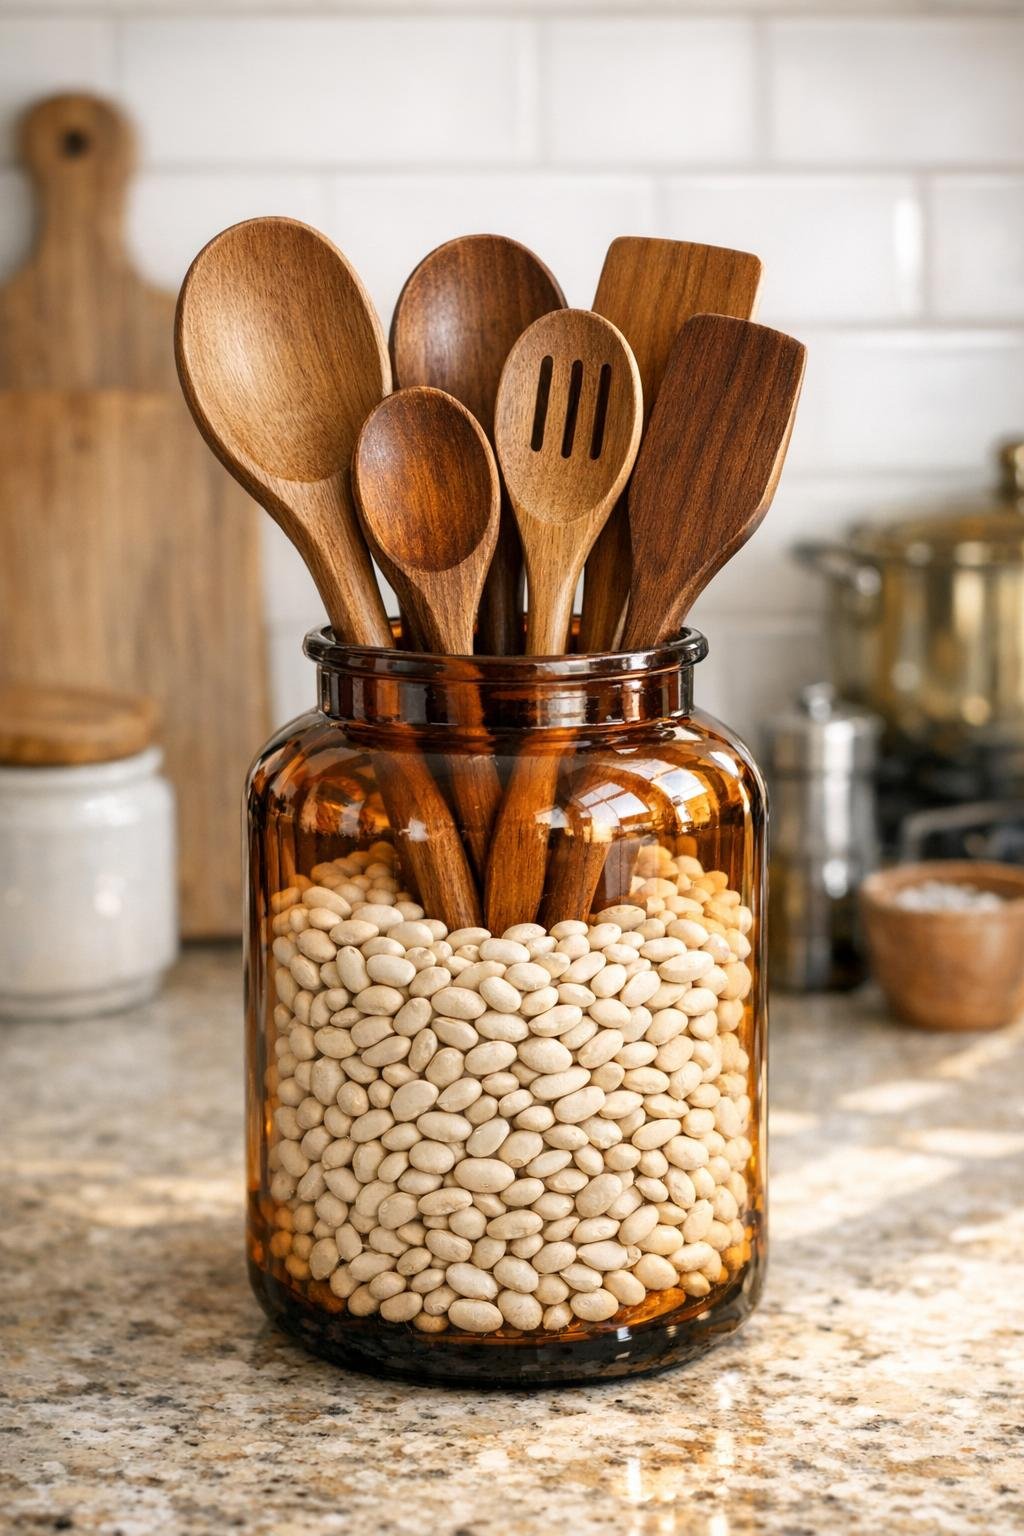
There’s something so satisfying about turning a simple kitchen vessel into a useful countertop piece, and this utensil crock is about as easy and charming as they come. For this project, I use a large amber glass apothecary jar, fill it with dried white beans for weight and support, and tuck in a handful of wooden spoons and tools so they stand upright and stay within easy reach.
I’m especially fond of projects like this because they feel practical in that old-fashioned Midwestern way I grew up with; we always believed the prettiest things in the kitchen ought to earn their keep. If you want a utensil holder that looks warm and collected without spending much, this is a lovely little afternoon project for cooks, homemakers, and anyone who likes a kitchen with a bit of soul.
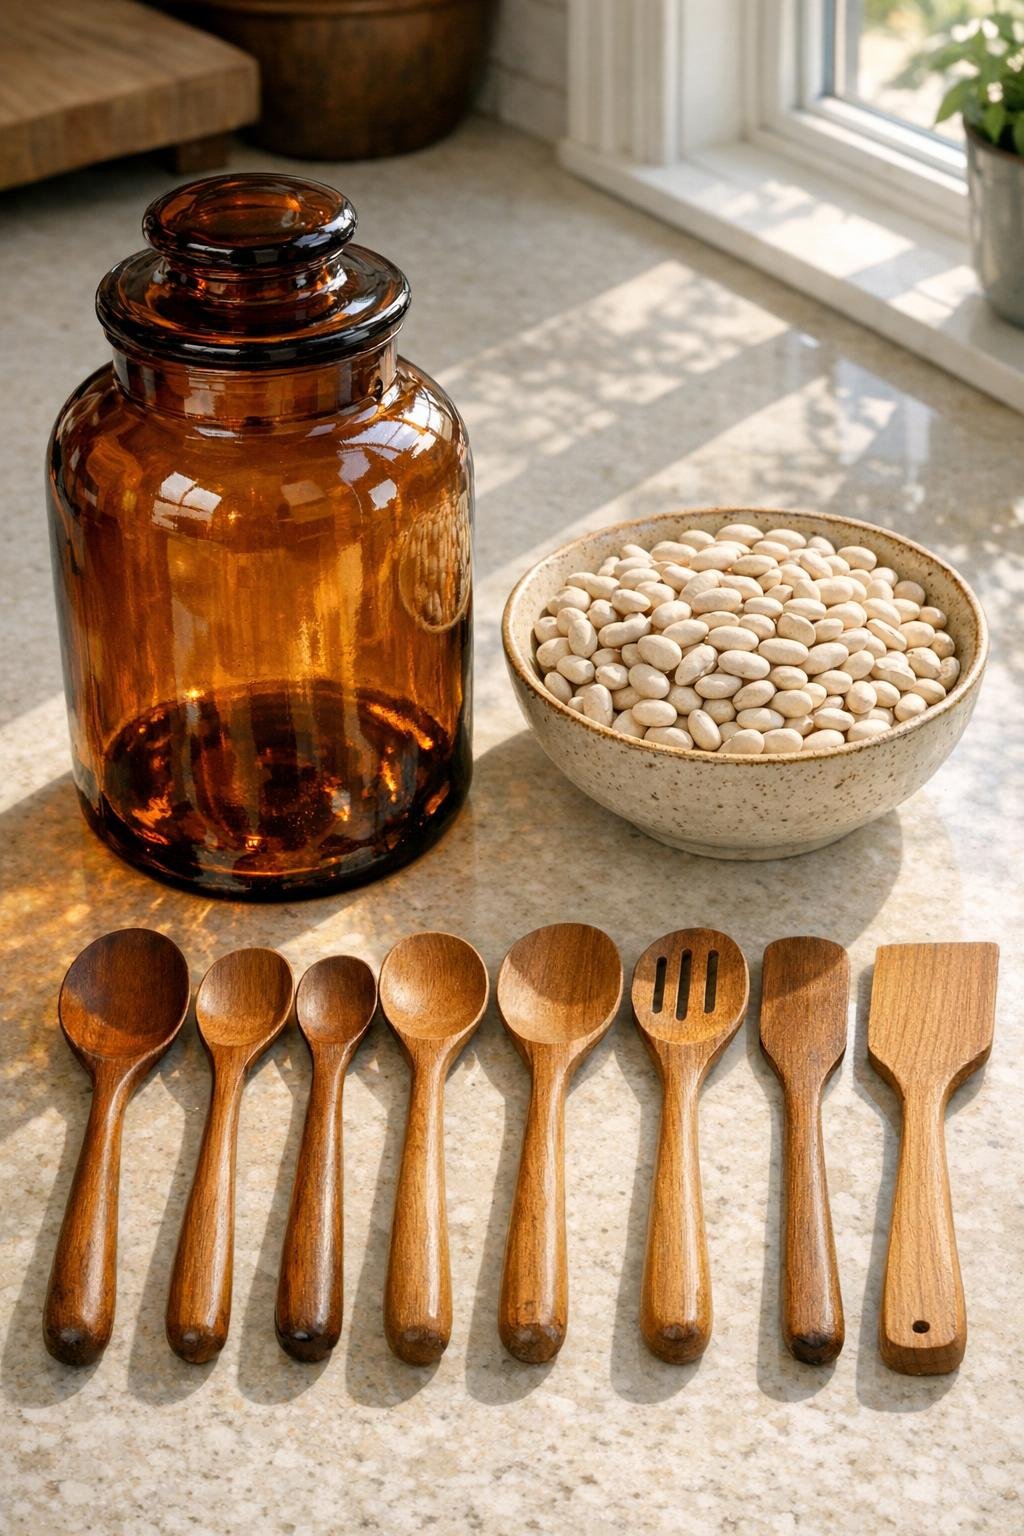
Materials
Instructions
1. Wash the amber glass apothecary jar in warm soapy water if needed, then dry it completely inside and out with a kitchen towel so the beans stay fresh-looking and the glass stays clear.
2. Wipe down the wooden spoons and utensils with a slightly damp cloth to remove any dust, then let them dry fully before arranging them in the jar.
3. Set the empty jar on the kitchen counter where you plan to use it, because once it is filled with beans and utensils it will be heavier and a bit awkward to move.
4. Pour 6 cups of dried white beans into the jar, then check the height by standing one wooden spoon inside; the beans should come up high enough to support the handle while leaving the spoon heads well above the rim.
5. Add the remaining 2 cups of beans a little at a time until the fill level is right, usually about halfway to two-thirds full depending on the jar shape and utensil length.
6. Arrange the 5 wooden spoons, 1 slotted spoon, and 1 spatula in the jar, spacing them around the center so the crock looks full but not crowded.
7. Turn and fan the spoon heads so the different shapes show from the front, adjusting the handles until the arrangement feels balanced and easy to grab while cooking.
8. Give the outside of the jar one final wipe to remove fingerprints, then settle the finished utensil crock in a dry corner of the counter near the stove or prep area.
Variations & Tips
Bean choice: Navy beans, great northern beans, or cannellini beans all work nicely. I prefer small white beans because they settle tightly around the handles and give the whole crock a clean, simple look.
Jar size: If your apothecary jar is smaller than 1 gallon, start with 4 cups of beans and test from there. The goal is support, not overfilling.
Utensil mix: Wooden tools are the prettiest choice in an amber jar, but you can include a rolling pin handle, honey dipper, or wooden tongs as long as the jar stays balanced and easy to use.
Countertop safety: Keep the jar away from the very edge of the counter and out of damp spots near the sink. Glass is sturdy, but in a busy kitchen I always like to give breakables a safe home.
Cleaning tip: Empty and refresh the beans every few months if the crock sits near cooking steam or grease. That little bit of upkeep keeps the display looking tidy and the jar from collecting kitchen dust.
Style idea: For a softer farmhouse look, pair the amber jar with olive wood utensils or mix spoon shapes and tones. Those small differences make it look collected over time, which is often the loveliest look of all.