
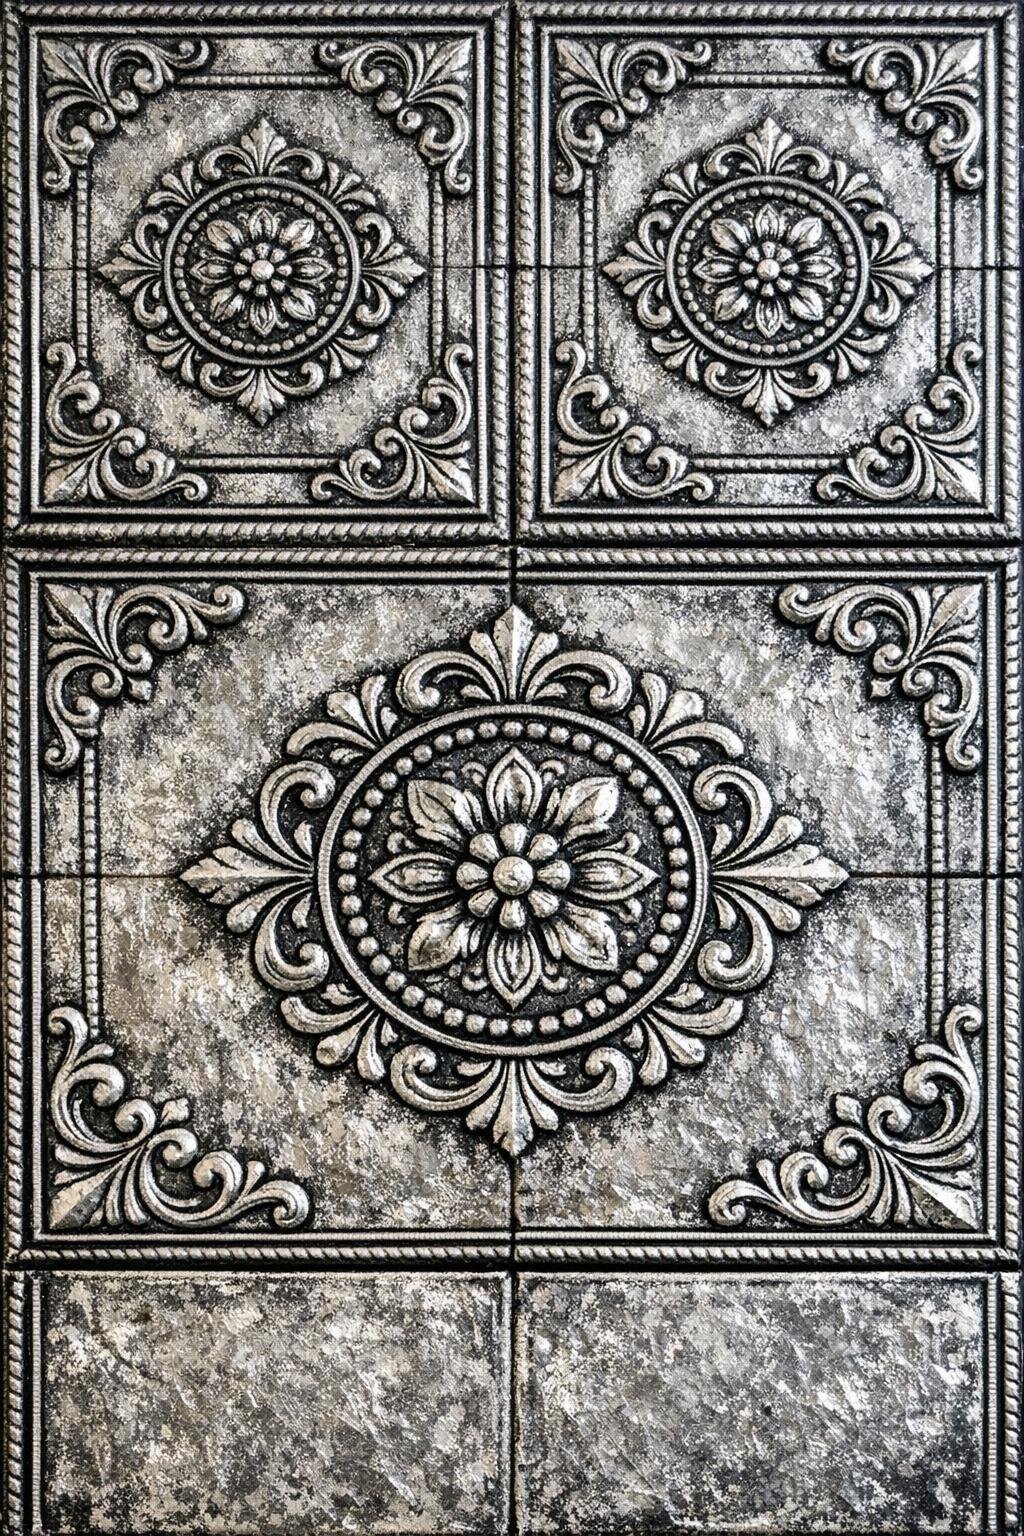
I love a project that looks dramatically more expensive than it is, and these faux antique tin ceiling tiles absolutely deliver. You start with plain cardboard, hot glue, and kitchen foil, then use a simple raised pattern and a dark antiquing wash to get that old pressed-metal look. The first time I tried this, I honestly expected it to look like a school craft, but once the black paint settled into the grooves, it turned into one of those “wait, that’s cardboard?” moments.
This is a great weekend DIY if you want lightweight wall décor, a vintage-style backsplash look, or an easy way to fill a blank space without power tools or specialty supplies. I especially like projects like this when I want a big visual payoff after a long workweek, and since these hang with removable strips, they’re renter-friendlier than they look. Just keep in mind that these are decorative panels only, not a true backsplash for heat or moisture-prone areas.
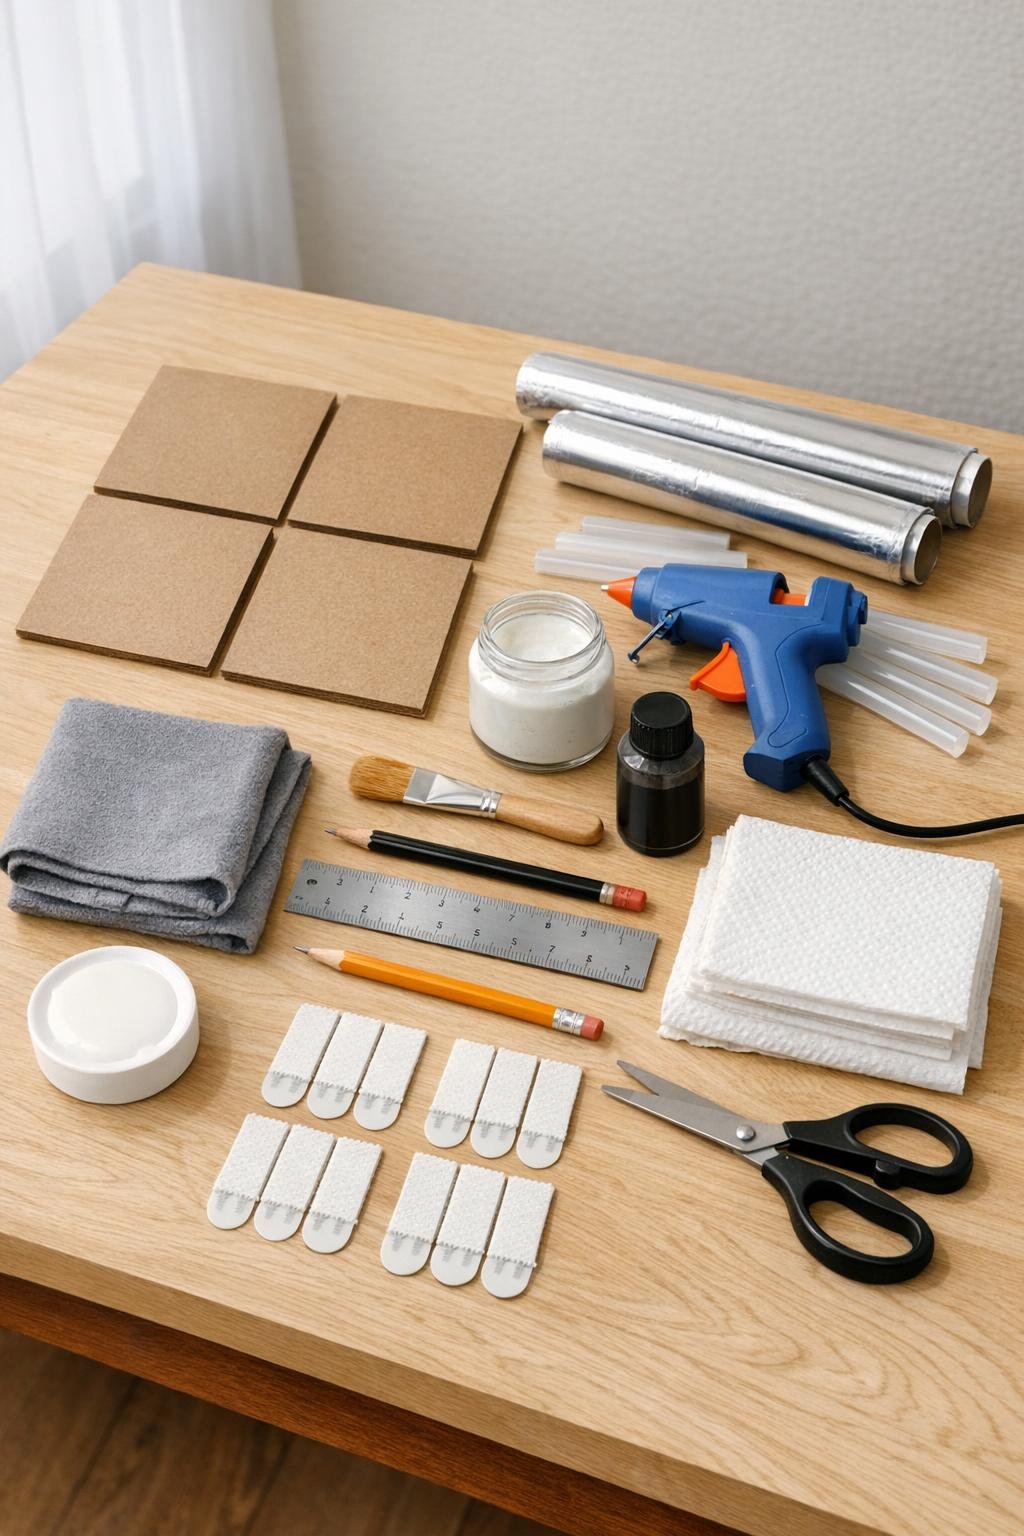
Materials
Instructions
1. Cut your cardboard into four equal 12 x 12 inch squares if it is not already prepared, and trim away any rough edges so each tile looks crisp once covered.
2. Use a pencil and ruler to sketch a light grid and a symmetrical design on each square, including a border, matching corner swirls, and a centered medallion so the finished tiles read like pressed tin instead of random texture.
3. Heat the glue gun and pipe hot glue directly over your pencil lines, keeping the lines slightly raised and even; let the glue dry fully and harden before moving on.
4. Brush a thin, even coat of adhesive over one tile, covering the front surface right up to the edges without puddling.
5. Cut a sheet of kitchen foil a few inches larger than the tile on all sides, place it dull-side down over the glued surface, and gently smooth it from the center outward with your hands.
6. Using a soft cloth, press and rub very gently around every glue ridge so the pattern embosses through the foil, then wrap the excess foil around to the back and secure it smoothly.
7. Repeat the adhesive and foil steps for the remaining tiles, checking that the foil stays intact and that your pattern remains clearly defined; press, don’t scrub, since foil can tear if handled too aggressively.
8. Brush black acrylic paint over the entire foil-covered front of one tile, working it into all the crevices and raised details.
9. Immediately wipe the surface back with a paper towel so most of the silver foil reappears while the black paint stays in the recessed lines and around the raised design for an antique tin effect.
10. Let the tiles dry completely, then attach removable command strips to the backs and hang them as lightweight decorative panels in a dry area away from direct heat and heavy moisture.
Variations & Tips
Try a larger installation: Make 6 to 12 matching tiles and arrange them in a grid for a dramatic feature wall or faux backsplash look behind open shelving.
Keep the design simple and balanced: Symmetry really matters here. I’ve found that a clean border, repeated corner details, and one center motif look far more convincing than overly complicated freehand lines.
Use a light touch on the foil: If you rub too hard, the foil can tear or flatten the detail. I press with a soft cloth in small circles and let the raised glue do the work.
Test your antiquing first: If you want a darker, older look, leave a little more black paint behind; for a brighter metal finish, wipe more off right away. Doing one practice tile first can help you find the finish you like.
Substitute the base if needed: Thin chipboard or lightweight poster board backed with cardboard can work, but sturdy corrugated cardboard holds the embossed look best and is easiest to hang.
Know where to use them: These are for decorative wall use only. I would not use them behind a working stove, near a sink splash zone, or anywhere they’ll need scrubbing or moisture resistance.