
There’s something deeply satisfying about turning a few humble odds and ends into a workshop helper you’ll actually use. In this project, I’m making a simple end-of-season rust preventer from aluminum soup cans and two easy dollar store finds: chalk and mesh produce bags. The result is a breathable little moisture-control holder that tucks right into a toolbox, garden tote, or cabinet where metal hand tools tend to sit through damp weather.
I like projects like this because they solve a very practical problem without asking you to buy a specialty product. If you have pruners, trowels, snips, or screwdrivers that always seem to pick up surface rust in the off-season, this is an easy afternoon fix. It’s beginner-friendly, inexpensive, and a good way to reuse cans that would otherwise head straight to the recycling bin.
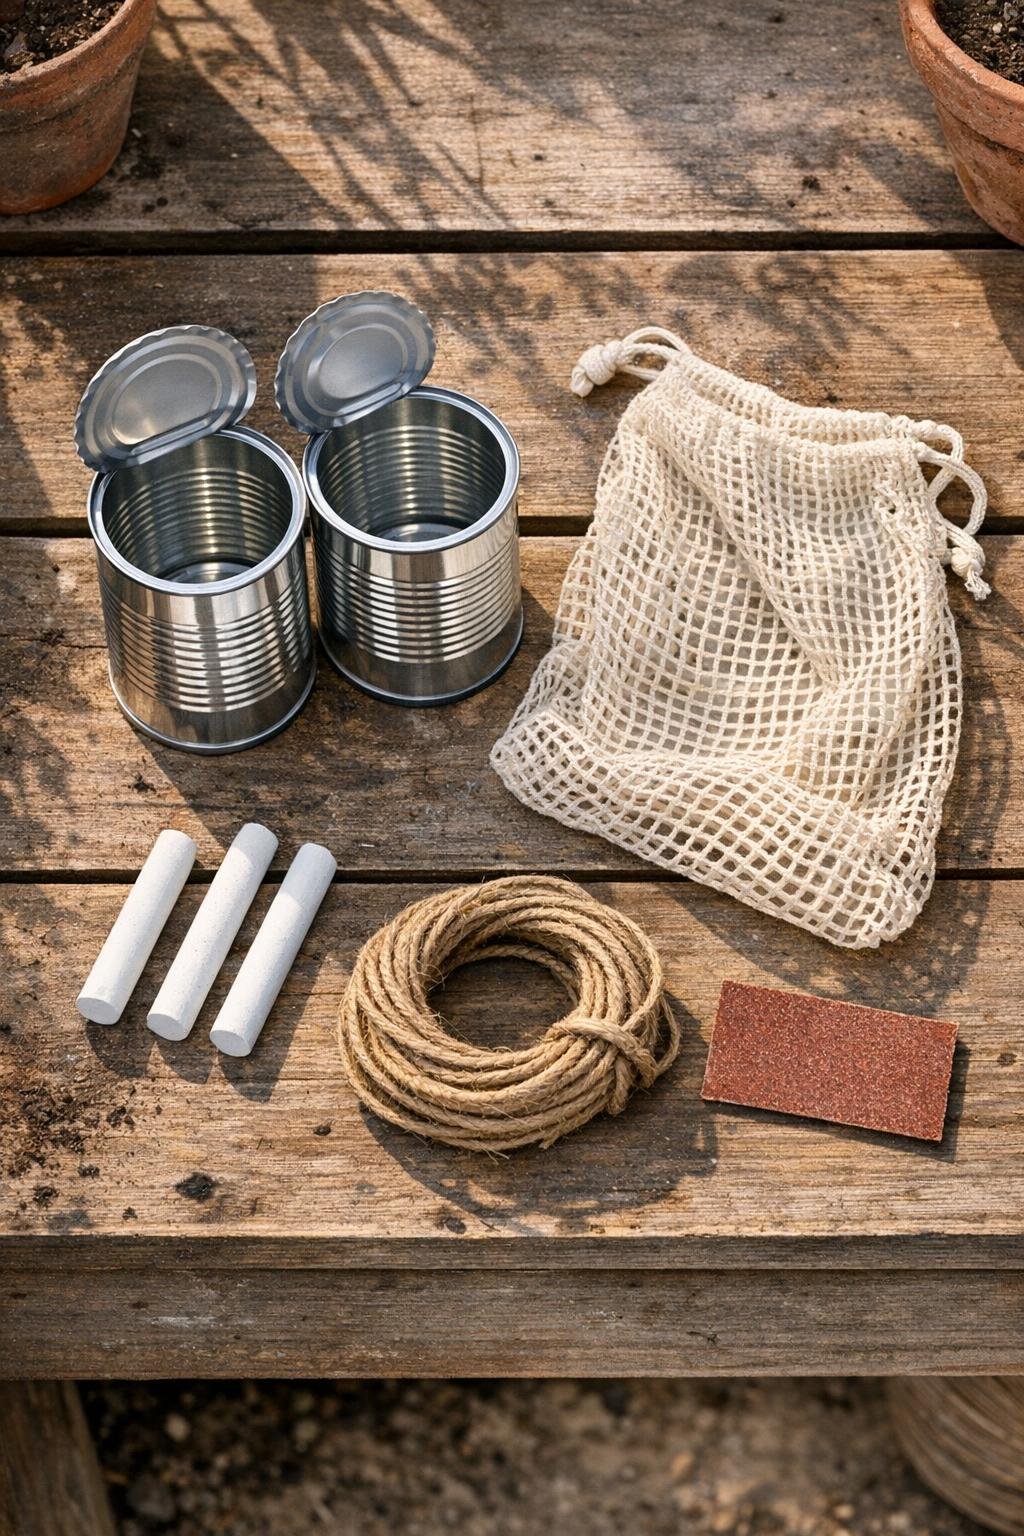
Materials
Instructions
1. Wash the soup cans thoroughly, remove any paper labels, and dry them completely so no moisture gets trapped inside.
2. Lightly sand any rough spots around the rim and outside of the cans to smooth off sharp edges.
3. Leave each lid attached and press it mostly closed, then use the existing lid surface as the top where you’ll make ventilation holes.
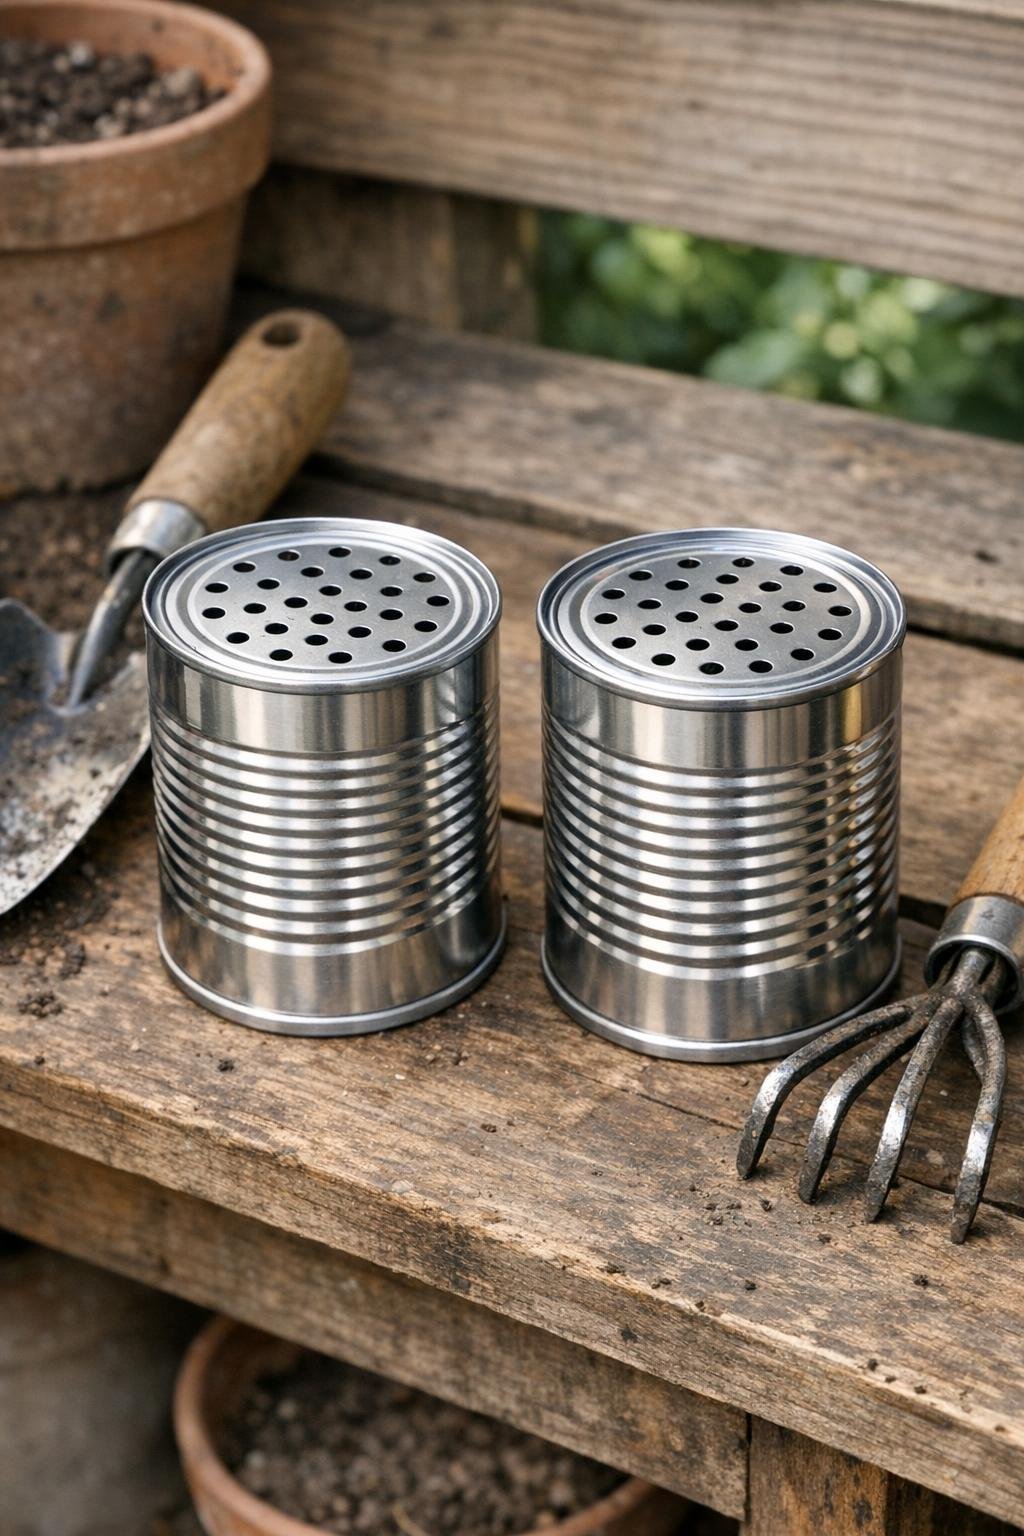
4. Punch 10 to 15 small holes across each aluminum lid, spacing them evenly so air can move through while the chalk stays contained.
5. Break the chalk into smaller chunks, about 1 to 2 inches long, so it fits easily inside the cans and exposes more surface area.
6. Cut the mesh produce bag into two squares large enough to wrap the chalk loosely, then place the chalk pieces into the mesh.
7. Tie each mesh bundle closed with jute twine, leaving the bundle compact enough to drop in and out of the can without forcing it.
8. Place one chalk bundle into each can, then press the punched lid down so the chalk is protected but air can still circulate through the holes.
9. Set a finished can in your toolbox, near stored garden tools, or on a shelf in the garage where metal tools tend to collect dampness.
10. Replace the chalk every few months or whenever it looks soft, dusty, or saturated from heavy seasonal humidity.
Variations & Tips
For larger tool storage: Make several cans and place one in each drawer, cabinet, or tool bucket rather than relying on a single container to handle a whole shed.
If you don’t have produce mesh: A piece of nylon netting or loosely woven craft mesh works too, as long as it keeps chalk fragments together and still allows airflow.
Why chalk helps: Chalk can absorb a bit of ambient moisture, which is why I like it in enclosed spaces with metal tools during damp Midwestern weather swings.
Keep it dry from the start: This works best with tools that are already clean and dry, so wipe away soil, sap, or water before storing anything nearby.
Edge safety: If a can still feels sharp after sanding, fold a narrow strip of mesh or twine around the rim area rather than handling it bare.
Best placement: Tuck the can near the tools instead of under heavy items so the ventilation holes stay open and the container doesn’t get crushed.