
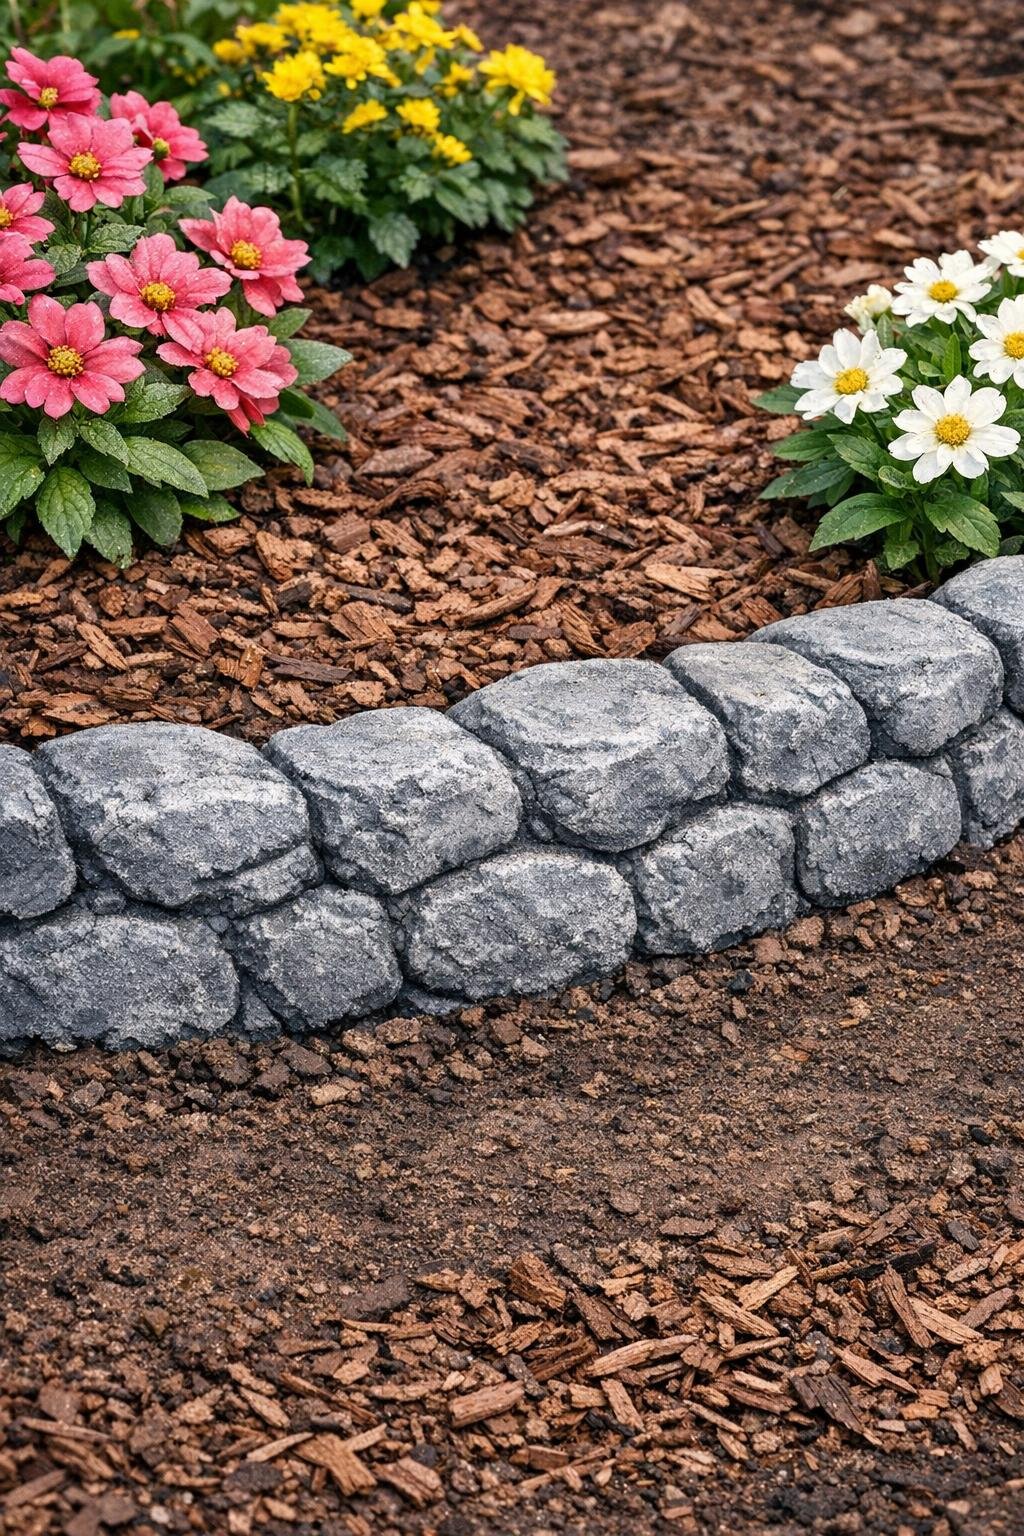
There’s a certain kind of garden trick that feels almost too simple to be worth your time, and then you step back a day later and can hardly believe what your own hands made. This border starts with expanding foam scribbled right along the edge of a flower bed, and that humble beginning turns into a decorative edging with the craggy, uneven look of old stone. It’s a good project for a gardener who wants a tidier bed line without hauling heavy rock or wrestling with mortar.
I especially like this sort of work on a dry, quiet afternoon when the soil is easy to see and the bed edge is already shaped the way I want it. It reminds me of all the make-do projects we used to admire out here in the Midwest—practical, resourceful, and a little surprising. This is strictly a decorative border, not a retaining wall, but for giving a flower bed a finished look, it does a lovely job.
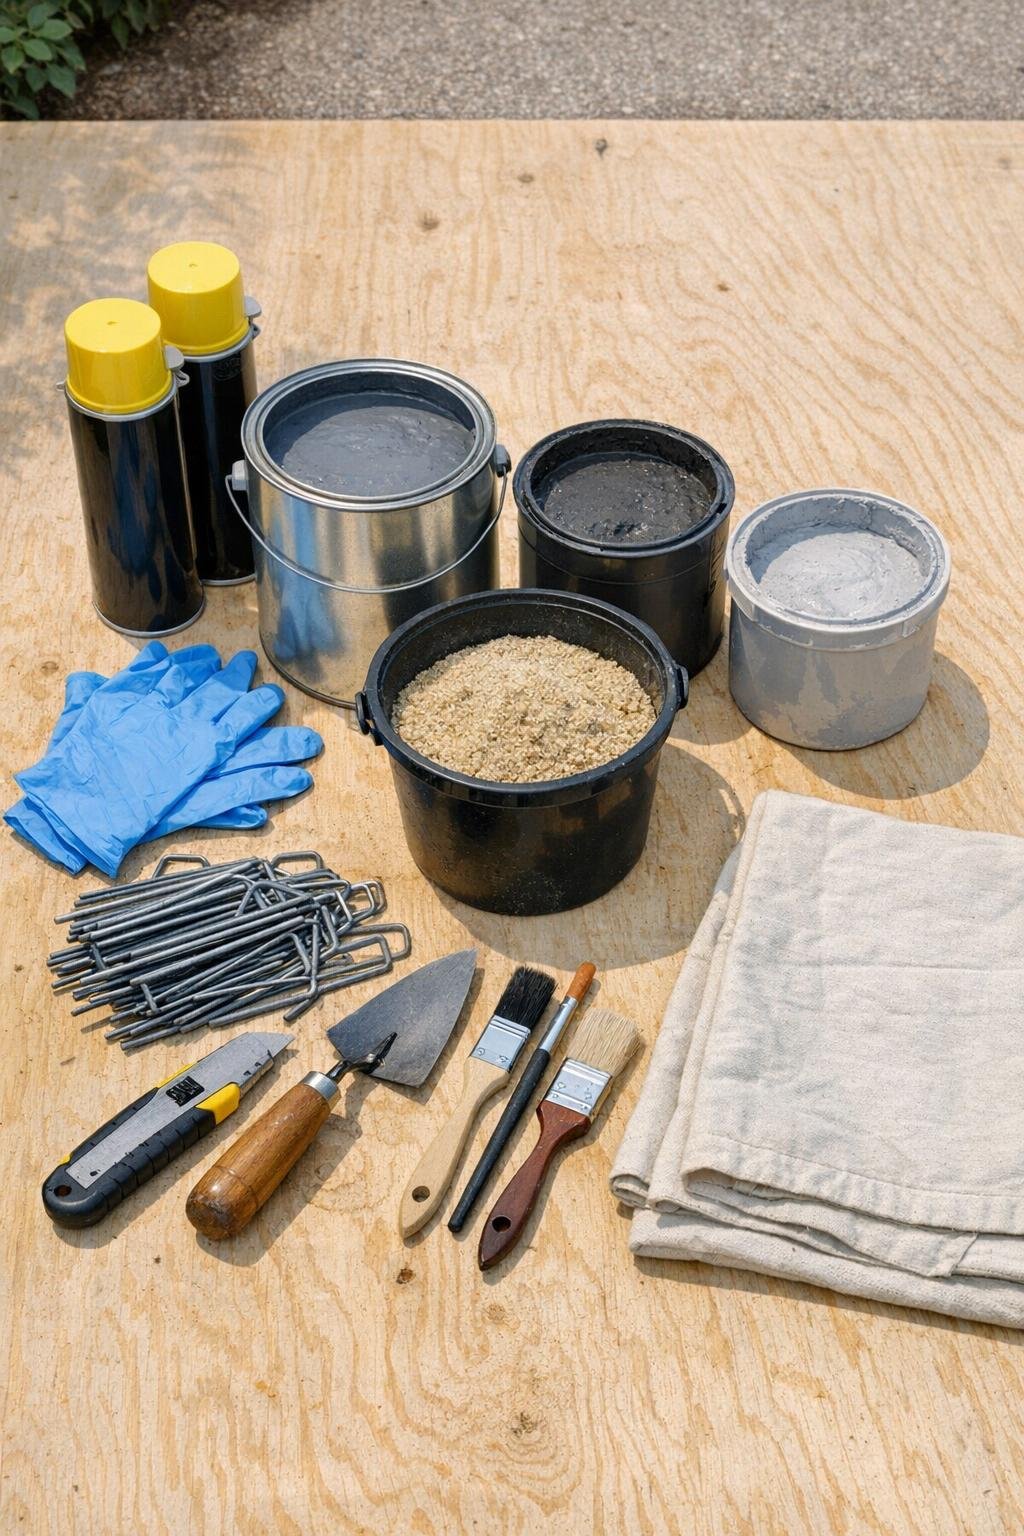
Materials
2 to 4 cans expanding spray foam insulation, 12 oz each, for about 20 to 30 linear feet of border
Instructions
1. Pick a dry day and divide the flower bed into workable sections of 4 to 6 feet so the foam stays easy to control. Clean and shape the bed edge with a trowel, removing loose mulch and making a clear dirt line where the border will sit.
2. Put on gloves and old clothes before you touch the foam can. Expanding foam is extremely sticky and does not come off skin, so don’t skip the protection.
3. Shake the foam can as directed on the can and test a tiny bead on scrap cardboard first. Plan smaller than you think you need, because the foam expands to two or three times its size.
4. Spray a thick continuous bead directly onto the soil along the bed edge for a long stone look, or spray overlapping fist-size blobs if you want more of a cobblestone shape. Keep the line low and irregular rather than tall and puffy.
5. Work section by section until the whole border is laid out, then leave it alone to expand and cure for 24 hours. Resist the urge to fuss with it while it’s sticky.
6. After curing, trim away odd bulges and overly round lumps with a sharp utility knife. The cut face will look porous like real stone, and that texture helps the finished border look more convincing.
7. Push landscape staples through the foam and into the soil every 12 to 18 inches, angling them slightly inward to hold the border steady. Add extra staples at curves or any place that lifts.
8. Brush on a full base coat of medium gray exterior paint, covering every bit of exposed foam. This step is required, not optional, because sunlight will crumble bare foam over time.
9. While the gray paint is still wet, press coarse sand lightly into the surface here and there to add grit. Don’t coat it heavily; just enough to break up the smooth spots.
10. Dab charcoal paint into creases, under edges, and between lumps to create shadow and depth. Keep it irregular, the way old stones darken in their low places.
11. Dry-brush light gray or off-white across the high spots once the darker shading begins to set. Use a light hand so the texture catches the color instead of getting coated solid.
12. Let the paint dry fully, then tidy the bed edge with a trowel and pull back any mulch that crept onto the border. Step back and check for shiny spots or missed foam, and touch them up with gray paint.
Variations & Tips
Cobblestone look: If you want the border to read as separate stones, build it with overlapping fist-size blobs instead of one continuous bead, then deepen the spaces between them with the knife after curing.
Lower is better: A short border usually looks more believable than a tall one. Foam swells more than folks expect, so I always tell people to spray less at first and add another pass only if needed.
Best weather: Dry weather matters for this project. Wet soil, rain, or heavy dew can interfere with adhesion and paint drying, so give yourself a fair-weather window.
Color tweaks: For a warmer stone effect, mix a little tan into some of the highlight color. For an older, weathered look, keep the overall palette cooler with more charcoal and less bright highlight.
Plant-safe working habit: If you have delicate flowers right at the edge, drape them loosely with a towel or piece of cardboard while spraying. Foam has a mind of its own once it starts to expand.
Maintenance: Check the border each spring for chips or faded spots and repaint as needed. A little touch-up now and then will keep the faux stone looking tidy through the season.
Know its limits: This is a decorative garden border only, not a retaining wall or structural edging. It’s meant to define the bed visually, not hold back a slope or support weight.