
I love a project that looks high-end but starts with something you can toss in the cart at the dollar store, and this one absolutely fits that category. With a plain glass vase, a hot glue gun, and a soft matte finish, you can create a textured piece that looks much more like carved stone than craft-supply leftovers. It’s one of those easy after-work DIYs I’d do while dinner is in the oven, because the steps are simple and the payoff is surprisingly dramatic.
This is a great project if you want custom decor without needing special tools or a giant block of weekend time. If you’re comfortable drawing loose lines rather than aiming for perfection, you’ll do just fine here. The trick is really in the finish, and I’ll show you exactly how I get that stone-like look without overcomplicating it.
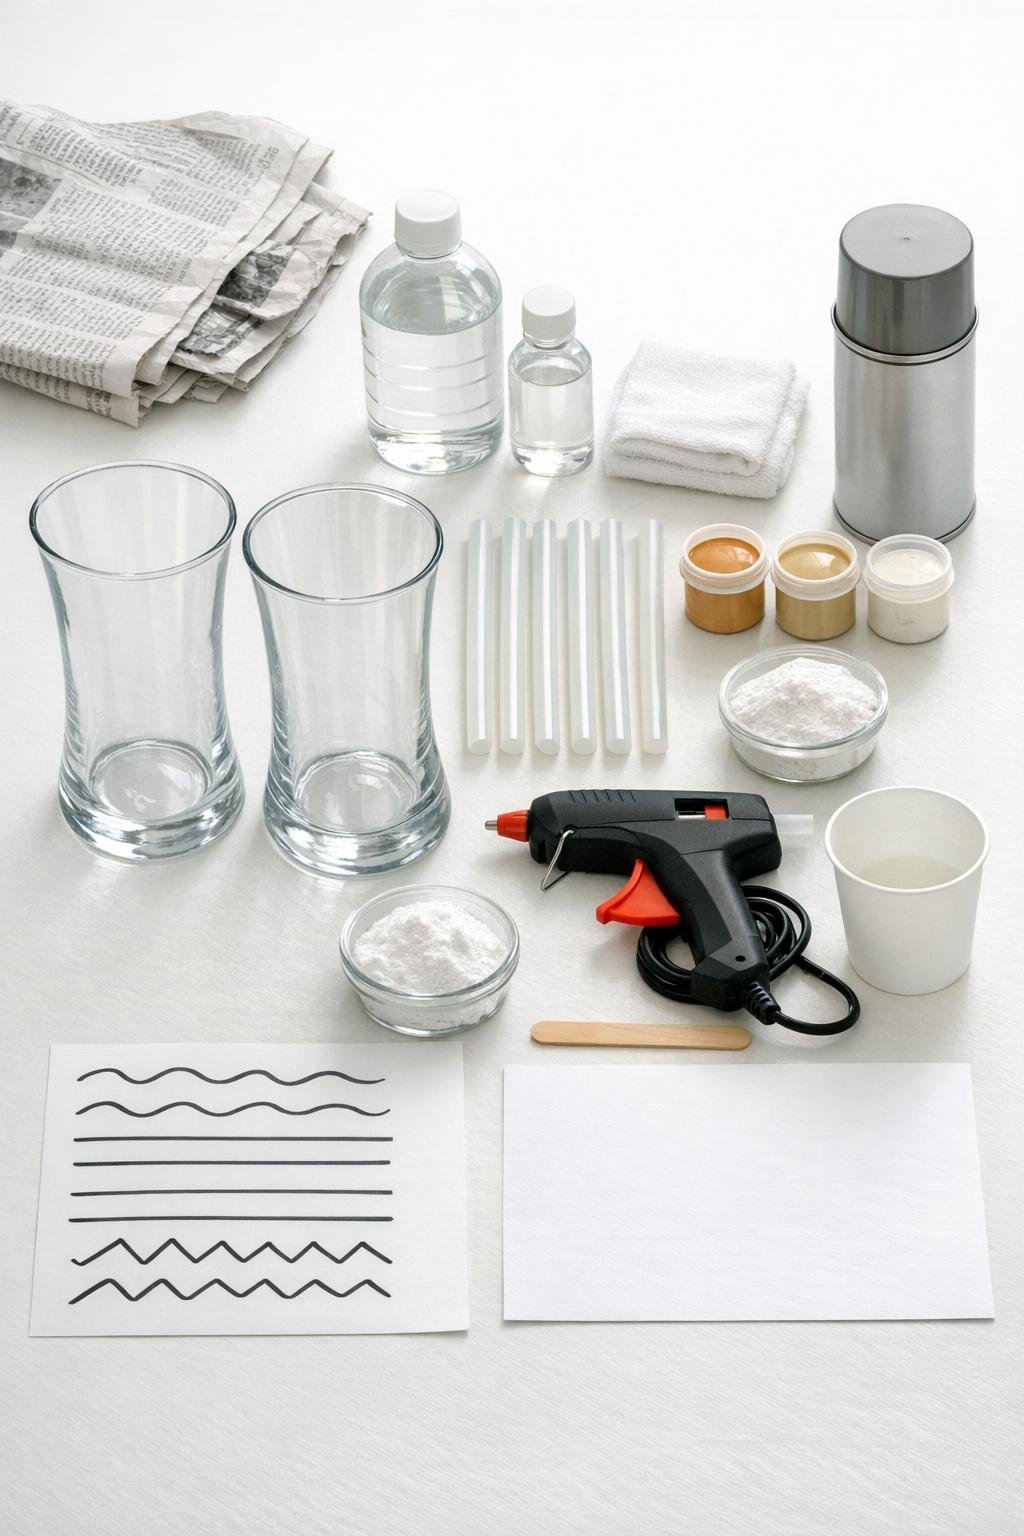
Materials
Instructions
1. Cover your table with newspaper and make sure the vase is completely clean by wiping it with rubbing alcohol or glass cleaner, then drying it well. Any dust or moisture can keep the glue and paint from sitting nicely.
2. Plug in the hot glue gun and let it heat fully while you practice one or two medium-speed lines on scrap paper. This quick test helps you find a steady pace before you start on the glass.
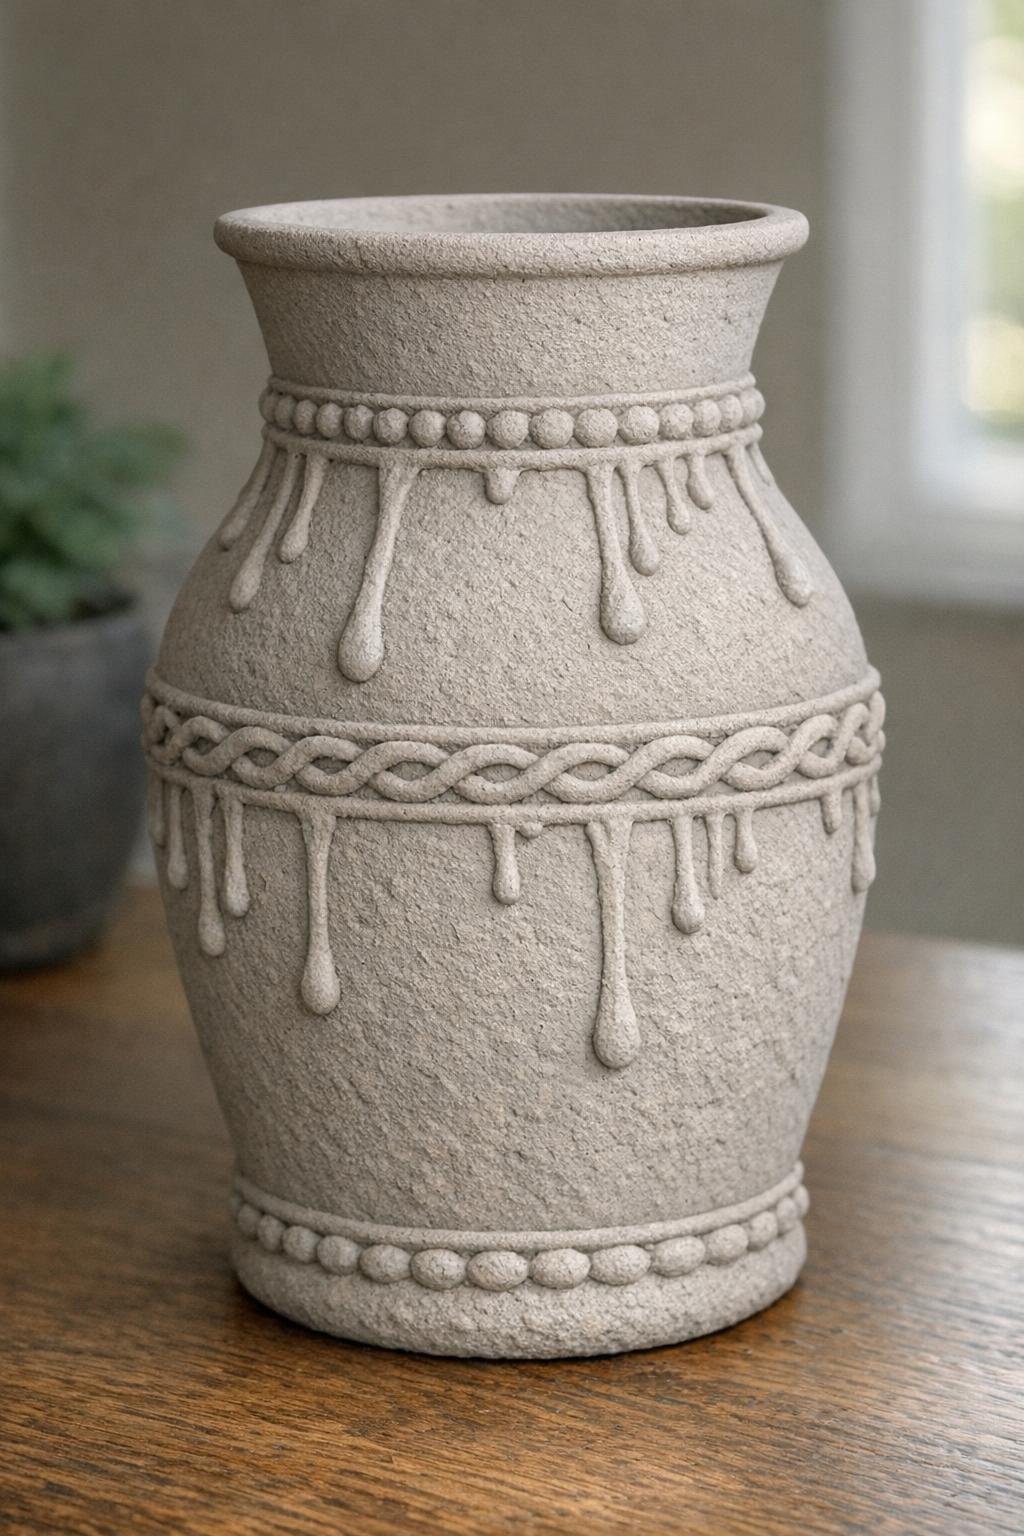
3. Hold the vase upright and pipe your design directly onto the outside in smooth, steady lines. Try vertical drips, rings around the neck, trailing vines, or simple geometric bands, and keep the lines slightly raised but not overly thick.
4. Rotate the vase as you work so the pattern stays balanced, and stop occasionally to let fresh glue set for a few seconds if it starts to slump. I like imperfect, organic lines here because they end up reading more like hand-carved detail than factory-made trim.
5. Let the glue cool completely, then gently pull away any fine glue wisps or strings stuck between the raised lines. Don’t skip this, because those little threads show up a lot once paint goes on.
6. Take the vase to a well-ventilated spray area and apply the first LIGHT coat of matte spray paint over the entire vase, covering both glass and glue evenly. Let it dry according to the can directions.
7. Apply a second LIGHT coat of matte spray paint to finish the coverage without filling in the texture. Matte is what sells the carved illusion; a glossy paint makes it look like glue again.
8. For an even chalkier finish, mix 2 tablespoons of acrylic craft paint with 1 tablespoon of baking soda in a cup and stir until smooth. Dab or brush a thin coat over the painted vase, then let it dry completely.
9. Style the vase once fully dry, or leave it plain as a sculptural decor piece. It’s best for decor use, and if you use it with water, hand-wash gently and avoid picking at the raised lines since hot glue can peel if deliberately tugged.
Variations & Tips
Try a matched set: Make two or three vases in different heights but repeat the same glue motifs so they look collected and intentional on a shelf or table.
Keep the design simple: The easiest patterns are vertical drips, rings around the neck, trailing vines, and clean geometric bands. When I rush into something too intricate, it usually ends up looking busy instead of elevated.
Use lighter paint coats: Two light coats are better than one heavy one because they preserve the raised texture. If you spray too much at once, the details can soften and lose that carved look.
Pick the right finish: Matte, chalky, or stone-effect colors work best for this project. If you want the vase to read like ceramic or stone, avoid anything shiny.
Add subtle depth: After the matte paint dries, you can lightly dry-brush a slightly lighter or darker acrylic paint over the texture for extra dimension. Keep it soft so the piece still feels modern rather than faux-antique.
Know the durability: These are best treated as decorative pieces, not everyday heavy-use vases. Gentle hand-washing is fine, but the hot glue lines can peel if someone starts picking at them on purpose.