
I love a project that turns something humble into something genuinely useful, and this braided harvest basket does exactly that. Using old bath towels, you can make a soft-sided basket that is sturdy enough for gathering garden vegetables, corralling kitchen linens, or setting out bread and napkins when family drops by. It has that cozy, handmade look that makes people assume you found it in a little boutique downtown.
This is a wonderful beginner-friendly project if you can braid and do a little hand sewing. I especially like it for families because the materials are inexpensive, forgiving, and easy to thrift, and the finished basket is soft enough not to scratch counters or little hands. I’ve made versions of these for produce, pantry snacks, and even rolled washcloths in the guest bath.
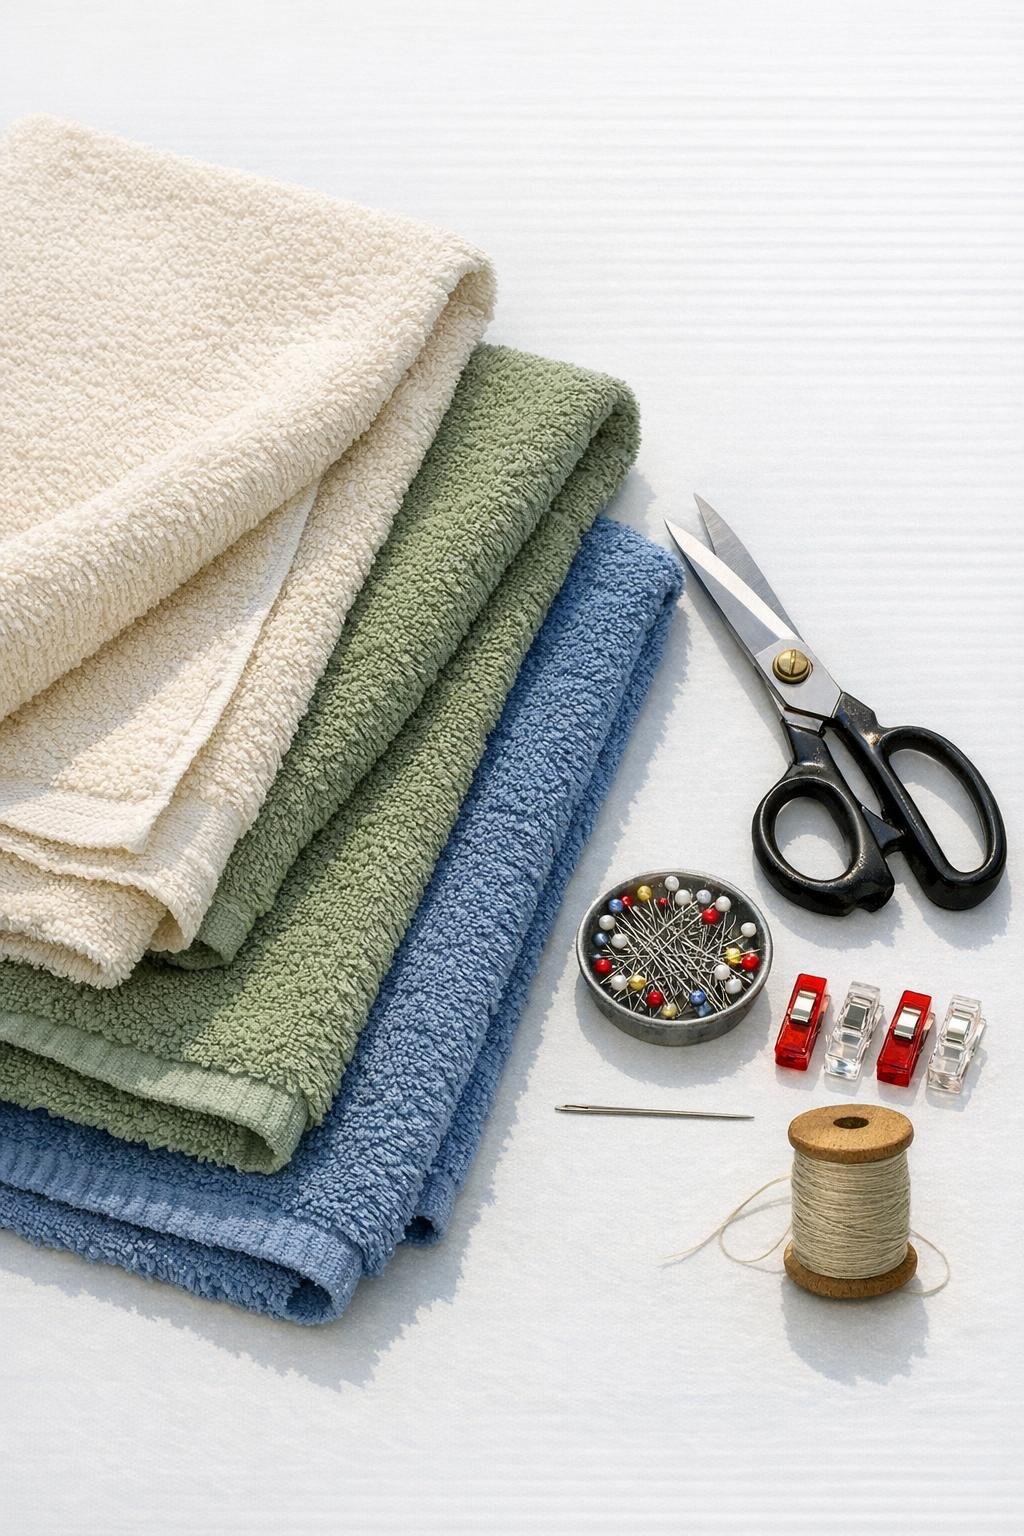
Materials
Instructions
1. Wash and dry the bath towels first so they are clean, preshrunk, and easier to handle. Trim away any thick decorative bands or uneven edges so all three towels are as flat and even as possible.
2. Lay one towel flat and mark long strips 3 inches wide from one short end to the other. Cut the towel into strips, and repeat with the remaining two towels.
3. Stretch each strip gently with your hands to relax the terry cloth and reduce bulk at the edges. Sort the strips into three piles so you can keep a balanced color pattern as you braid.
4. Sew or tightly overlap and hand stitch three strips together at one end to begin your braid. Braid firmly but not so tight that the braid twists, and add new strips by overlapping the ends by 1 inch and stitching them down securely.
5. Continue braiding until you have one long braided rope made from all the towel strips. For a medium harvest basket, aim for a finished braid about 22 to 26 feet long.
6. Coil the braided rope tightly into a flat spiral for the basket base, starting from one end. Stitch the coils together as you go, catching thread through the side of one braid and then the neighboring braid every 1 to 1 1/2 inches.
7. When the base reaches about 10 inches across, stop widening the coil and begin stacking the braid slightly on top of the outer edge to build the sides. Keep stitching through adjoining braids with snug, even stitches so the basket holds its shape.
8. Shape the sides as you sew by cupping the basket in your hands every few rounds. A gentle outward slant works best for a harvest basket because it makes the opening wide and easy to fill.
9. For handles, decide on two opposite points near the top edge and leave a 4-inch gap in your stitching path at each spot. Bridge each gap with the braid, then continue sewing above and below it to secure the handle opening.
10. Finish the last 6 inches of braid by folding the raw end under itself and stitching it down neatly along the top edge. Go back around the rim and handles with extra reinforcing stitches so the basket is strong enough for produce.
11. Steam the basket lightly with an iron held just above the fabric, or mist it with water and shape it by hand. Let it dry completely before filling so the basket keeps its form.
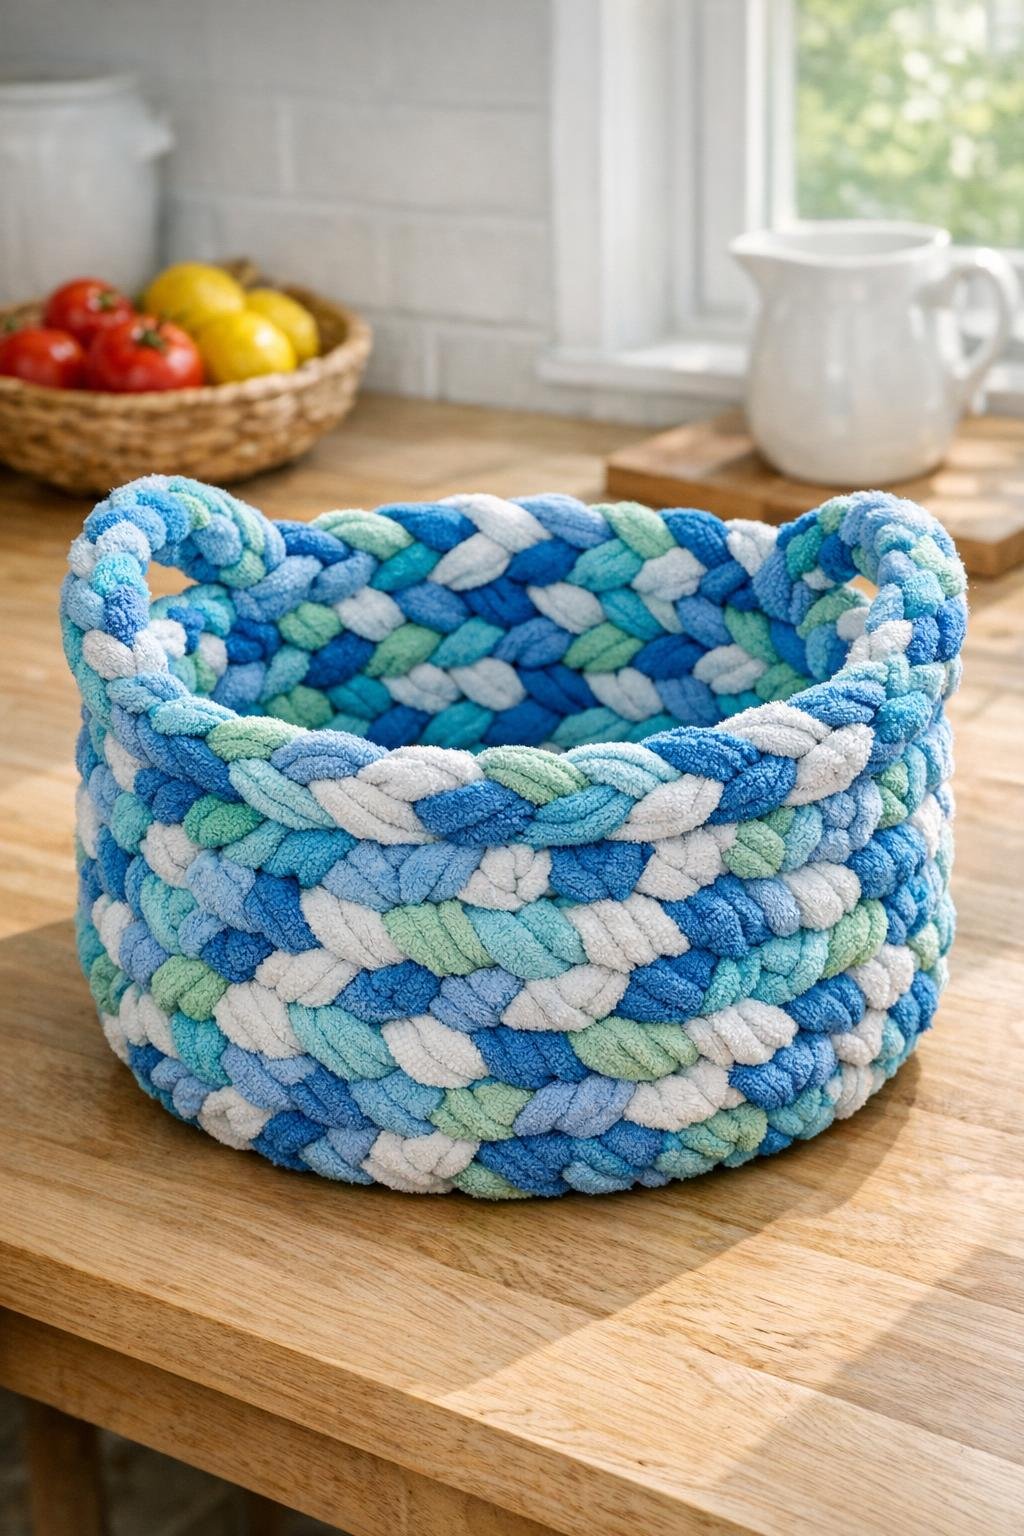
Variations & Tips
Color mix: Use three towels in similar shades for a calm, farmhouse look, or mix contrasting colors for a more playful basket. I like using one neutral towel with two soft colors because it hides wear nicely.
For picky organizers: If your family tends to toss everything into one basket, make a smaller version for each use instead of one oversized basket. They work beautifully for onions, snack bags, napkins, or garden tomatoes.
Sturdier shape: If you want a firmer basket, braid a little tighter and stitch the coils closer together. You can also add a line of hidden whipstitches around the inside of the rim for extra support.
No sewing machine needed: This project is very manageable by hand, which is how I usually make mine at the kitchen table while dinner is in the oven. Just use strong thread and take the time to reinforce every join.
Handle comfort: Keep the handles modest in size rather than oversized. A 4-inch opening is comfortable to grip and less likely to stretch out over time.
Care: Spot clean when possible, or hand wash the basket in cool water and reshape it while damp. Because it is made from towels, it freshens up nicely after drying in a sunny spot.