
Old glass doorknobs have such a pretty sparkle, and I hate seeing pieces like that tossed aside when they can become something both useful and charming. This autumn jewelry dish is one of those simple little projects that looks special on a nightstand, bathroom counter, or entry table, and it is a lovely way to give vintage hardware a second life.
I’m making a set of three here, which is perfect if you like to keep rings, earrings, and small everyday bits organized in different spots around the house. It’s an easy project for beginners, doesn’t require much time, and it makes a sweet handmade gift too—especially if you enjoy decorating for fall the way I do.
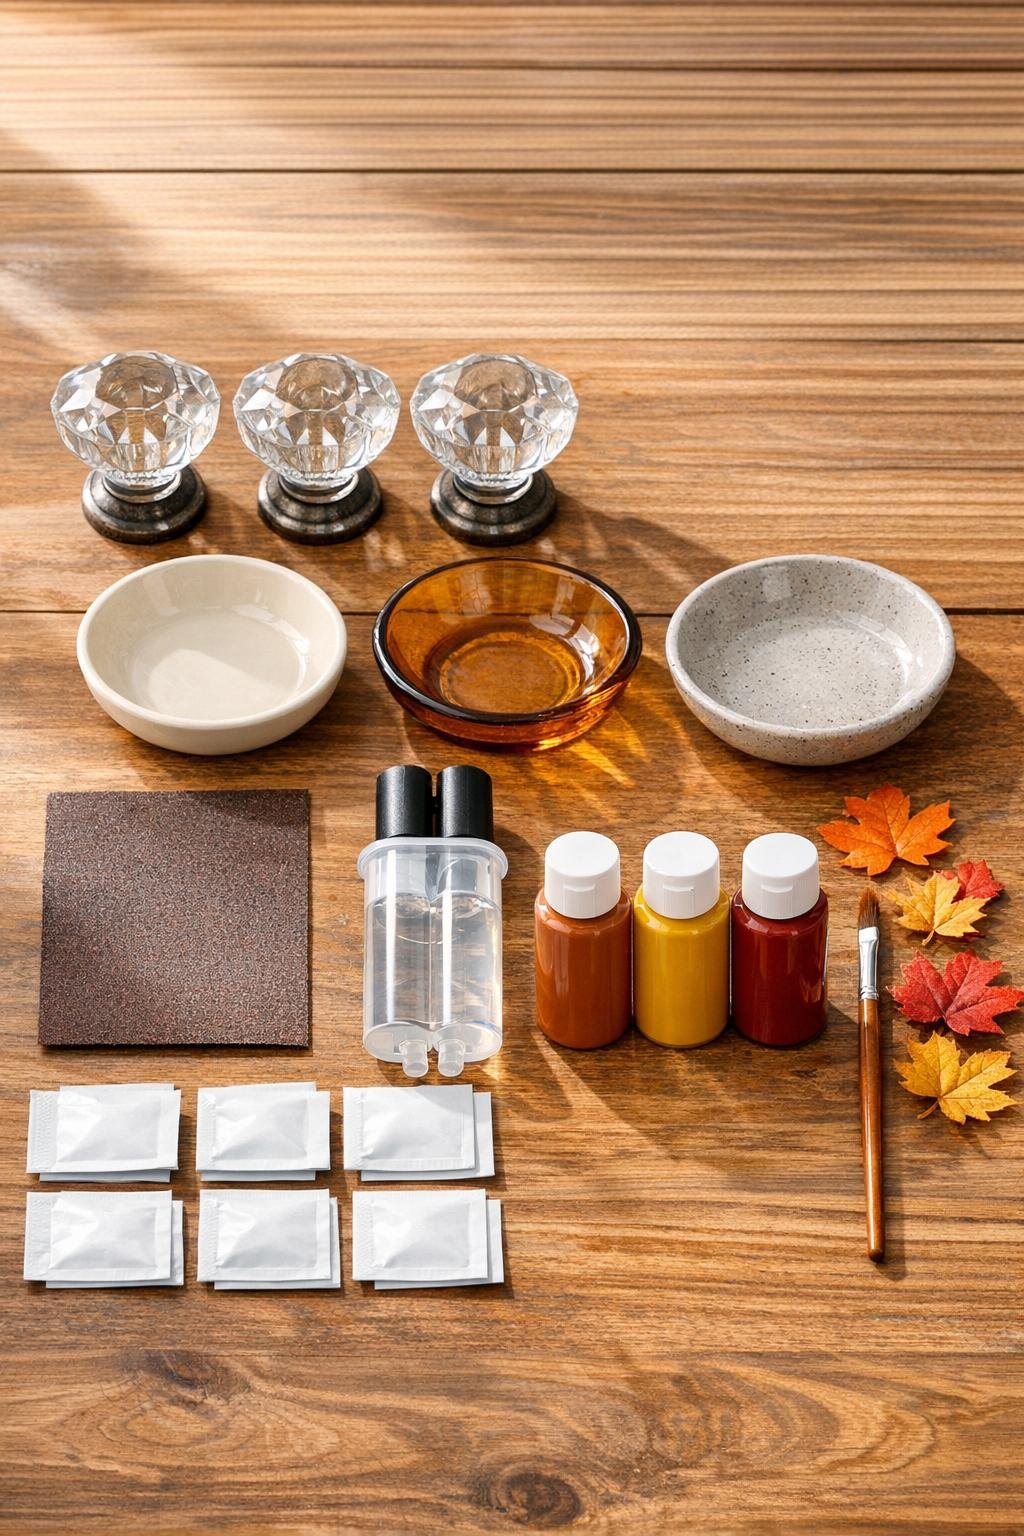
Materials
3 old glass doorknobs with attached metal bases
Instructions
1. Wash the dishes and glass doorknobs with warm soapy water, then dry them completely so the adhesive will bond well.
2. Wipe the metal base of each doorknob and the center underside of each dish with rubbing alcohol to remove any dust or residue.
3. Lightly sand the metal base of each doorknob and the spot on each dish where the knob will attach; then wipe away the sanding dust.
4. If you want an autumn touch, paint the underside rim or outer edge of each dish in burnt orange, mustard yellow, or deep red, and let the paint dry fully.
5. Mix the epoxy according to the package directions, using only enough for one or two dishes at a time so it does not set before you finish.
6. Apply a generous layer of adhesive to the metal base of one doorknob, then press it firmly onto the center underside of one dish to create the pedestal.
7. Repeat with the remaining two dishes and doorknobs, checking from all sides to keep each knob centered so the dishes sit evenly.
8. Use painter’s tape or a small support on each piece if needed to keep the doorknob steady while the glue cures, then leave them untouched for the full curing time.
9. Turn the dishes upright once the adhesive is fully set, and press a felt pad onto the bottom of each metal base to protect your furniture.
10. Set the finished dishes out and use them for rings, earrings, bracelets, or even as pretty little catchalls for spare change and keys during the fall season.
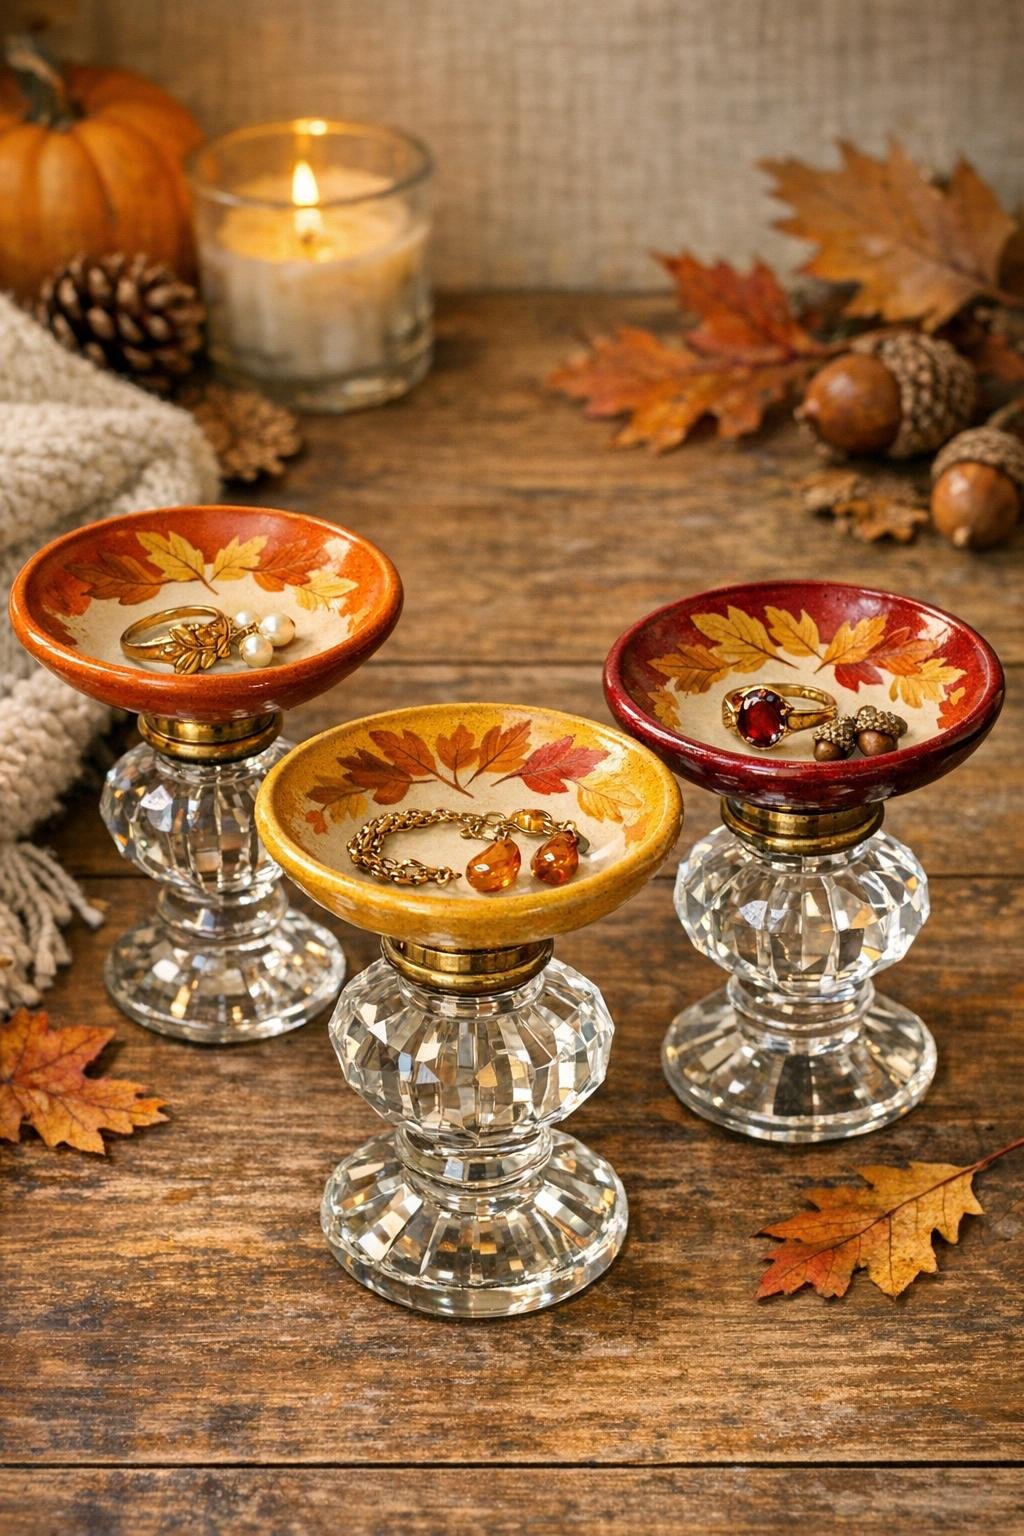
Variations & Tips
For a softer fall look: Use cream, sage, and muted terracotta instead of brighter autumn shades if you want something that blends in with neutral home decor.
For picky decorators: If your family doesn’t love seasonal colors everywhere, keep the dishes plain and just style them with a few tiny faux leaves nearby when you set them out.
Dish choices: Teacup saucers, small dessert plates, or shallow candle holders all work well as long as they have a flat spot underneath for the doorknob base.
Adhesive tip: A strong two-part epoxy usually gives the best hold for mixed materials like glass, ceramic, and metal, so I would not rush this part.
Gift idea: Wrap the set of three in tissue paper and tuck in a pair of earrings or a ring dish note card for a thoughtful handmade present.
Safety tip: If your old doorknobs have rough metal edges or loose parts, smooth or repair them first so the finished dishes are sturdy and safe to use.