
I’m always a little too excited when I spot an ordinary office supply that clearly wants a second life, and a plastic paper tray is one of those sleeper finds. With chunky harvest gold yarn and a simple crochet stitch worked right through the tray slots, you can turn that plain black organizer into a decorative basket that looks surprisingly high-end on a shelf, console, or kitchen counter.
This is a great project if you like the look of crochet but don’t want to commit to a full basket from scratch. The tray does the structural heavy lifting, so the project comes together faster and feels very beginner-friendly. I love projects like this on a busy weeknight because they give me that satisfying handmade finish without taking over my whole evening.
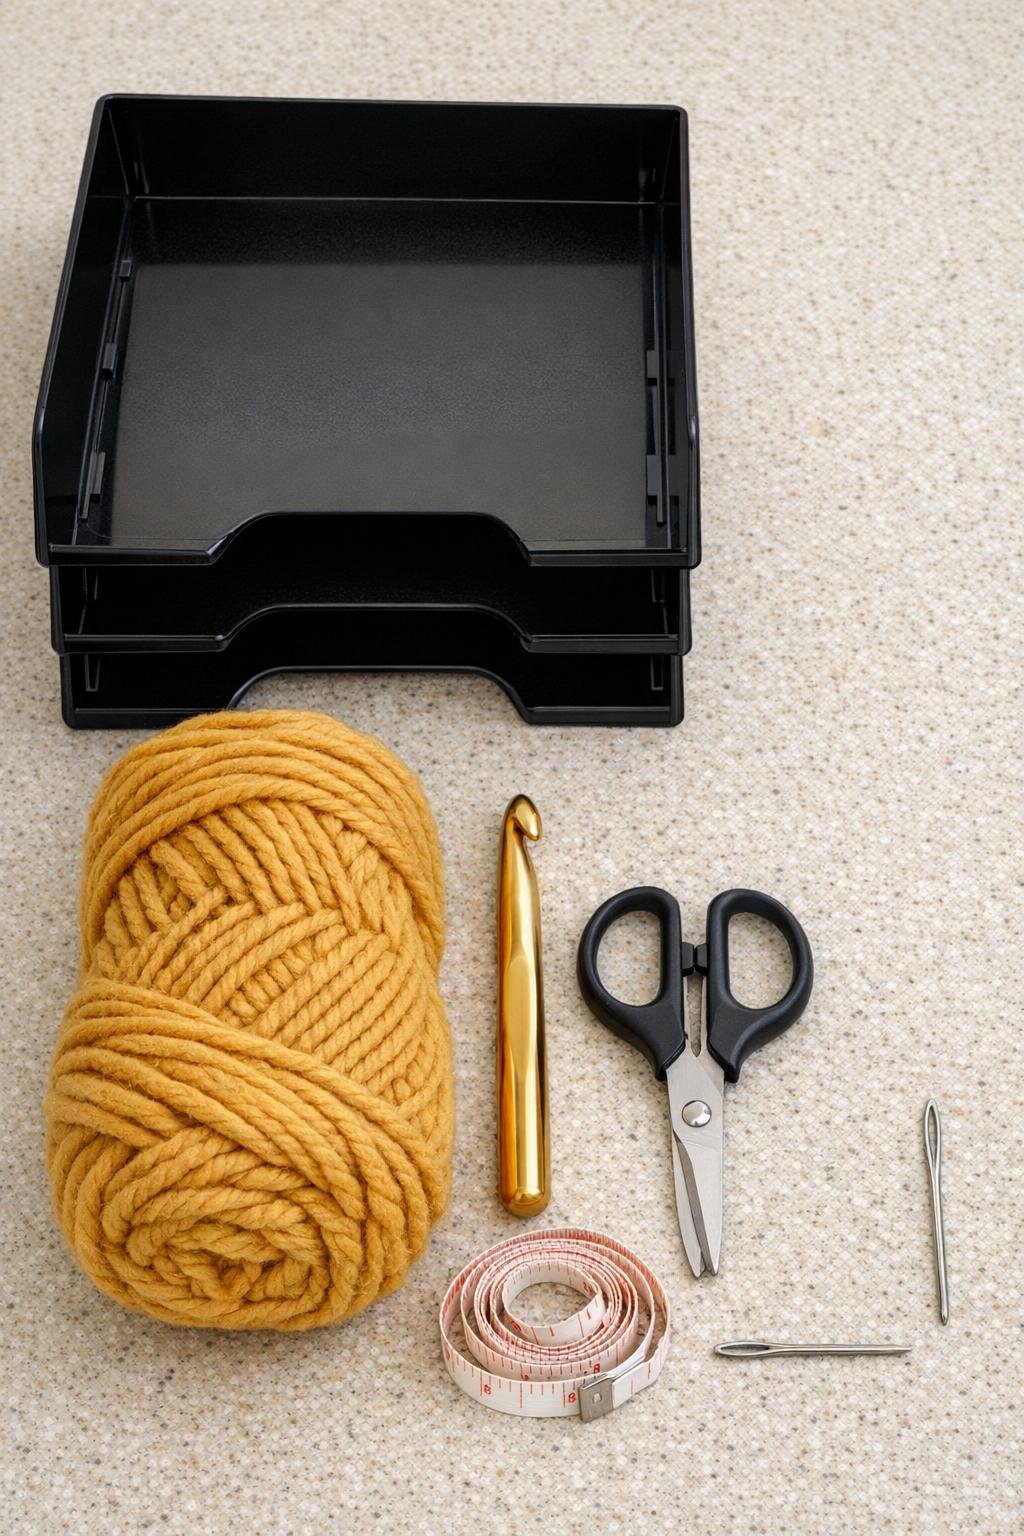
Materials
1 black plastic office paper tray with open side slots, approximately 13 inches long x 10 inches wide x 2.5 inches tall
Instructions
1. Wipe the plastic paper tray clean and dry it fully so the yarn won’t pick up dust or residue while you work.
2. Check that the tray slots are open enough for your hook and yarn to pass through easily; if one or two spots are tighter, plan to work a little more loosely there.
3. Pull a starting tail about 6 inches long and insert your hook through one slot near a back corner of the tray. Draw the yarn through and secure it with a simple slip knot around the first plastic bar.
4. Work one single crochet through each slot around the upper rim of the tray, using the plastic openings like built-in anchor points. Keep your tension even so the stitches cover the rim neatly without pulling the tray out of shape.
5. At each corner, add 2 single crochet stitches into the corner slot or the two closest openings to help the yarn wrap the shape smoothly. This keeps the corners from looking pinched.
6. Join the round with a slip stitch into your first stitch once the entire top edge is covered. If the spacing looks uneven, gently slide the stitches with your fingers before moving on.
7. Chain 1 and begin a second round of single crochet, this time working into the stitches you just made rather than through the plastic tray. Build the basket wall upward with one stitch in each stitch around.
8. Continue crocheting 2 to 4 rounds, depending on how much of a raised fabric edge you want above the tray. I usually stop at 3 rounds because it gives a polished look without covering too much of the tray’s shape.
9. For a cleaner finish, work one final round in slip stitch or very tight single crochet. This firms up the top edge and gives the basket a more tailored look.
10. Cut the yarn, leaving an 8-inch tail, and pull it through the last loop to fasten off. Thread the tail onto the yarn needle and weave it through the inside stitches until secure.
11. Weave in the starting tail the same way, tucking it along the inside edge where it won’t show. Trim any excess yarn carefully.
12. Shape the finished edge with your hands, smoothing the stitches evenly around the tray so the basket sits balanced and looks intentionally finished from every side.
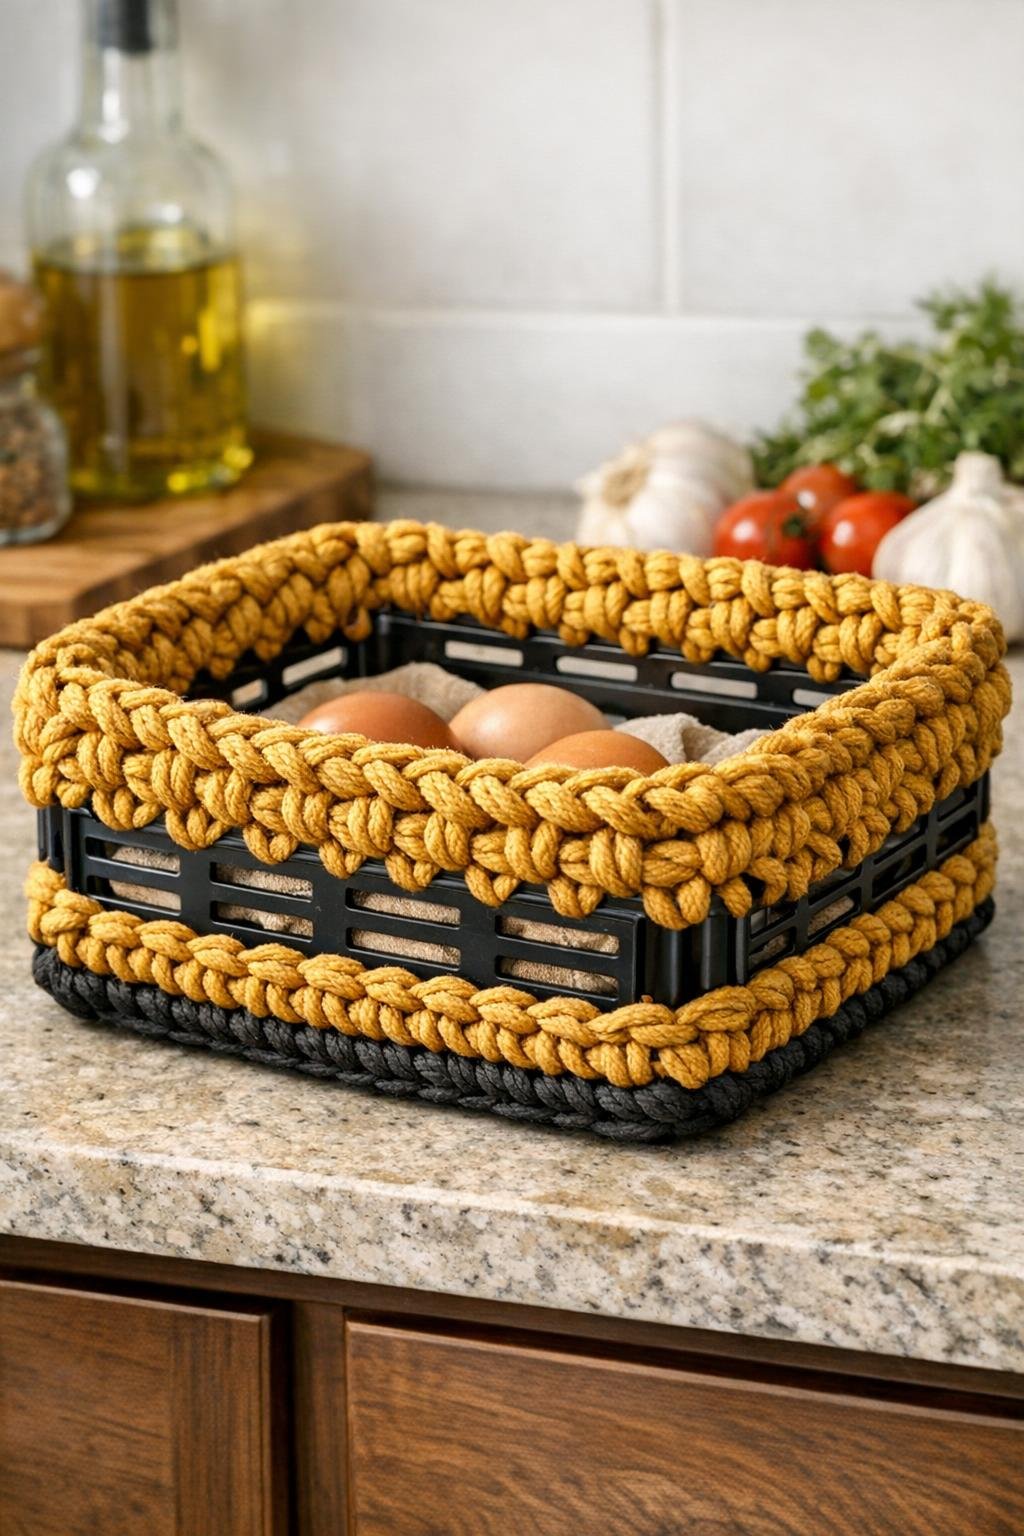
Variations & Tips
Color swap: Try cream, rust, olive, or oatmeal yarn if harvest gold doesn’t match your space. I love warm tones for fall, but a soft neutral makes this look very modern year-round.
Different stitch look: If you’re comfortable with crochet, use half double crochet for the upper rounds to build height faster. Single crochet gives the neatest, most structured finish.
Best use: This basket works especially well for napkins, mail, tea towels, recipe cards, or bagged snacks. Since the base is already rigid, it holds its shape much better than a fully crocheted basket.
Tray shopping tip: Look for a paper tray with evenly spaced side slots and a sturdy rim. The cleaner and more symmetrical the tray is, the more expensive the finished project will look.
Tension help: If your yarn feels too bulky for the slots, don’t force it. Go up a hook size slightly or choose a smoother bulky yarn so the stitches glide through without snagging.
Make it a set: I like making two or three in the same yarn for open shelving because it turns random clutter into something that looks styled on purpose. It’s one of those little home projects that makes a kitchen or office corner feel pulled together fast.