
There’s a reason old garden tricks get passed from one pair of muddy hands to the next: they work. This simple perennial root divider uses broken terracotta pot pieces, a garden trowel, and a bit of potting soil to make a sturdy little barrier you can set right into the garden or a large planter. It helps keep eager spreaders from creeping where they’re not wanted, and it gives crowded perennial roots a gentle nudge to stay in bounds.
Out here, I’ve always had a hard time throwing away a cracked clay pot, because in a garden there’s nearly always one more use for it. If you grow bearded iris, mint, obedient plant, creeping bellflower, or any perennial that likes to wander, this is a practical project that takes just a few minutes and saves a lot of digging later on.
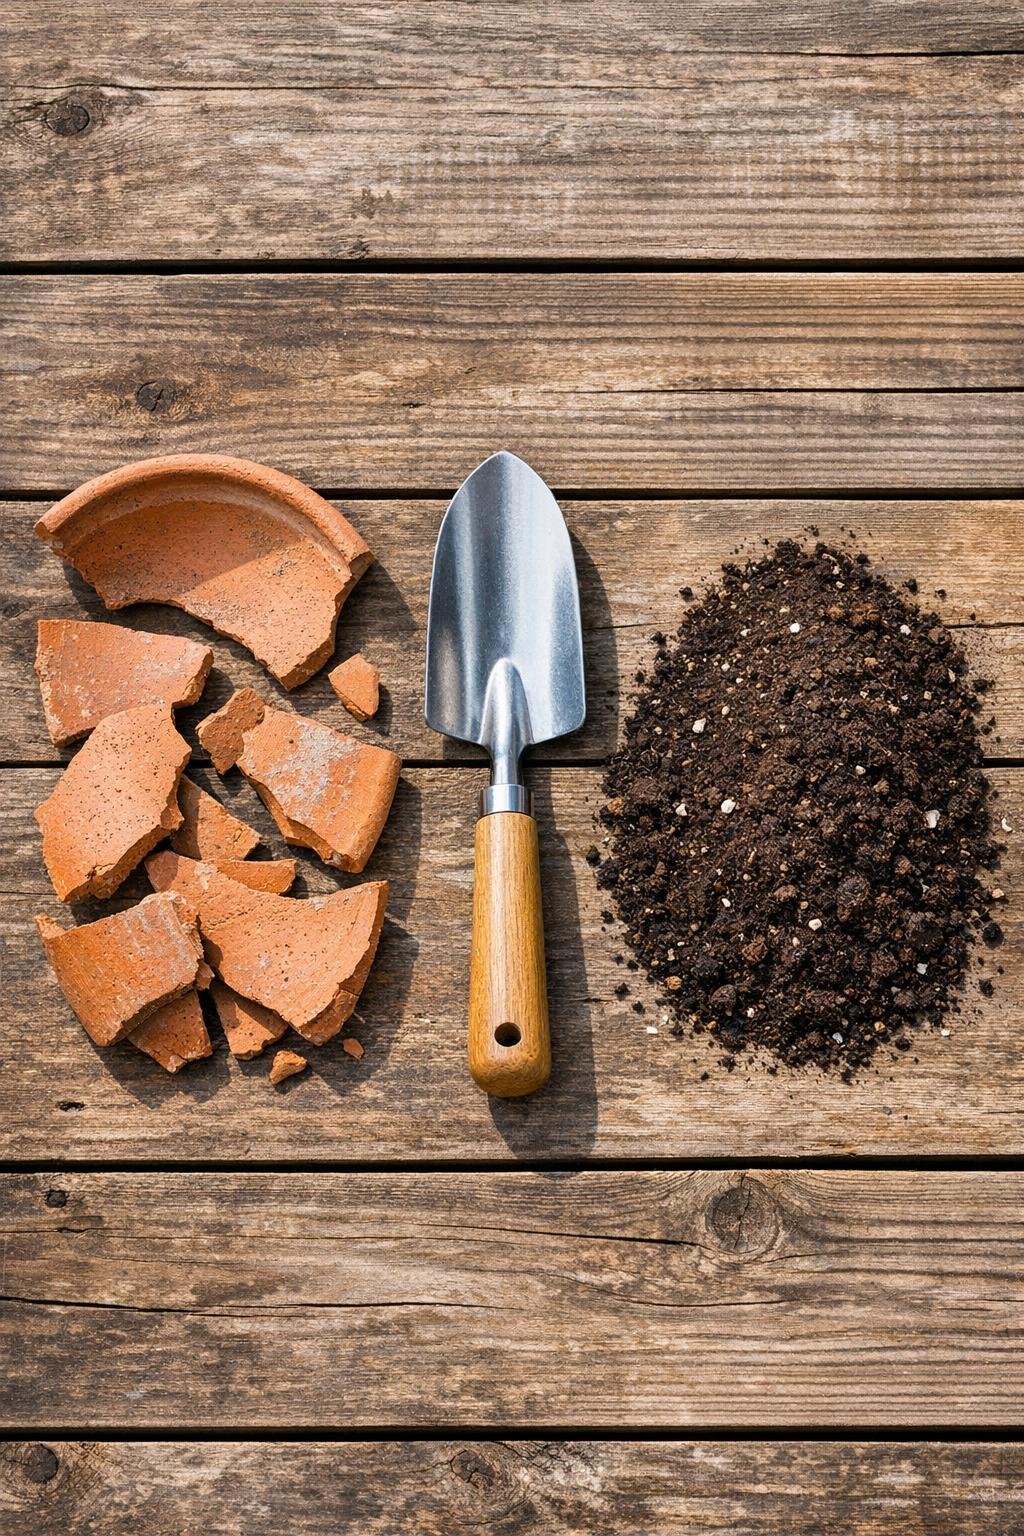
Materials
6 to 10 large broken terracotta pot shards, each about 3 to 6 inches wide
Instructions
1. Gather terracotta shards that are thick and sturdy, and brush off any loose grit so they sit firmly against one another.
2. Choose the perennial you want to manage and mark a small curved line in the soil where you want the root barrier to go, usually 6 to 10 inches from the crown.
3. Use the garden trowel to dig a narrow trench about 5 to 7 inches deep along that line, keeping the trench just wide enough for the pot pieces to slide in upright.
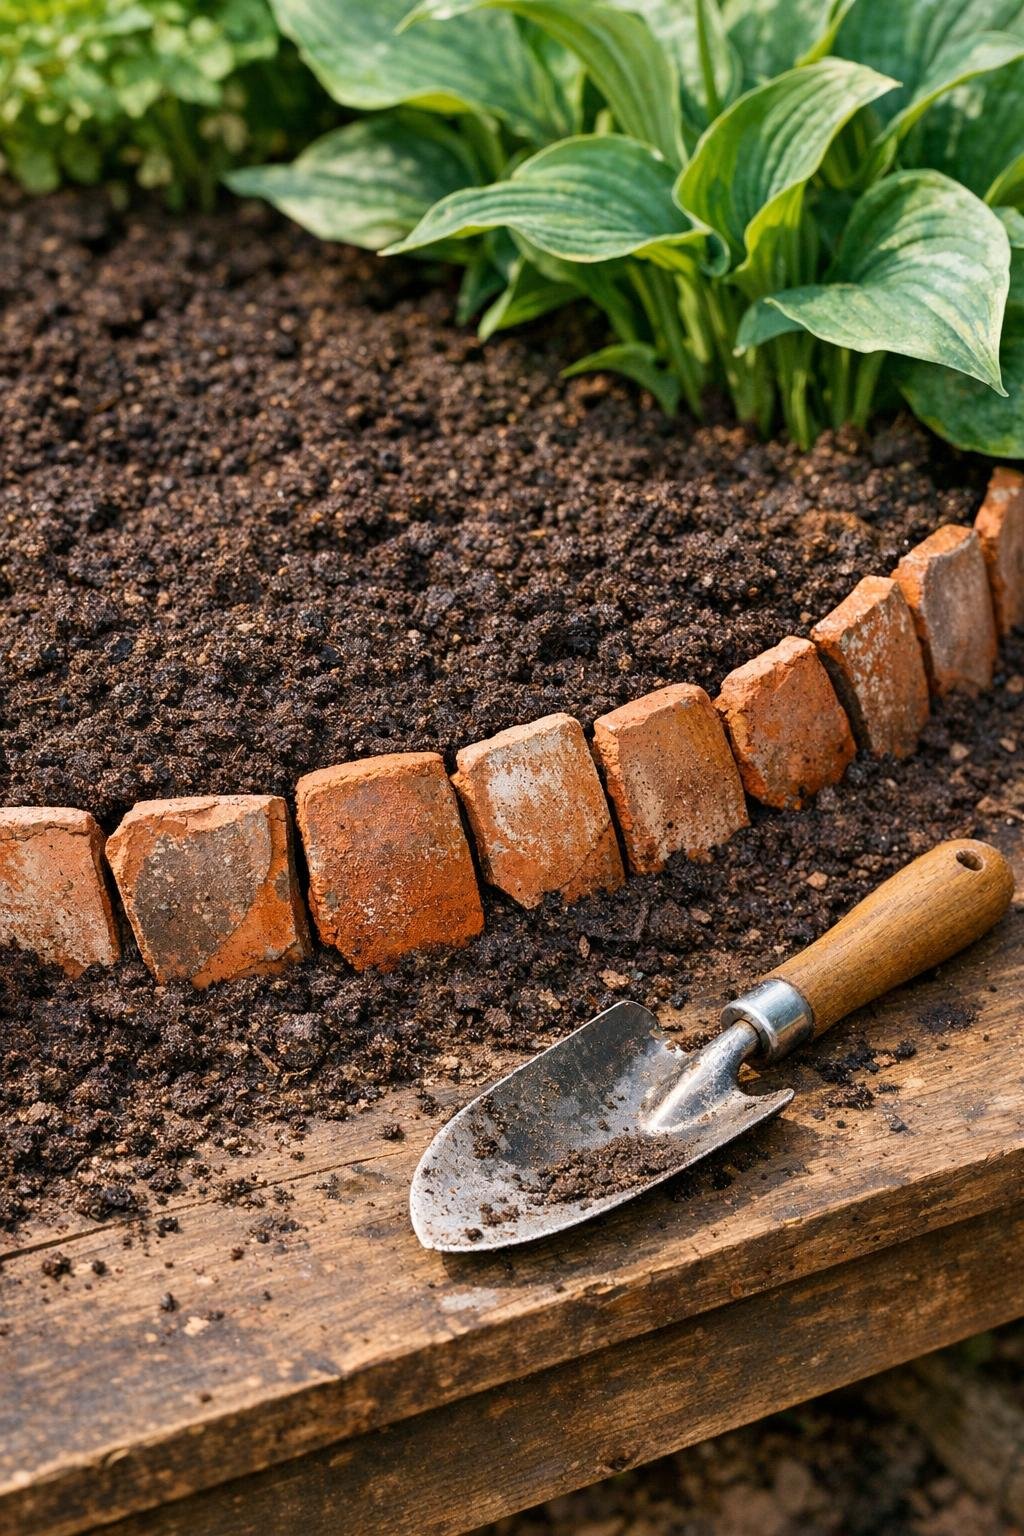
4. Stand the largest terracotta shards on their sides in the trench, overlapping the edges like shingles so roots cannot easily slip through the gaps.
5. Add smaller shards where needed to close open spaces, then press a little potting soil around the outside of the clay pieces to hold them upright.
6. Backfill both sides of the barrier with the remaining soil and firm it gently with your hand or the back of the trowel so the pieces do not wobble.
7. Leave the top edge of each shard sticking up about 1 inch above the soil line, because that visible rim helps stop shallow creeping roots from hopping over.
8. Water the area lightly to settle the soil, then check the barrier after a few days and tuck in more soil anywhere a shard has shifted.
Variations & Tips
For aggressive spreaders: Set the shards a little deeper and overlap them more tightly if you’re dealing with especially pushy plants like mint or gooseneck loosestrife.
For garden beds: Use this method in a half-circle around the front side of a plant if you only need to block roots from moving into a path or neighboring clump.
For planters: This works beautifully inside a large container to separate two plants with different habits, and I’ve done that more than once when I wanted herbs to share a tub without one taking over.
Best shard size: Bigger pieces are easier to stack securely than lots of tiny bits, so save the broad side sections from broken pots whenever you can.
Cold-weather note: In freeze-thaw country like ours, check the barrier each spring because heaving soil can loosen the pieces a bit over winter.
Old gardener’s trick: If a shard rocks in place, sprinkle a little extra soil under the low side before backfilling; that small adjustment makes the whole row sit straighter and last longer.