
Old metal colanders are one of those thrift-store finds I can never quite pass up. They have great shape, sturdy handles, and that wonderful punched pattern that throws light beautifully, so turning three of them into an autumn wall sconce is the kind of upcycling project that feels both practical and a little dramatic.
This project is ideal if you want seasonal wall décor with real texture and a soft glow, but you do not want to spend a fortune on ready-made pieces. I like that it uses just three main colander forms as the stars of the project, and the finished piece works especially well in an entryway, dining nook, or covered porch wall for fall.
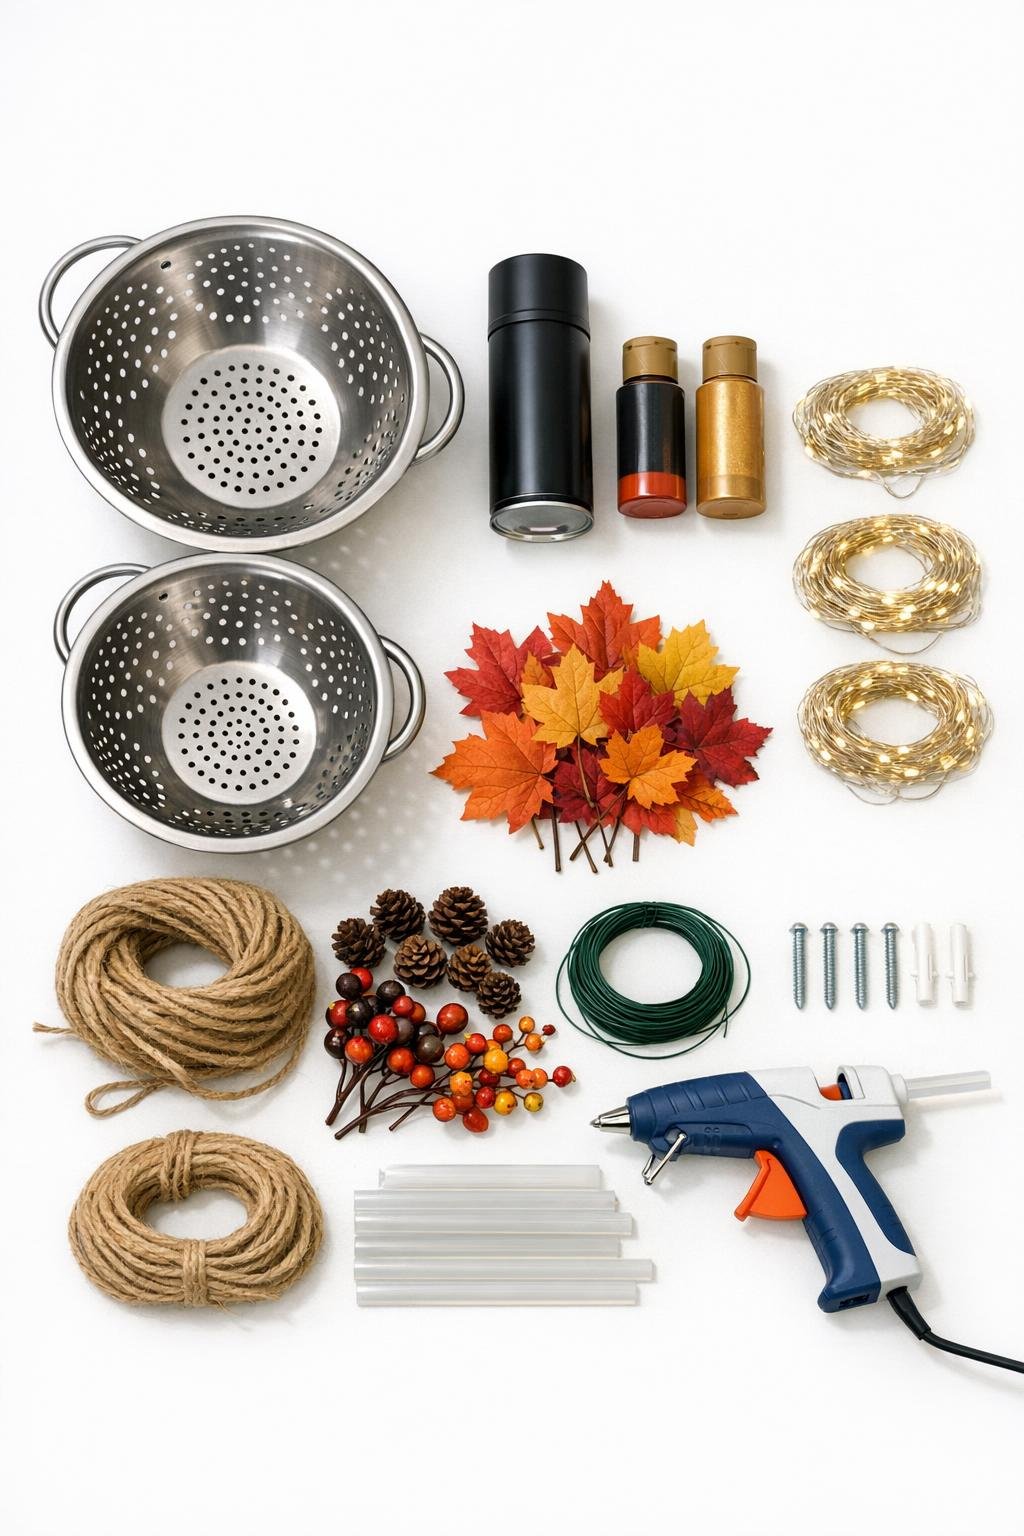
Materials
Instructions
1. Wash the colanders with degreasing cleaner, rinse well, and dry them completely. Lightly sand any glossy or flaky spots so the paint has something to grip.
2. Spray all three colanders with matte black paint, covering the outside, inside rim, and handles in light even coats. Let them dry fully between coats and before handling.
3. Dry-brush rust-orange paint lightly over the rims, handles, and raised areas to give the pieces a warm autumn tone. Add a very light touch of antique gold over a few edges so the black finish still shows through.
4. Wrap a 10- to 12-inch length of fairy lights inside each colander, weaving the wire through some of the perforations so the lights stay evenly spaced. Secure the battery pack near the back or handle area with hook-and-loop tape or strong adhesive backing.
5. Make a small autumn bundle for each sconce using faux leaves, two mini pinecones, and one berry stem. Tie the base with floral wire first, then wrap the wire area neatly with jute twine.
6. Hot-glue or wire one autumn bundle to the lower front edge of each colander, keeping the center open so the light can shine through the holes. Hold each bundle in place until the glue sets.
7. Decide on your wall layout with the large colander at the top, the medium in the middle, and the small at the bottom, leaving 6 to 8 inches between them. Mark the screw locations with a pencil using each handle or hanging point as your guide.
8. Install wall anchors if needed, then drive in the screws and leave each head sticking out slightly. Hang each colander from its handle or rim opening and adjust until the three-piece arrangement looks balanced.
9. Turn on the fairy lights, tuck in any visible wire ends, and rotate the colanders so the decorative bundles all angle slightly upward or outward. Step back and make small spacing adjustments until the light pattern and arrangement feel even.

Variations & Tips
Use mixed metals: If your colanders do not match, keep them that way and unify them with the same paint finish. I have done this with flea-market pieces before, and the slight differences in shape actually make the arrangement more interesting.
Try a copper finish: Swap the black base coat for a dark bronze or hammered copper spray paint if you want a warmer farmhouse look. That works especially well with cream walls and deeper orange leaves.
Keep it renter-friendly: Use removable wall hooks rated for the weight of each colander if you do not want to drill into the wall. Test the grip first, since older metal pieces can be heavier than they look.
Choose light over flame: Battery fairy lights are the safest choice here because the colanders have lots of openings and lightweight decorative pieces attached. I would not use real candles in a project like this.
Refresh for other seasons: The base sconce structure can stay up all year; just change the embellishments. In winter, I would use faux cedar and red berries, and in spring, I would switch to eucalyptus and small blossoms.
Balance the composition: Before mounting, lay the three sconces on the floor and photograph the arrangement with your phone. That little trick helps me catch uneven spacing much faster than staring at the wall from up close.