
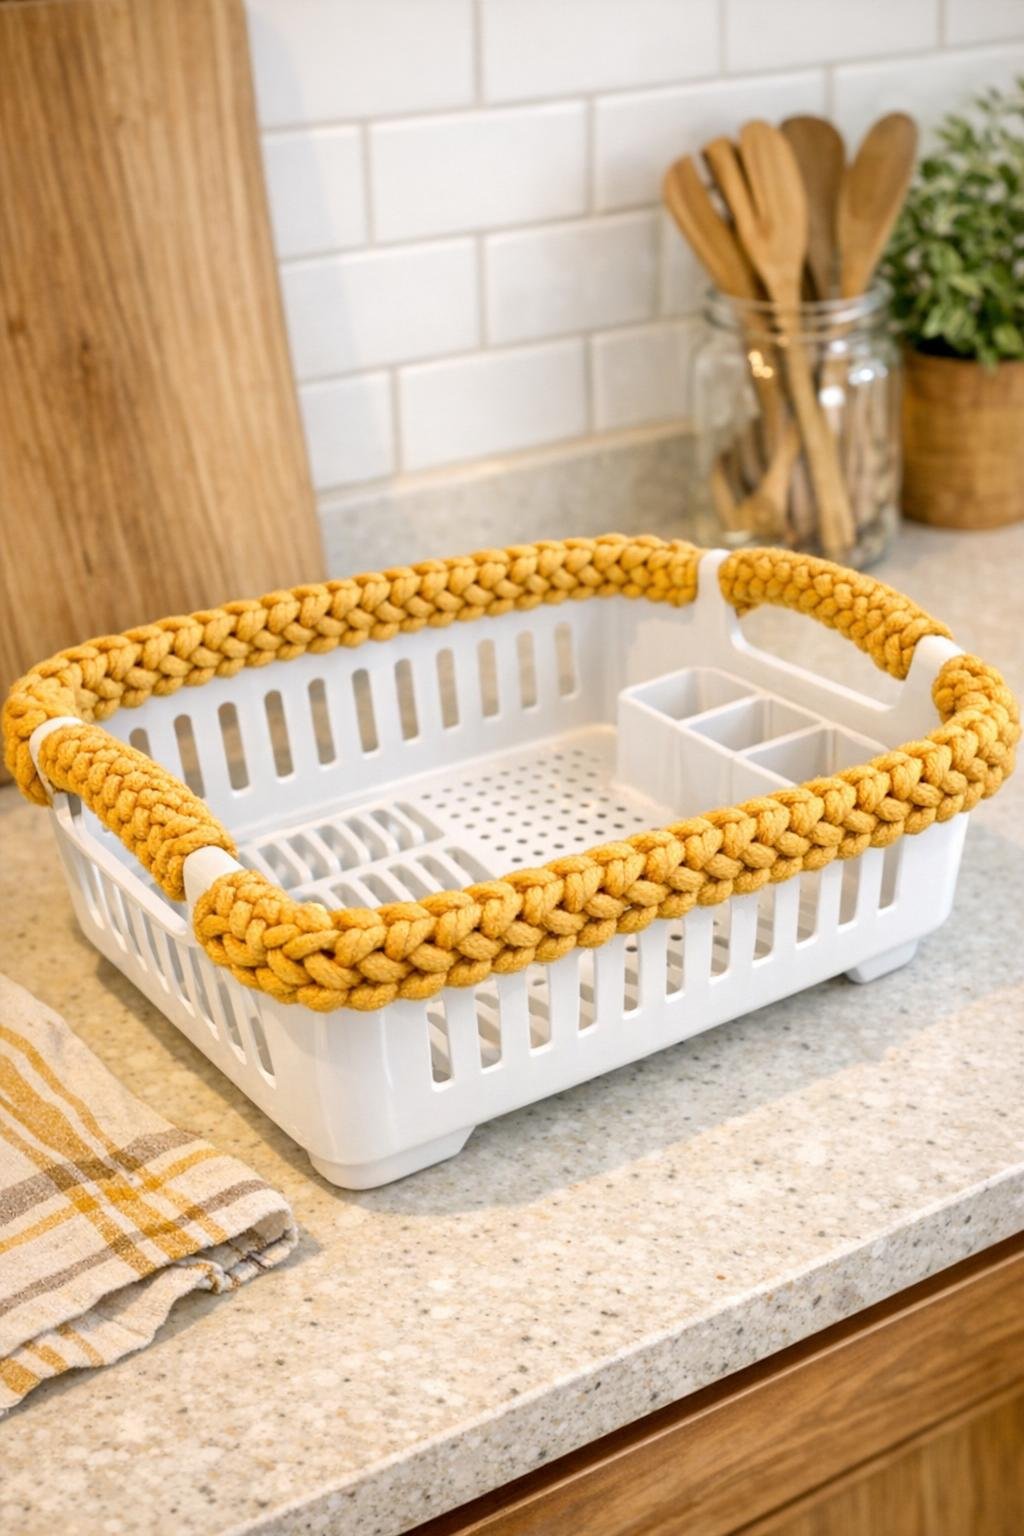
I love a project that takes something painfully ordinary from the kitchen aisle and turns it into something that looks boutique-store fancy, and this crochet basket does exactly that. In this version, I use a white plastic dish drying tray as the base and crochet chunky harvest gold yarn around the rim and handles so the whole piece feels warm, textured, and much more intentional than its humble starting point.
This is a great project for anyone who wants the look of a handmade storage basket without having to crochet an entire basket from scratch. I especially like projects like this when my week is packed, because the plastic tray does all the structural heavy lifting and the yarn adds the style. It’s perfect for holding napkins, produce, mail, or even little pantry odds and ends on the counter.
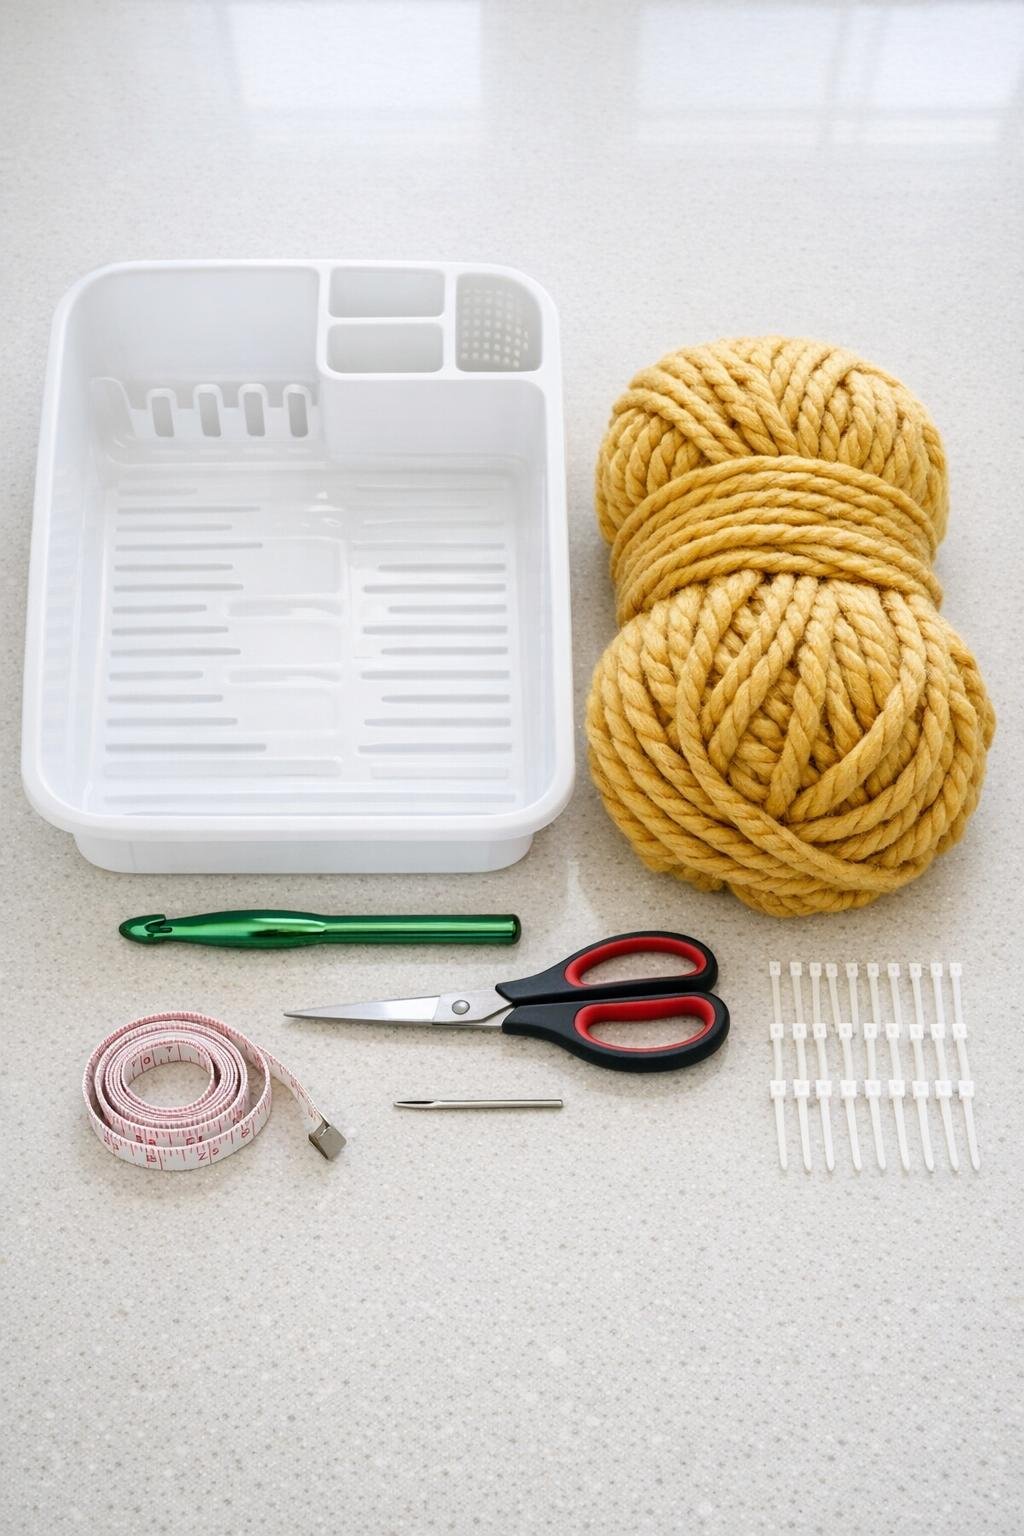
Materials
1 white plastic dish drying tray with raised rim and side handles, approximately 14 x 11 inches
Instructions
1. Wipe the dish drying tray with a damp cloth and let it dry completely so the yarn sits neatly against a clean surface.
2. Check that the tray rim and handles have enough openings or gaps to anchor yarn around the edge; if your tray has fewer gaps, plan to secure the crochet with zip ties spaced evenly around the rim.
3. Make a slip knot with the chunky yarn and join it near one handle by feeding the yarn through an opening along the tray rim and pulling up a loop with your crochet hook.
4. Work single crochet stitches evenly around the rim, placing the hook through each opening or around each section of the raised edge so the stitches wrap snugly over the plastic.
5. Keep your tension firm but not tight as you continue around the tray; the stitches should fully cover the rim without causing the tray edge to bend inward.
6. At each handle, crochet directly around the handle opening with evenly spaced single crochet stitches so the handle becomes padded and fully wrapped in yarn.
7. If you come to a smooth section with no opening to stitch through, loop a small white zip tie around that section and crochet over it to create a secure anchor point that blends into the edge.
8. Continue crocheting around the full perimeter until the entire rim and both handles are covered in a consistent layer of harvest gold stitches.
9. Join to the first stitch with a slip stitch, then chain 1 and work a second round of single crochet into the first round if you want a thicker, more luxurious border.
10. Fasten off the yarn, leaving an 8-inch tail, and thread the tail onto a yarn needle.
11. Weave the tail through several stitches along the rim and around one anchored section so it cannot loosen with use, then trim any excess yarn.
12. Shape the finished basket by gently adjusting the stitches with your fingers so the coverage looks even all the way around and the white tray still shows cleanly in the center.
Variations & Tips
Make it softer: If you want the basket to feel even more high-end, add the second crochet round all the way around. That extra thickness is the detail that really gives it a finished, designer look.
Use it for dry storage: I like this best for napkins, packaged snacks, onions, garlic, or mail. Since the base is still a dish tray, it’s sturdy, but I’d keep it for dry household use rather than anything damp.
Try a different yarn texture: A chenille-style bulky yarn will look plush and modern, while a braided cotton yarn gives a cleaner, more structured finish. Just keep the yarn bulky enough to visually balance the plastic tray.
Match your kitchen: Harvest gold gives this project a warm vintage feel, but rust, cream, olive, or charcoal would also look beautiful. I usually pick a color that ties into towels or a runner already in the room so it feels intentional.
Check spacing before you begin: Every dish tray is a little different, so do a quick test section first. It saves time later and helps you decide whether you need the zip tie anchors on smooth sections.
Keep the center visible: The charm of this project is that the white plastic dish drying tray is still recognizable under the crochet trim. Don’t overbuild the yarn into the middle; letting the center stay open keeps it crisp and practical.