
If you grow fall and winter crops the way I do, you already know how easy it is to forget exactly where you tucked in carrots, beets, turnips, and parsnips once the weather cools off and the garden starts looking a little bare. This simple pre-frost root vegetable marker uses baked wooden clothespins and one other common yard item to create quick, low-cost row markers that are easy to spot and even easier to move around.
I love projects like this because they fit real life: fast, practical, and made from things you may already have on hand. The baking step helps dry and condition the wooden clothespins so they hold up better outdoors for the short term, and clipping them onto sturdy garden twigs gives you a marker that works beautifully before the ground freezes and everything starts blending together.
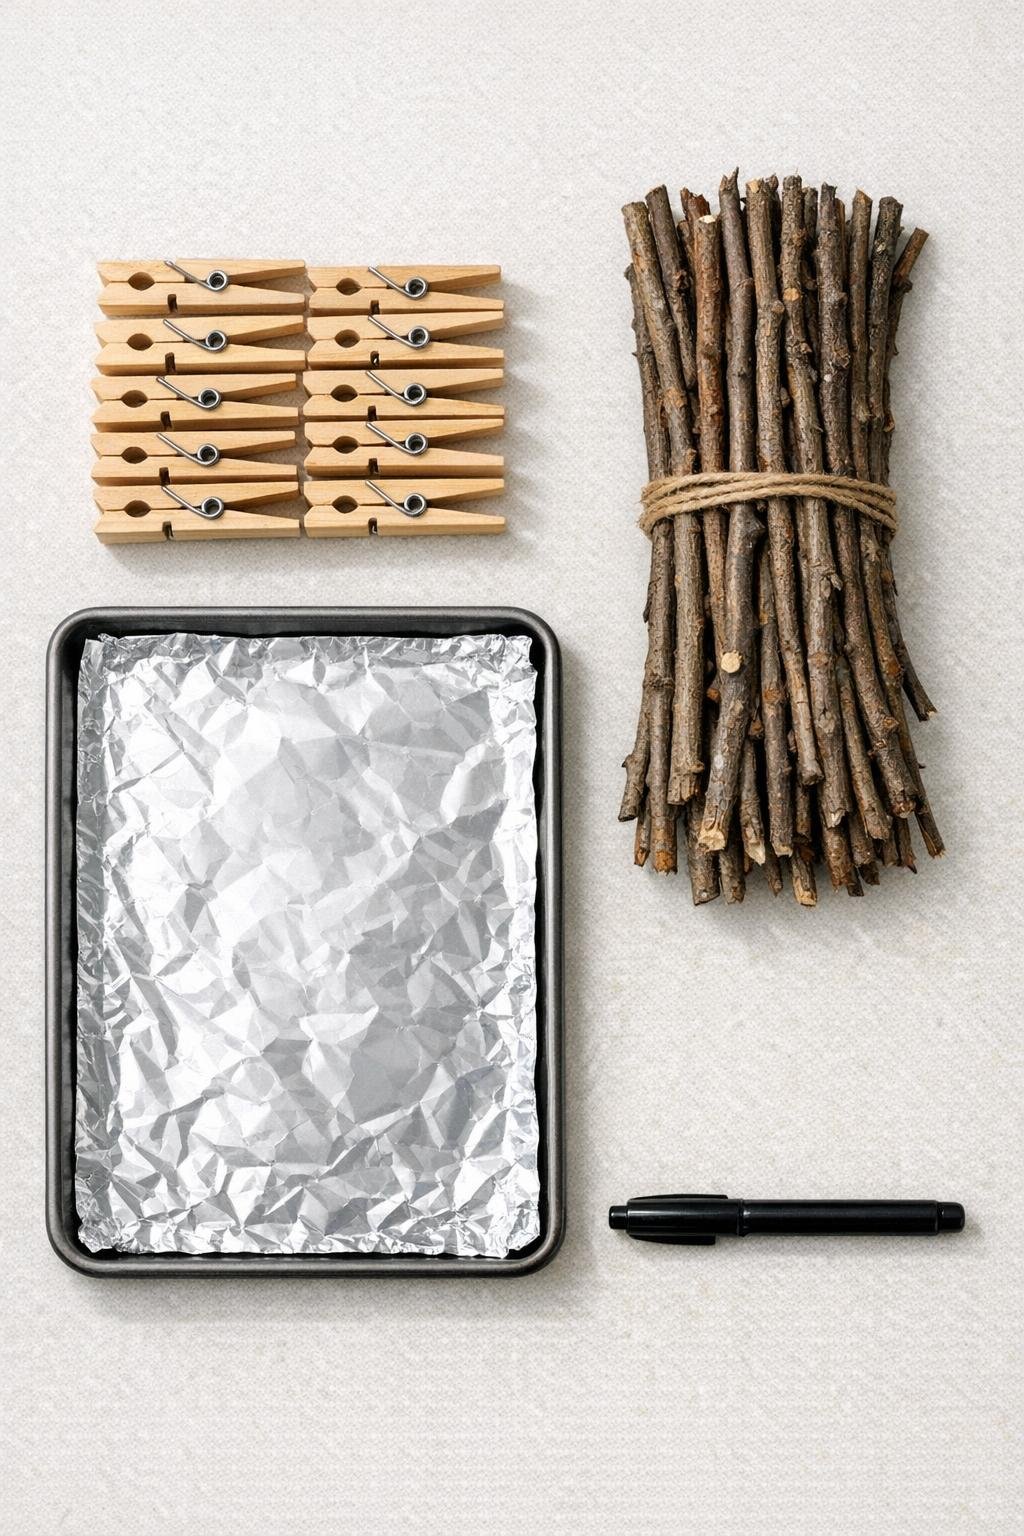
Materials
24 natural wooden clothespins, unfinished, standard 3 1/4-inch size
Instructions
1. Preheat your oven to 250°F and line a baking sheet with the aluminum foil.
2. Spread the wooden clothespins in a single layer on the foil-lined baking sheet so they are not stacked or touching too tightly.
3. Bake the clothespins for 20 to 30 minutes, just until they are dry and slightly deepened in color; do not let them scorch.
4. Remove the baking sheet from the oven and let the clothespins cool completely before handling them.
5. While they cool, cut or gather straight twigs from the yard and trim each one to 10 to 12 inches so they are easy to push into garden soil. I like using pruned shrub stems for this because they are free and surprisingly sturdy.
6. Write the name of each root vegetable directly on the flat side of a cooled clothespin using the permanent marker.
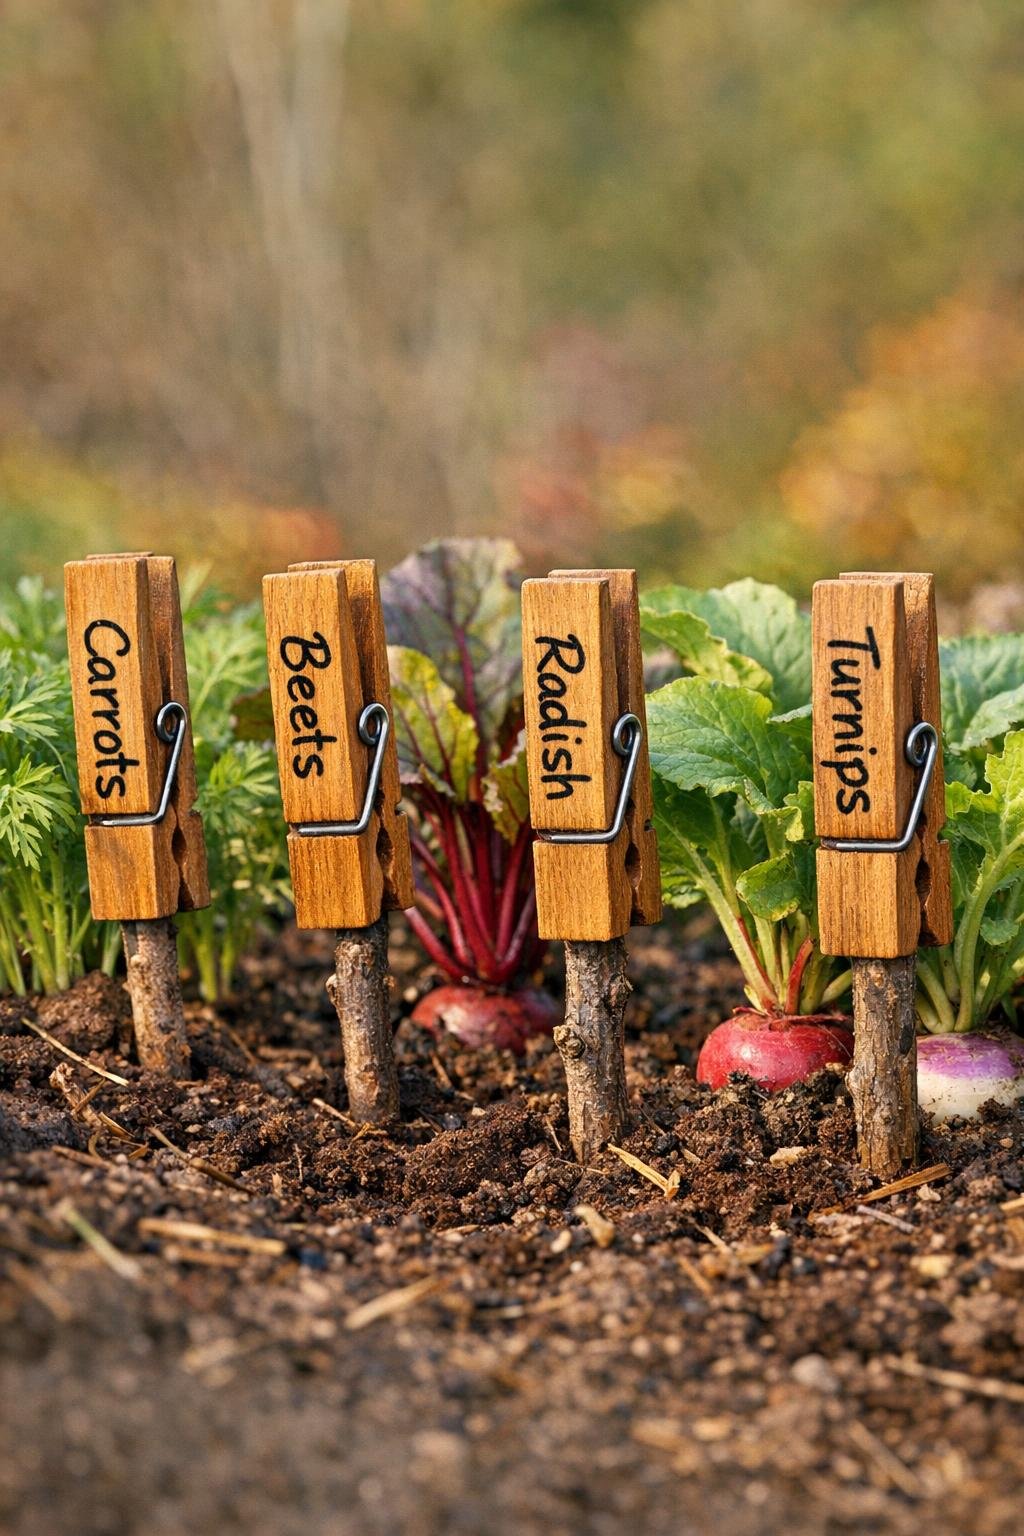
7. Clip one labeled clothespin onto the top end of each twig, making sure the writing faces outward and is easy to read from the path.
8. Push the twig markers 2 to 3 inches into the soil at the start of each planted row or beside each root vegetable patch before the first hard frost arrives.
9. Adjust the height and angle so the clothespins sit above low foliage and stay visible as the garden dies back.
10. Check the markers after heavy rain or wind, and reclip or rewrite any labels as needed through the season.
Variations & Tips
Use thicker twigs for windy spots: If your beds are exposed like mine sometimes are in late October, choose twigs closer to 1/2 inch thick so the markers stay upright better.
Color-code by crop family: Use different marker colors on the clothespins for carrots, beets, radishes, and turnips if you want to identify rows at a glance during quick garden check-ins after work.
Seal for longer use: If you want these to last beyond one cool season, brush on a light coat of outdoor sealer after baking and before labeling.
Choose smooth wood for easier writing: Some clothespins have rougher grain than others, so I set aside the smoothest ones for tiny labels like beets or leeks where neat writing matters.
Keep extras ready: I like to bake a full batch at once and store unused clothespins in a drawer near my gardening gloves, because once fall planting gets busy, having extras ready is one of those little time-savers that feels miraculous.