
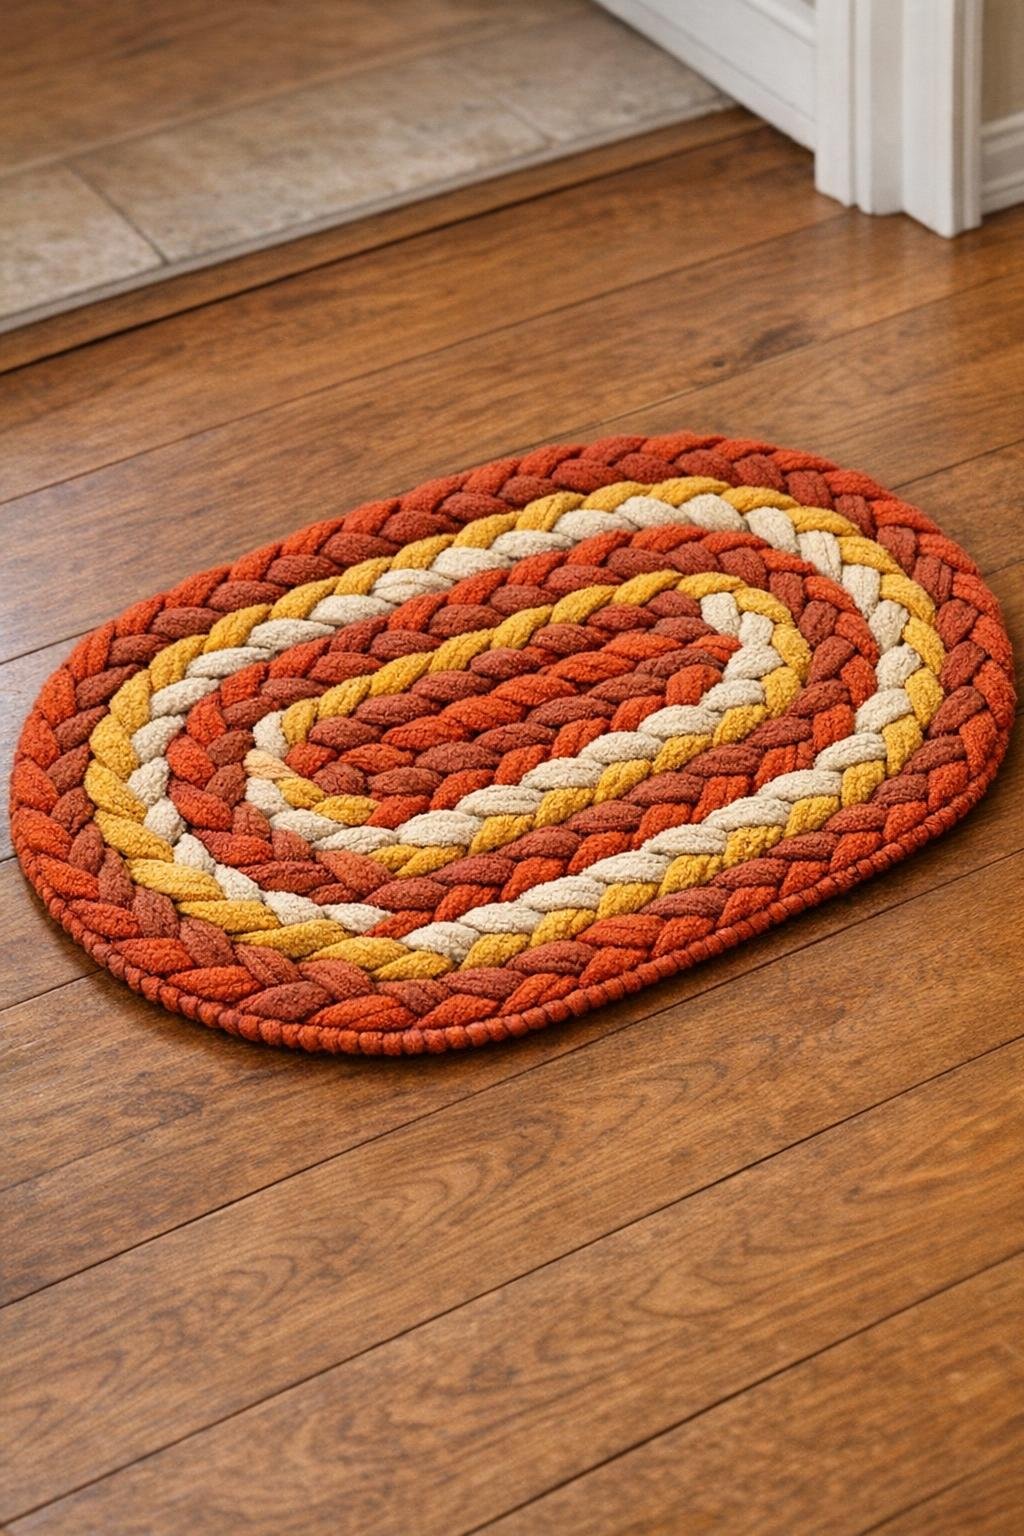
I love a project that turns something worn-out into something useful again, and this autumn braided rug does exactly that with just three old cotton bath towels. If you’ve got towels that are too faded, mismatched, or frayed for the bathroom but still soft and sturdy, this is a cozy little upcycle that gives them a whole new life.
This is a great beginner-friendly project for anyone who likes simple handwork without needing fancy equipment. I especially like making pieces like this as the seasons change, because a small rug by the back door, kitchen sink, or laundry room can make everyday family spaces feel warmer and more welcoming.
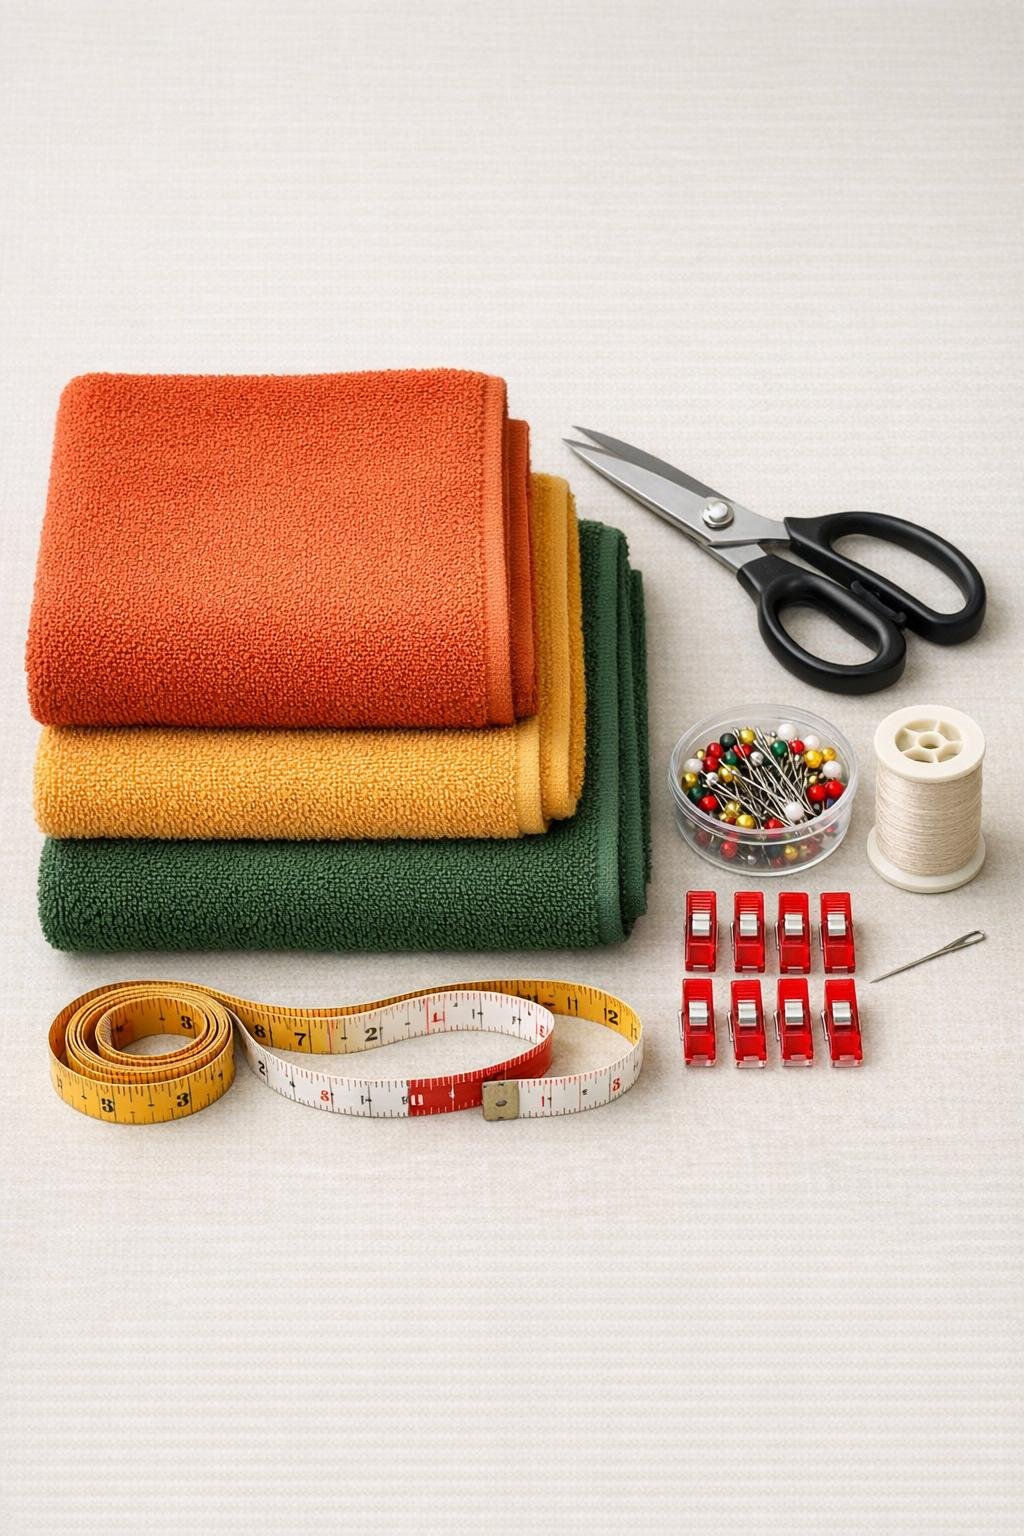
Materials
Instructions
1. Wash and fully dry the towels first, then trim away any stiff hems, loose threads, or worn edges so you’re working with soft, even fabric only.
2. Cut each towel lengthwise into three strips about 3 inches wide so you end up with 9 long strips total; keep the strips as even as you can for a smoother finished rug.
3. Gather the strips into three groups of three, then overlap and stitch one end of each group together so you have three thicker sets ready to braid.
4. Braid each set tightly from one end to the other, keeping the tension as even as possible, and stitch the tail end of each braid closed so it doesn’t unravel.
5. Lay the three braids side by side and stitch them together across one short end, then begin coiling that joined end into a flat oval or circle, depending on the shape you want.
6. Sew the touching edges of the braid together as you coil, using sturdy whipstitches every 1 to 2 inches to hold the rug flat without puckering.
7. Continue coiling and stitching until all three braids are attached, adjusting the shape with your hands as you go so the rug stays even and doesn’t cup upward.
8. Tuck the final braid end underneath slightly, stitch it down securely, and snip any loose threads for a clean finish.
Variations & Tips
For a round rug: Coil the braid in a circle from the very beginning and check often that the outer edge stays relaxed so the rug lies flat.
For an oval rug: Start with a short straight stitched section before curving the braid around both ends; this is my favorite shape for in front of a sink.
For picky color preferences: If your family is particular about colors like mine can be, sort towels into a simple palette such as rust, cream, and brown, or use all one color for a calmer look.
For extra durability: Use doubled thread when sewing the braids together, especially if the rug will live by a busy back door or in the kitchen.
If your towels are thick: Cut slightly narrower strips, around 2 1/2 inches wide, so the braids are easier to handle and the finished rug doesn’t get too bulky.
Easy care: Shake the rug out regularly and machine wash on gentle if your towel fabric allows it, then lay it flat or hang it to dry so it keeps its shape.