
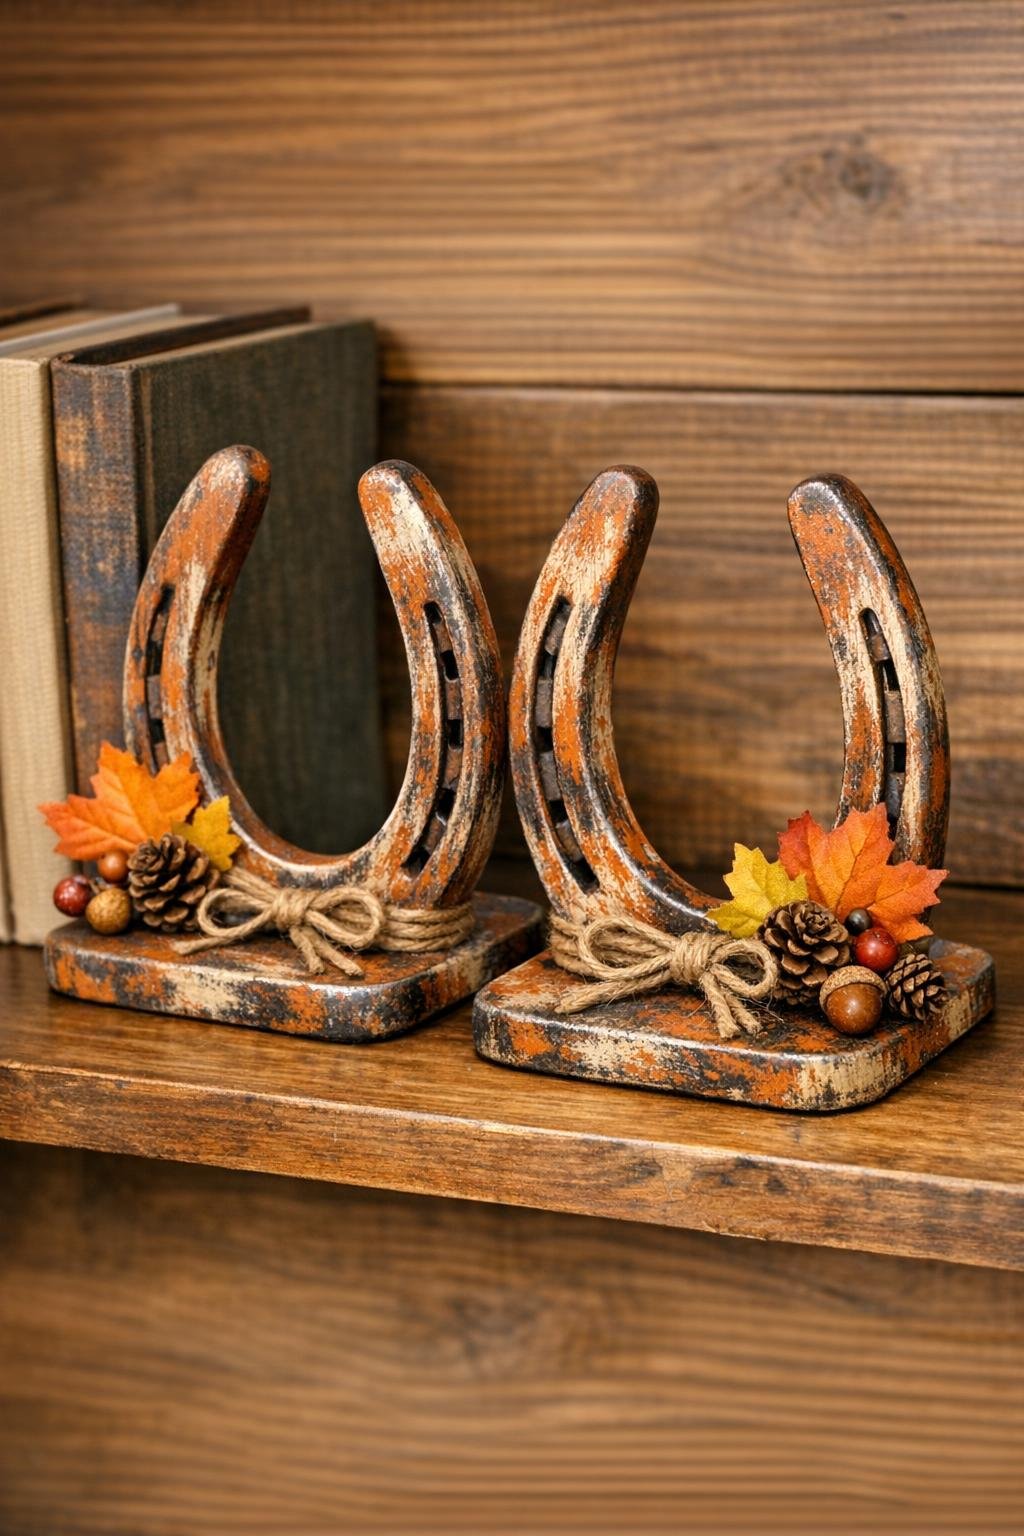
I’ve always had a soft spot for old farm castoffs, especially the kind that look too worn to be useful anymore. Around here, a rusty horseshoe usually ends up in a coffee can on a shelf in the shed, saved “just in case.” This little project turns three of those old metal horseshoes into a pair of sturdy autumn bookends that feel right at home on a mantel, kitchen shelf, or beside a stack of cookbooks.
What I like most about this project is that it’s simple, practical, and full of that honest country character you just can’t buy new. If you enjoy rustic decorating, upcycling, or making seasonal pieces without spending much, this is a fine afternoon project. The finished bookends keep the shape of the horseshoes front and center, so they still look like the hard-working barn pieces they once were—just cleaned up and dressed for fall.
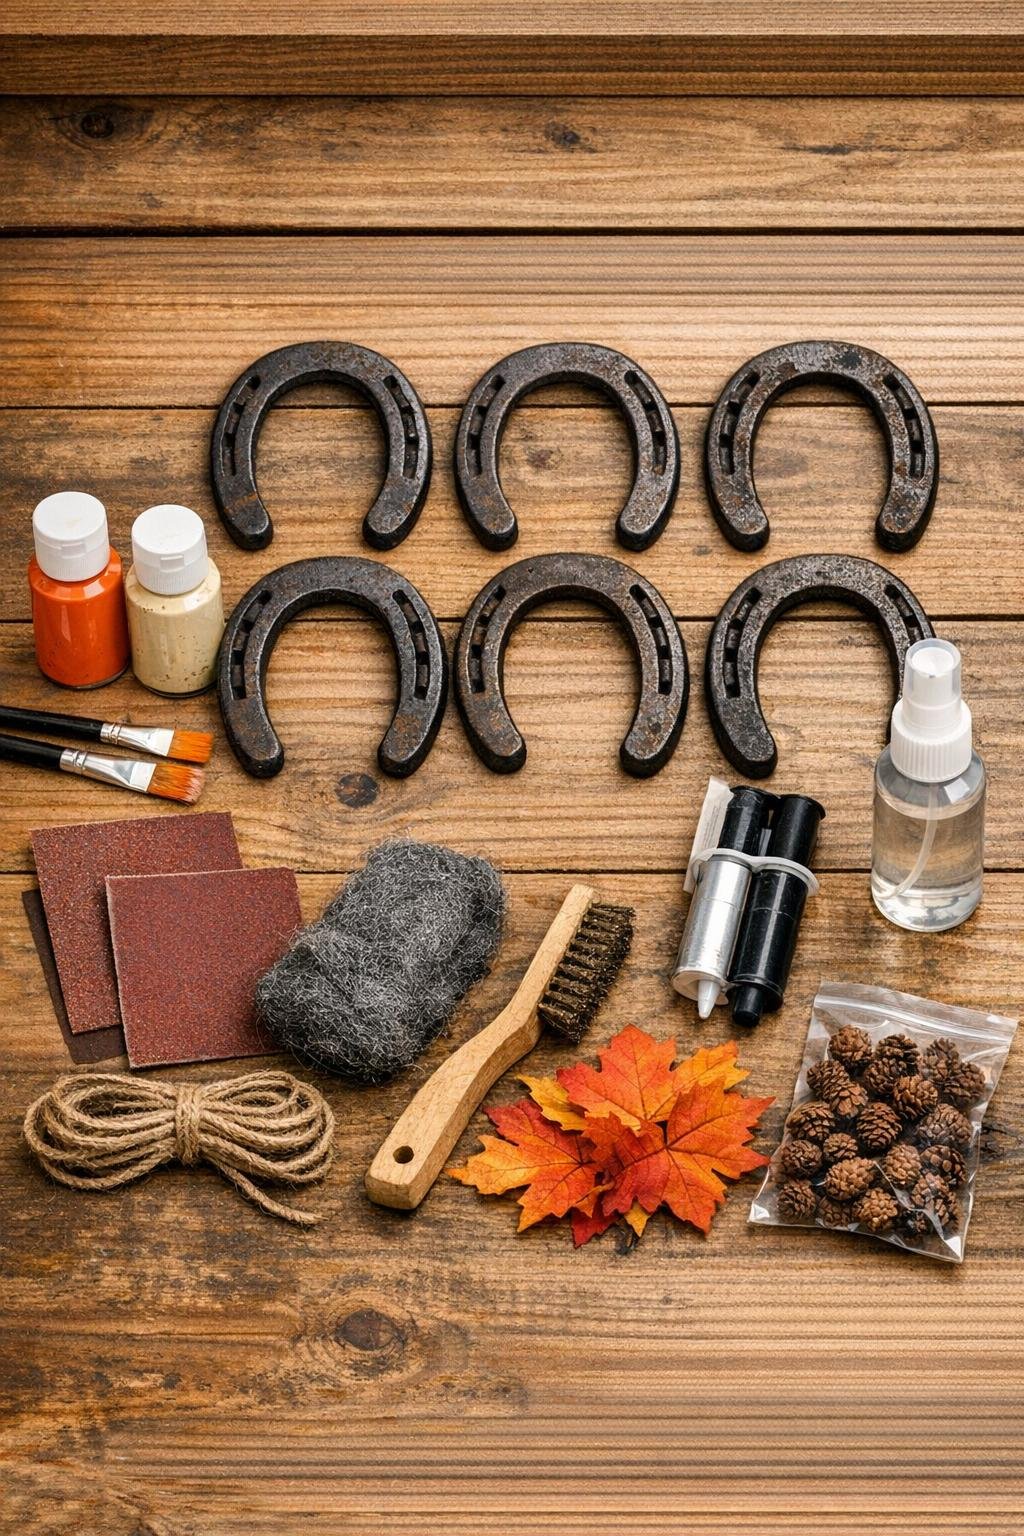
Materials
6 old metal horseshoes, standard size, cleaned but still rustic
Instructions
1. Scrub the horseshoes with warm water, dish soap, and the wire brush to remove dirt and loose rust, then dry them thoroughly with a rag.
2. Smooth any rough flakes with 120-grit sandpaper, then go over the surface lightly with fine steel wool so the paint and adhesive will grip better.
3. Set aside two matching pairs of horseshoes for the sides of the bookends, and choose the two flattest horseshoes to use as the bottom bases.
4. Lay one base horseshoe flat on wax paper, add metal epoxy where the edges will meet, and press a second horseshoe upright at a right angle to form one bookend side; repeat with the second set for the other bookend.
5. Let the epoxy cure fully according to the package directions, keeping the upright pieces braced so they stay square and steady.
6. Dry brush burnt orange and cream acrylic paint over the outer curves of the horseshoes, leaving some of the aged metal visible for a weathered autumn finish.
7. Add a little dark brown paint into creases and around nail holes with the detail brush to deepen the antique look, then let the paint dry.
8. Seal the painted horseshoes with a light coat of clear matte sealer and allow them to dry completely before decorating.
9. Tie a short length of jute twine around the upright part of each bookend, knotting it neatly toward one side.
10. Tuck and glue three faux autumn leaves and three mini pinecones onto each twine tie so the decorations sit near the outer edge without blocking the books.
11. Stick two felt pads under the base of each bookend so they won’t scratch your shelf or tabletop.
12. Stand the finished pair upright and test them with a few books, adjusting the leaf placement if needed so the bookends stay balanced and practical.
Variations & Tips
Keep it extra rustic: If you love the look of old barn hardware the way I do, use less paint and let more of the natural rust and wear show through.
Make them heavier: For larger cookbooks or hardcovers, choose thicker draft-horse style shoes or glue a small steel plate under each base for extra weight.
Swap the autumn trim: You can trade the leaves and pinecones for burlap ribbon, dried wheat stems, or a bit of bittersweet-colored artificial berry garland.
Use real gathered pieces carefully: If you decorate with real leaves or seed heads from the yard, make sure they are fully dry before attaching so they don’t wilt or mold indoors.
Protect indoor surfaces: Old metal can still shed a little residue over time, so don’t skip the sealer and felt pads if you’re placing these on painted shelves or nice wood furniture.
Give them as a seasonal gift: I think these are especially charming wrapped with a secondhand cookbook or a bundle of notebooks for someone who appreciates practical country things with a story behind them.