
I’ve always believed the prettiest things in a home are often the most useful ones, and this little bathroom lotion tray is a fine example of that. By adding small brass cabinet feet to an oval wooden cheese board, you can turn an ordinary serving piece into a raised tray that looks thoughtful, polished, and just a touch old-fashioned in the best way. It’s the kind of project that makes a bathroom counter feel finished without spending department-store money.
What I like most is that it’s beginner-friendly and quick, but the result looks like something you hunted down in a lovely little boutique. If you’ve got hand lotion, a soap dispenser, a candle, or a small bud vase that always seems to drift around the vanity, this is a simple way to gather it all together neatly.
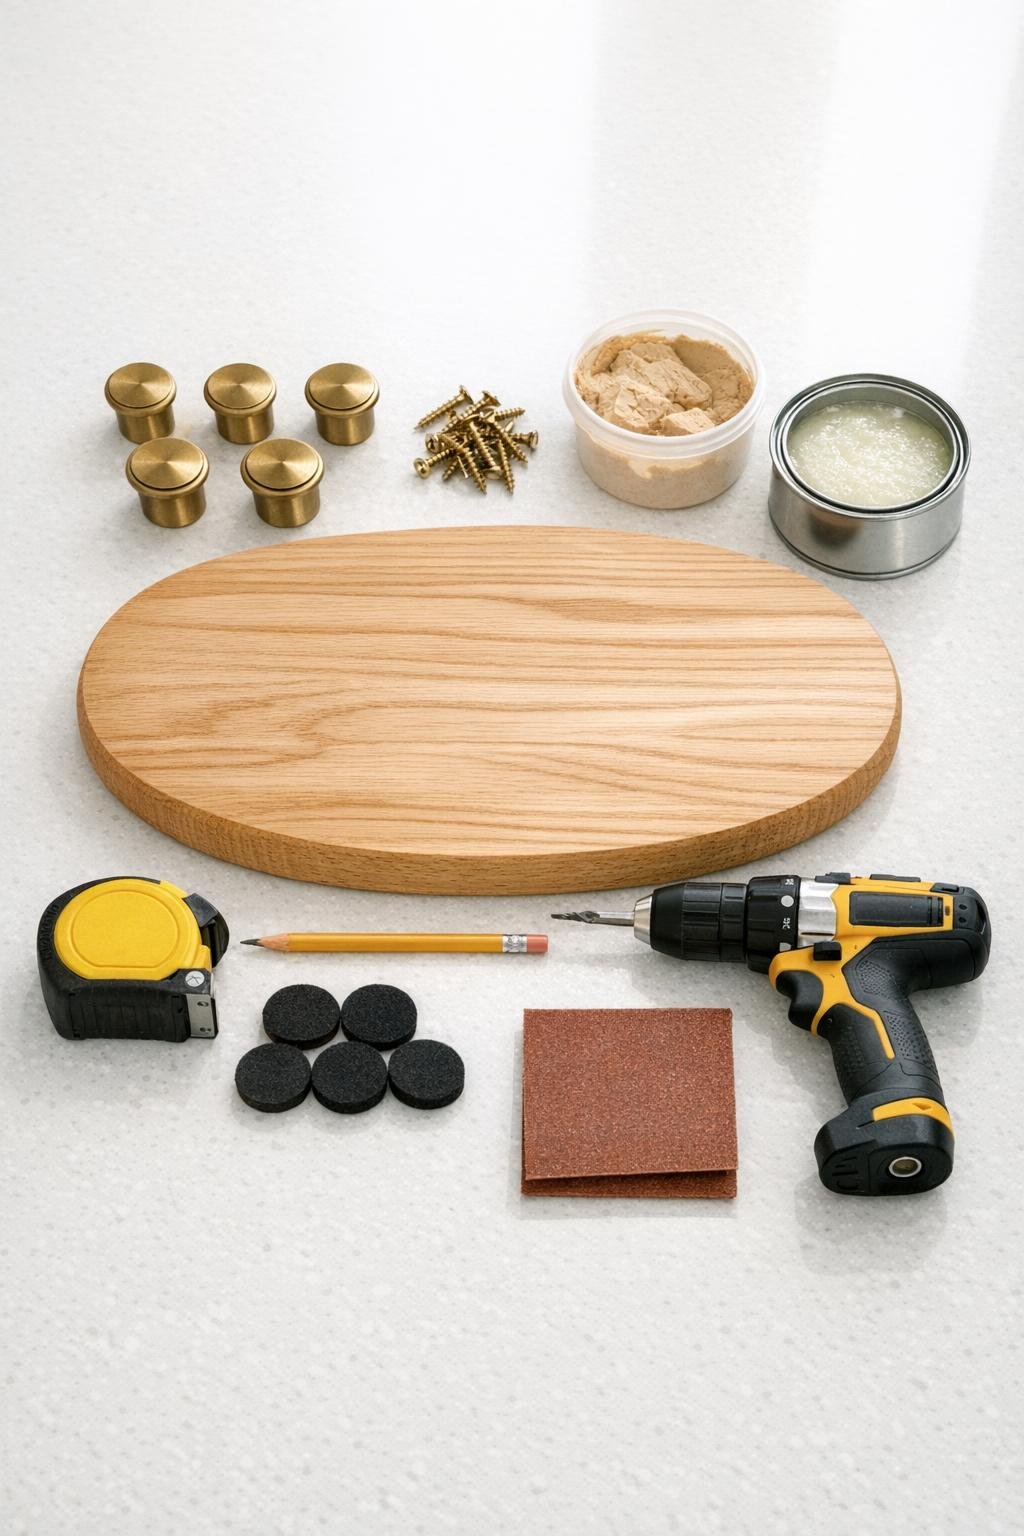
Materials
1 oval wooden cheese board, about 12 to 14 inches long and 6 to 8 inches wide
Instructions
1. Wipe the oval wooden cheese board clean and inspect both sides so you can choose the prettier face for the top of your tray.
2. Lightly sand the board with 220-grit sandpaper, especially around the edges and handle area if it has one, then wipe away all dust with a clean cloth.
3. If you want extra moisture protection for bathroom use, apply a thin coat of clear furniture wax or water-based polyurethane to the board, let it dry fully, and buff or smooth it as needed.
4. Turn the board upside down and position the four small brass cabinet feet evenly near the outer edge, keeping each foot about 3/4 inch in from the rim so the tray stays balanced.
5. Measure the spacing, adjust until the feet look even from end to end and side to side, then mark the screw holes lightly with a pencil.
6. Pre-drill shallow pilot holes if needed, being careful not to drill through the top of the board; this is especially helpful if your board is hardwood.
7. Attach each brass foot with the mounting screws and tighten them until snug, but don’t over-tighten and strip the wood.
8. Stick a small felt pad on the bottom of each brass foot if the tray will sit on a delicate countertop, then flip the tray right side up and check that it doesn’t wobble.
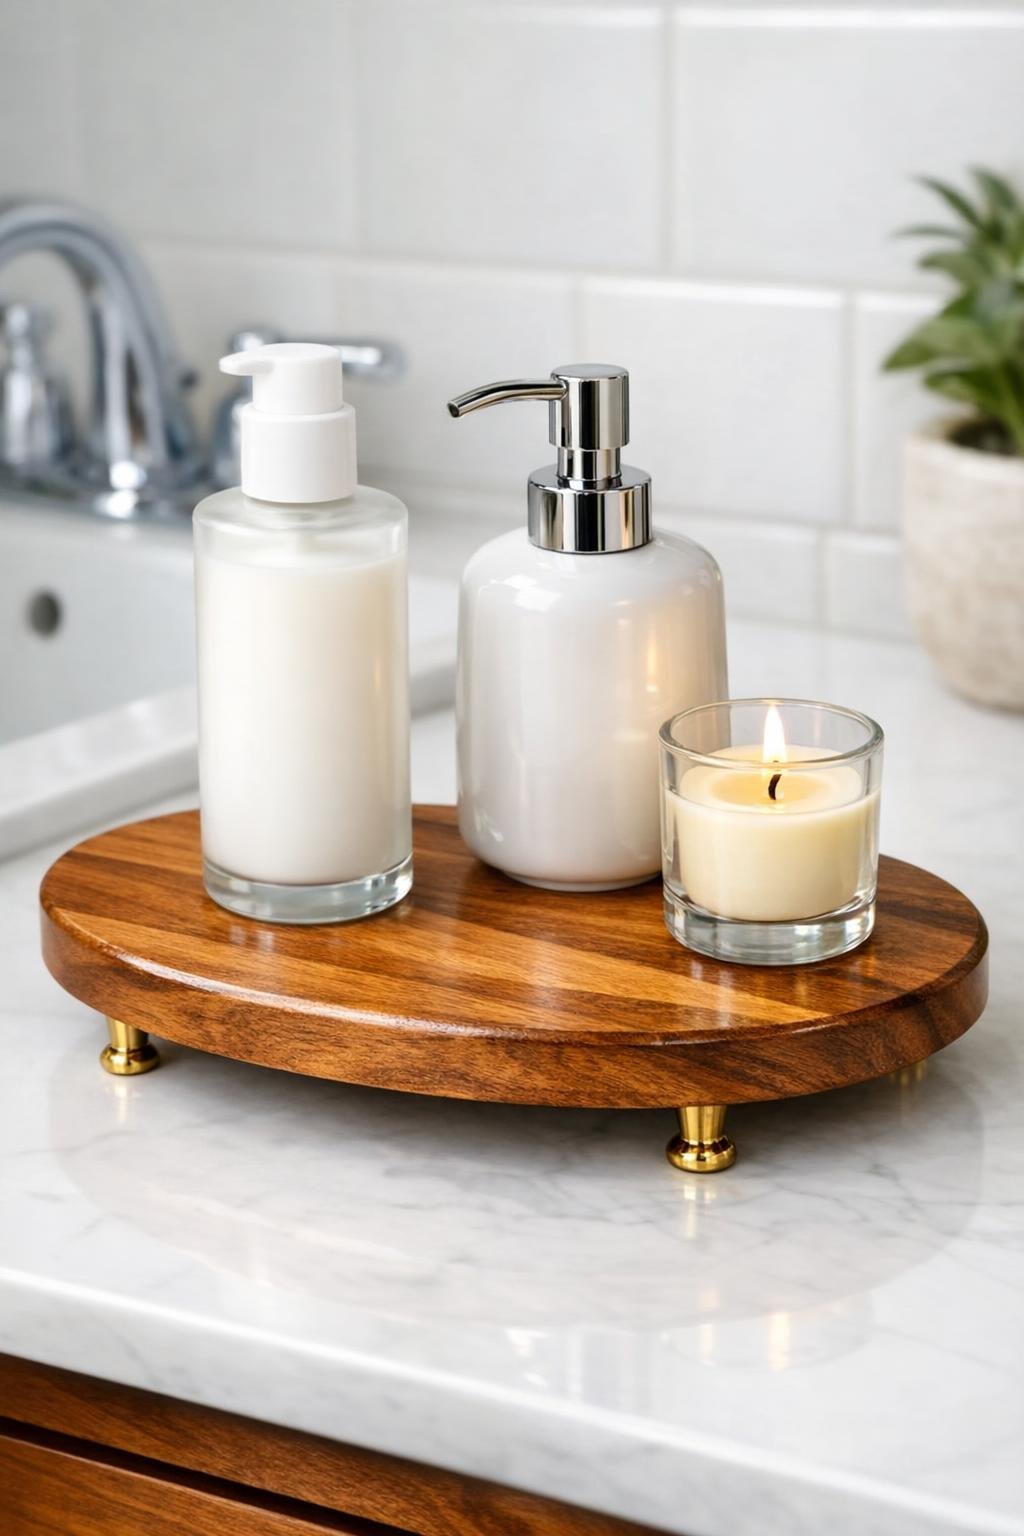
9. Fill any tiny marks with matching touch-up putty if needed, give the tray one final wipe, and style it with a lotion bottle, soap dispenser, or a candle.
Variations & Tips
Handle board option: If your cheese board has a handle, let it remain visible as part of the design. I think it adds charm and makes the tray easier to lift when it’s time to wipe down the counter.
Finish choice: For a more natural, old-house look, use clear wax; for stronger water resistance in a busy bathroom, choose water-based polyurethane.
Foot style: Rounded brass feet give a softer vintage feel, while square feet look a bit more tailored. Either works nicely as long as all four are the same height.
Board thickness tip: Before you screw anything in, check the thickness of the cheese board against the screw length. I always say it’s better to measure twice than to discover a screw tip peeking through the top.
Styling idea: This tray looks especially lovely with amber or white bottles, a folded washcloth, or a tiny vase clipping from the yard. A little grouping like that can make even an everyday bathroom feel cared for.
Gift version: If you’re making this for someone else, pair it with a hand lotion and soap set. It becomes a thoughtful handmade gift that feels personal without being fussy.