
There’s something so satisfying about a garden project that looks thoughtful and polished but only takes an afternoon to pull together. This terracotta saucer border is exactly that kind of project: simple, budget-friendly, and full of charm. By pressing small terracotta plant saucers into dark brown mulch, you get a warm, cottage-style edging that adds definition to beds and pathways without looking fussy.
I love projects like this because they make a yard feel more “finished” without needing power tools or a full weekend of work. If you’re like me and trying to squeeze in little home projects between work, errands, and figuring out dinner, this is a very doable upgrade. It’s especially great for anyone who likes natural materials and wants a border that feels a little softer than stone or plastic edging.
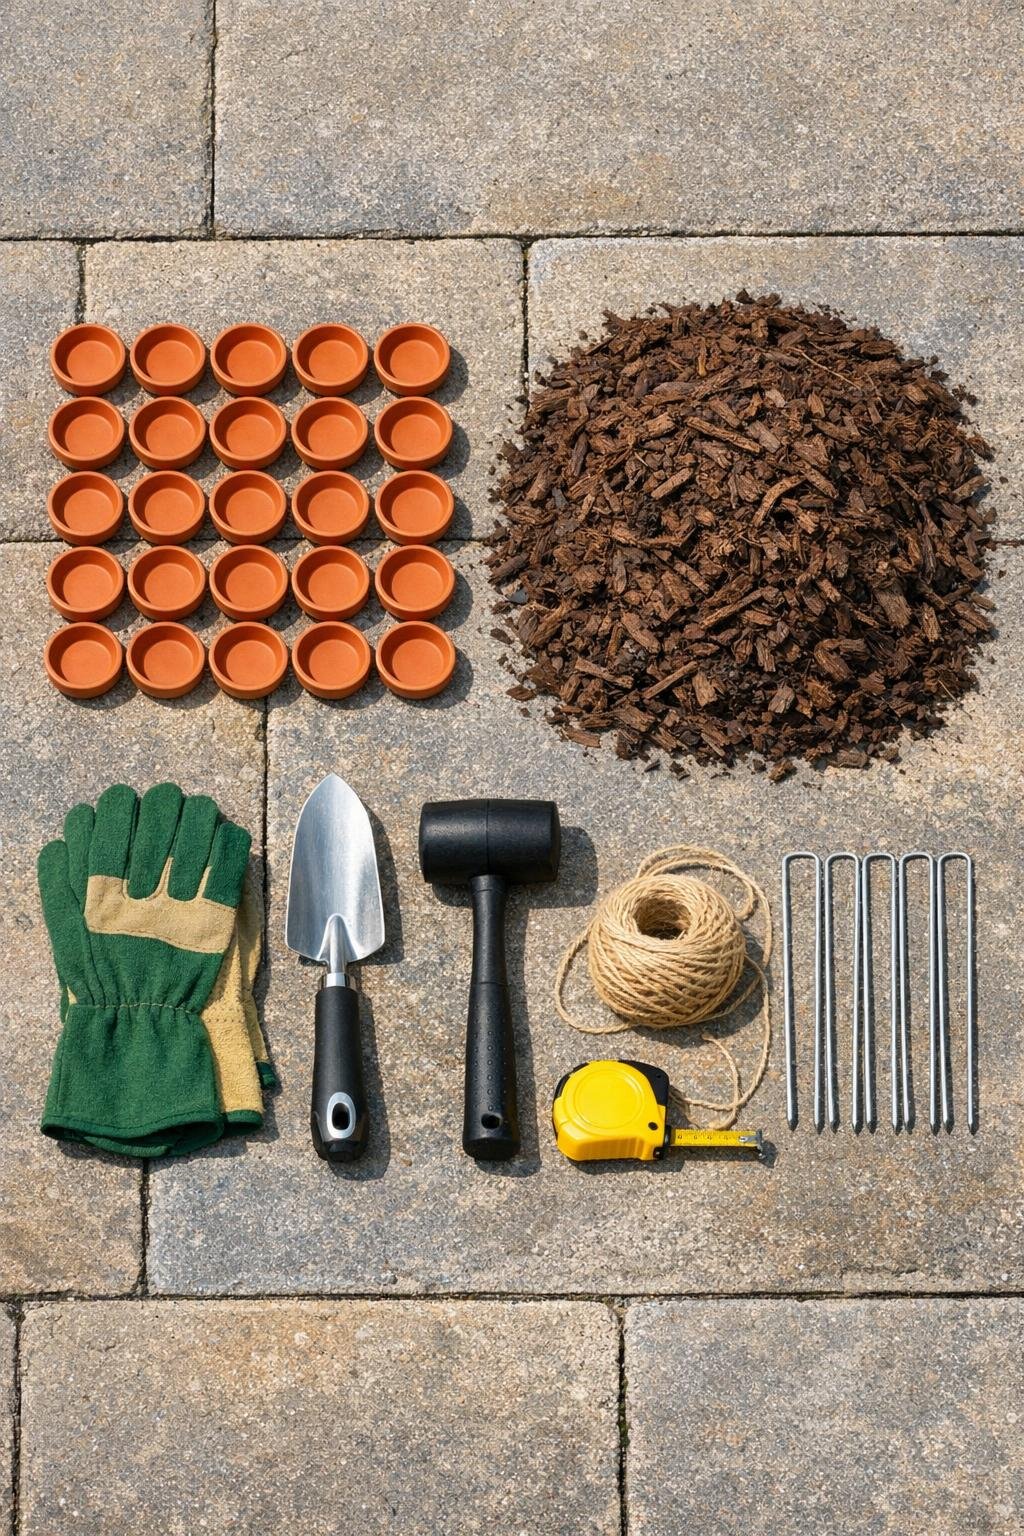
Materials
Instructions
1. Decide where you want the border to go, then use the measuring tape and garden string to mark a straight or gently curved line along the edge of the bed.
2. Pull back any loose mulch along that line and use the hand trowel to make a narrow trench about 2 inches deep, just wide enough for the rim of each saucer.
3. Set the first terracotta saucer into the trench on its edge, pressing it down so about half to two-thirds of the saucer sits below the mulch line.
4. Add the next saucer right beside the first, slightly overlapping or touching edge to edge so there are no large gaps in the border.
5. Continue placing saucers along the line, checking every few pieces to keep the height consistent so the finished edge looks even.
6. If the ground is firm, tap the top edge of each saucer gently with the rubber mallet to seat it securely without cracking the terracotta.
7. Backfill mulch around both sides of the saucers with your hands or trowel, then press the mulch firmly so the border feels stable.
8. Use landscape pins behind the border every 2 to 3 feet if needed in loose areas to help hold the mulch line and keep the edging from shifting over time.
9. Step back and adjust any saucers that sit too high, too low, or out of line, then smooth the surrounding mulch for a clean finished border.
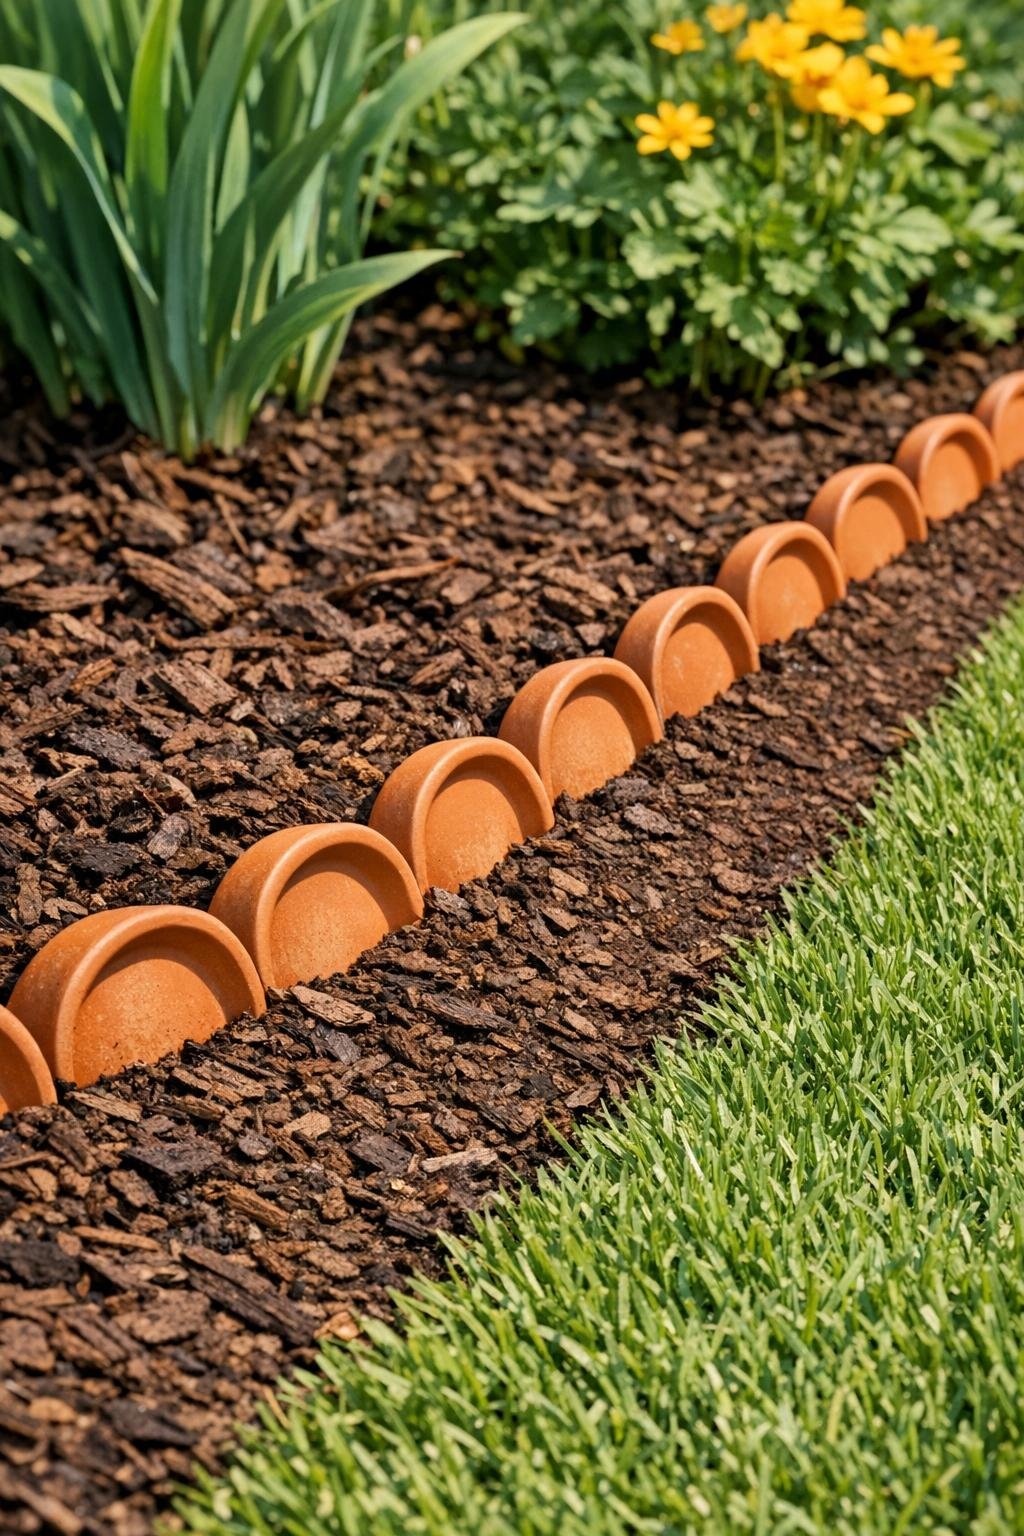
Variations & Tips
Use one saucer size: Keeping all the saucers the same diameter gives the border a cleaner, more intentional look. Mixed sizes can work, but they tend to read more rustic and a little less polished.
Try a gentle curve: I think this project looks especially pretty along curved flower beds. The round shape of the saucers naturally follows a bend better than many rigid edging materials.
Soak extra-dry soil first: If your bed is packed hard in summer, lightly water the area before digging the trench. I’ve found this makes pressing the saucers in much easier and lowers the chance of cracking one.
Refresh the mulch after installation: A thin fresh layer of dark brown mulch over the bed helps the terracotta color stand out beautifully. It’s a small detail, but it really makes the border pop.
Watch for frost movement: In colder Midwest weather, freeze-thaw cycles can shift small pieces a bit. I like to do a quick spring walk-through and press any saucers back into place before planting season gets busy.
Swap in matching pots for nearby accents: If you already use terracotta planters on your porch or patio, this edging ties everything together nicely. It’s one of those easy details that makes the whole yard feel more cohesive.