
When wet boots start piling up by the door, I like having a simple spot that keeps the mess contained and still looks tidy. This entryway shoe drip tray is one of those practical little projects that takes almost no time, but it makes everyday life feel a whole lot easier, especially during rainy days, snowy weather, or muddy spring afternoons.
I love this kind of fix because it uses easy-to-find materials and doesn’t require any special building skills. By filling a large plastic boot tray with smooth river rocks and setting a metal cooling rack on top, you create a raised surface for shoes to drip dry while the water collects below. It’s perfect for busy families, kids coming in from outside, or anybody who is tired of wiping puddles off the floor.
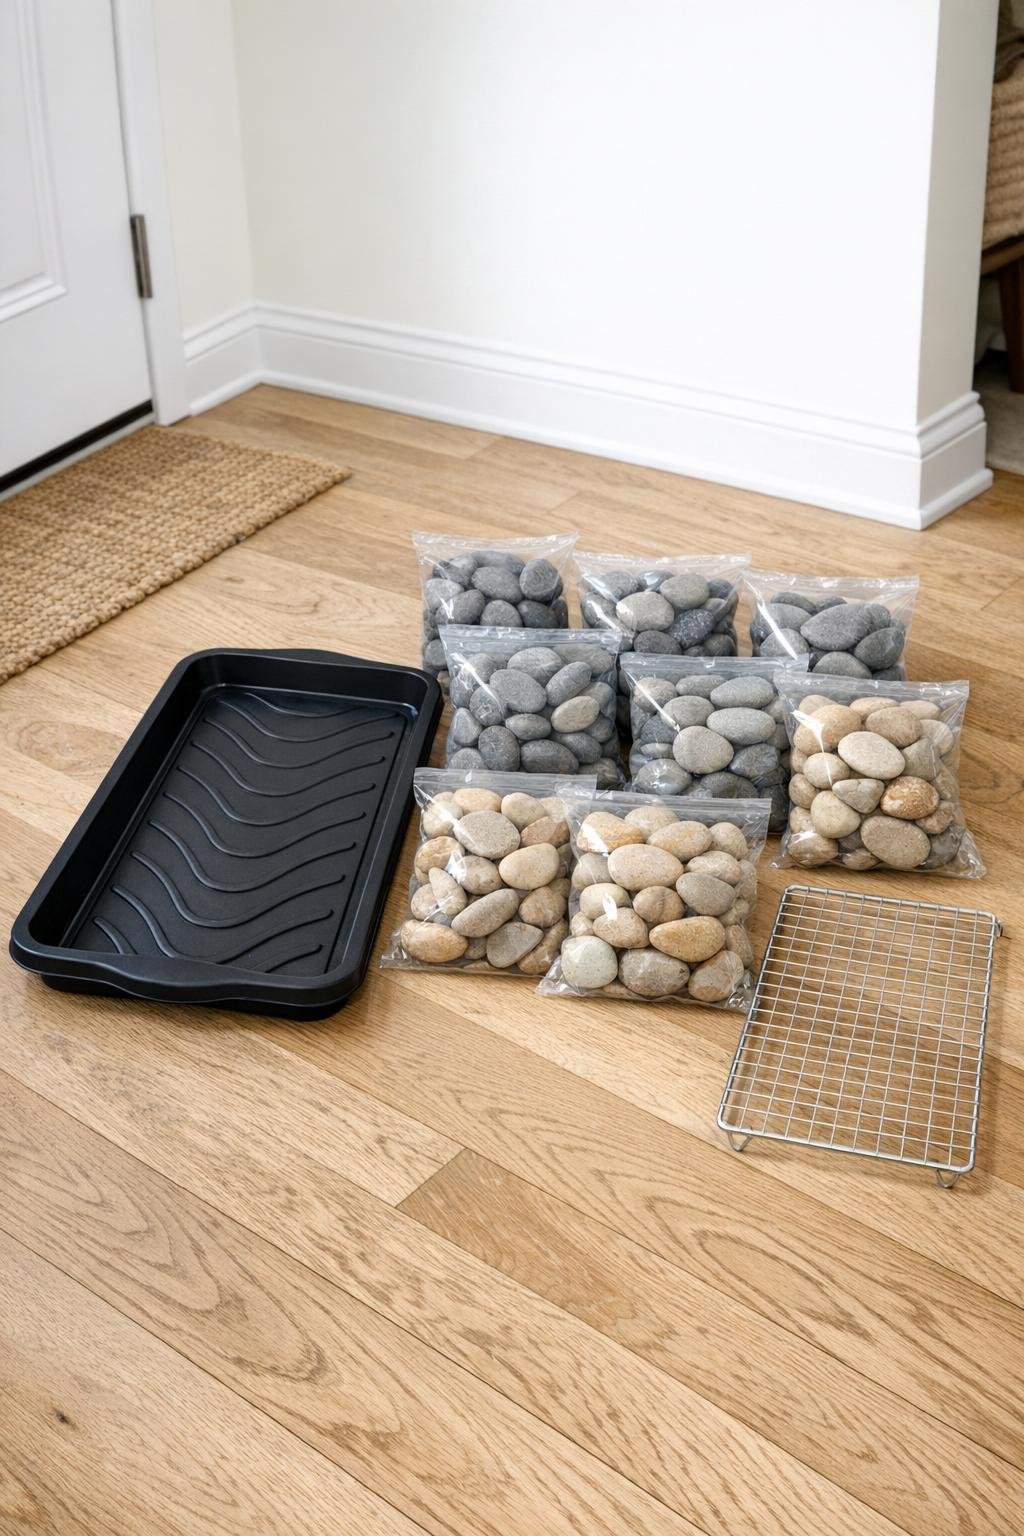
Materials
1 large plastic boot tray, about 30 x 15 inches
Instructions
1. Wash the plastic boot tray with warm water and a little dish soap, then dry it well with a towel.
2. Rinse the river rocks thoroughly to remove dust and grit, then spread them on a towel and let them dry or pat them dry.
3. Pour the dry river rocks into the boot tray and spread them into an even layer that covers the bottom without piling too high.
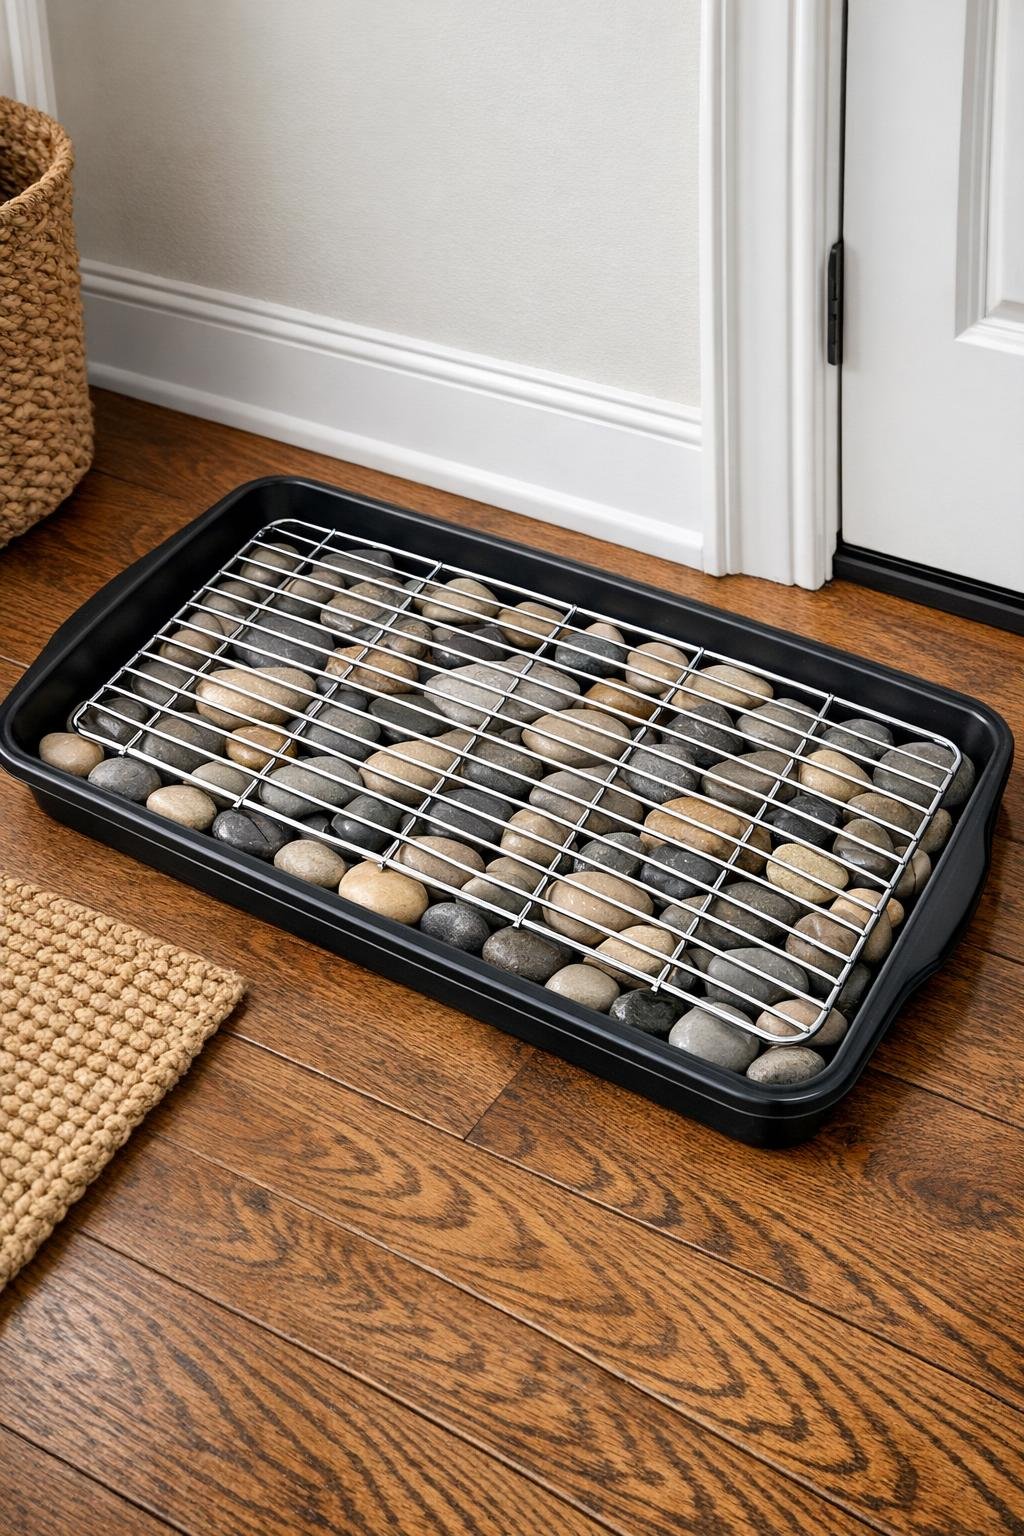
4. Set the metal cooling rack directly over the rocks so it sits level and stable, with the rack supported by the stones underneath.
5. Press gently on each corner of the rack to check that it does not wobble, then adjust a few rocks underneath if needed for better support.
6. Place the tray by your entryway door and test it with a pair of wet shoes or boots to make sure drips fall through the rack and collect below.
7. Empty out collected water as needed and rinse the tray every so often to keep the rocks looking fresh and the entryway clean.
Variations & Tips
For bigger families: Use a wider boot tray and two matching cooling racks side by side so there is room for more shoes after school or sports practice.
For picky neatniks: Choose river rocks in one color family, like all gray or all tan, for a more polished look that blends in with your entryway décor. I know that little visual detail can make a practical project feel much more intentional.
For taller boots: Pick a sturdier cooling rack with a reinforced edge so heavier winter boots stay supported without bending the rack.
Easy cleaning tip: Lift off the rack first, then scoop out the rocks and rinse everything in a sink, bucket, or outside with a hose before putting it back together.
Water control: Keep the layer of rocks low enough that the cooling rack stays above the bottom of the tray, which gives water space to collect instead of soaking the soles of the shoes.
Floor protection: If your entryway floor is slippery, place a small nonslip shelf liner or rubber mat underneath the boot tray to help keep it from shifting.