
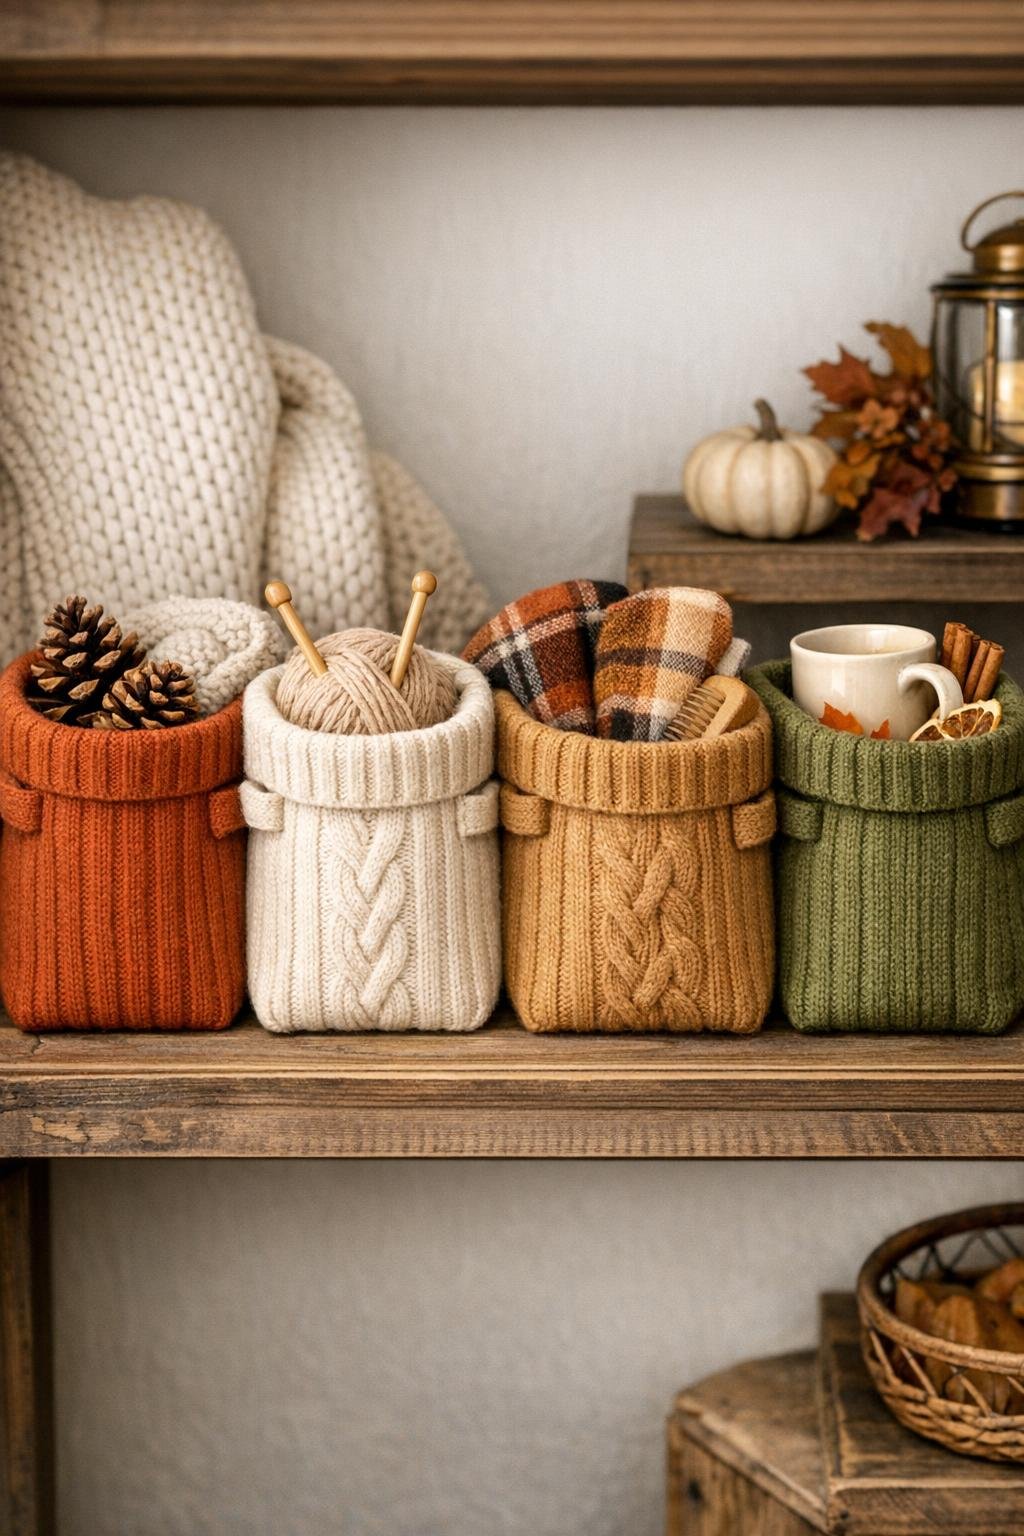
I love a thrift-store project that looks high-end when it’s done, and these fall storage bins made from old wool cardigans are exactly that kind of win. You start with just four sweaters and a handful of basic sewing supplies, and by the end you have a set of soft, structured bins that look cozy on an entry bench, tucked into a cube shelf, or lined up in a pantry for seasonal odds and ends.
Because I’m usually squeezing projects in between work deadlines and figuring out dinner, I’m always looking for DIYs that feel special without becoming a whole weekend commitment. This one is great for confident beginners and casual sewists alike, especially if you’ve ever spotted beautiful wool cardigans at the thrift store and thought, “I should make something with those.”
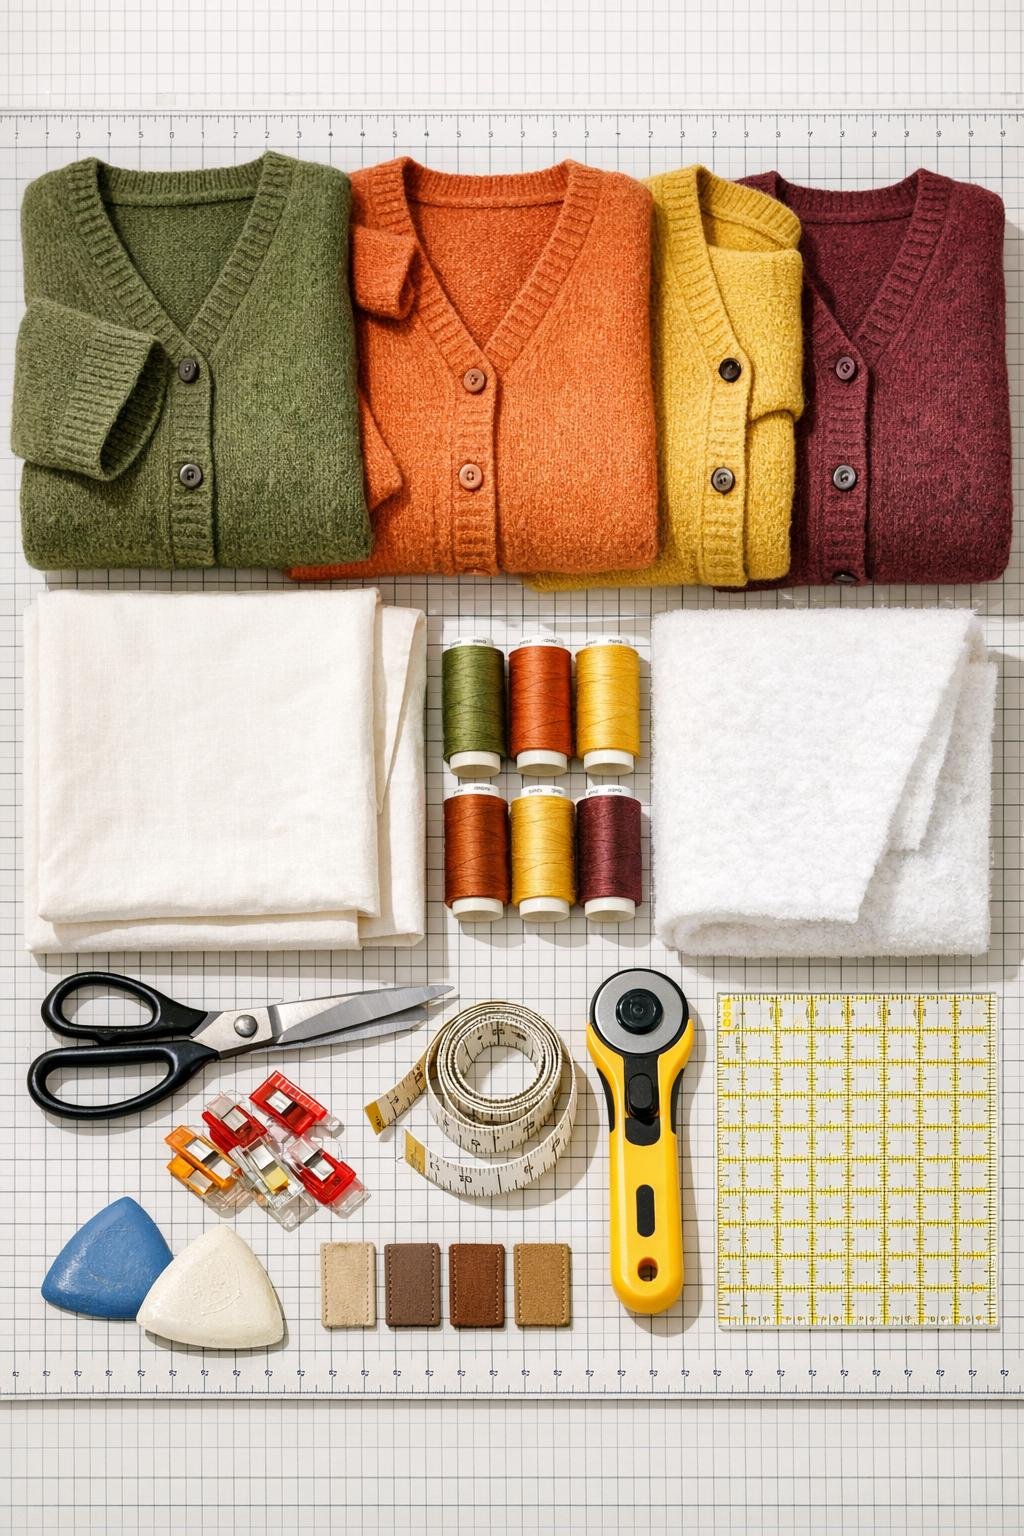
Materials
4 old wool cardigan sweaters, adult size medium to XL, in fall tones like rust, camel, cream, olive, or brown
Instructions
1. Wash or steam the cardigans, then dry them fully so the wool is clean and slightly tightened up before cutting. If the sweaters are very loose-knit, fuse a test scrap with fleece first to make sure the texture still looks good.
2. Cut each cardigan apart at the side seams and sleeves so it can lay as flat as possible. Remove bulky buttons and save any pretty ones for another project.
3. Make a 12 x 12 inch square template from paper, then use it to cut two sweater squares, two lining squares, and two fusible fleece squares for each bin body. For the base boxing, also cut one 12 x 4 inch sweater strip, one lining strip, and one fleece strip per bin if your sweater pieces are too small to cut a full continuous body.
4. Fuse the fleece interfacing to the wrong side of each lining piece following the manufacturer’s heat settings. I like this method because it gives the bins structure without making them stiff like a box.
5. Sew the two sweater body pieces right sides together along the sides and bottom with a 1/2-inch seam allowance, leaving the top open. Repeat for all four bins.
6. Box the bottom corners of each sweater shell by pinching one lower corner into a triangle, measuring 2 inches in from the point, and sewing straight across. Trim the excess to 1/2 inch and repeat on the other corner and on all remaining shells.
7. Sew the lining pieces together the same way, but leave a 4-inch turning gap in the bottom seam of each lining. Box the lining corners exactly as you did on the sweater shells.
8. Cut eight muslin rectangles at 10 1/2 x 10 1/2 inches and sew each pair together on three sides to make four flat pockets for the removable support panels. Turn them right side out and topstitch the open edge closed.
9. Stitch one support pocket to the outside bottom of each lining, centered, and stitch another to one side wall if you want extra structure for taller bins. Slip the cardboard or plastic canvas inserts into these pockets later so they stay removable for washing.
10. If you want handles, cut eight twill tape pieces at 8 inches each and baste two onto the right side of each sweater shell, spacing them evenly on opposite sides. Keep the raw ends 1/2 inch below the top edge.
11. If you’re adding a tag, baste it to the center front top edge of one shell panel now. This is a tiny detail, but it always makes thrifted projects look more intentional and boutique-like to me.
12. Place each sweater shell inside its matching lining with right sides together, align the side seams, and clip around the top edge. Sew all the way around the top with a 1/2-inch seam allowance.
13. Turn each bin right side out through the gap in the lining, then sew the lining gap closed with a narrow topstitch or neat hand stitching. Push the lining down into the bin and shape the corners carefully.
14. Wrap the top edge with twill tape or binding if you want a crisp rim, then topstitch 1/8 inch from the upper edge all the way around. This helps the lining stay in place and gives the bins a polished finish.
15. Slide the support inserts into the bottom pockets and fold the upper edge down once if you like the cuffed look. Repeat for all four bins, then fill them with scarves, napkins, canned goods, or anything that needs a prettier home.
Variations & Tips
Use felted wool for extra structure: If your thrifted cardigans are 100% wool, wash them in warm water and dry them to lightly felt the fabric before cutting. I’ve done this when I wanted a sturdier bin for onions and potatoes in the pantry.
Mix sweater patterns carefully: Fair isle, cable knit, and heathered solids look great together, but keep the color palette tight so the set still feels coordinated. I usually pick one patterned sweater and three quieter ones.
Swap the support inserts: Plastic canvas is my favorite if the bins will live somewhere damp like a mudroom shelf, while cardboard works fine for bedroom or linen closet storage. Just make sure the inserts stay removable for cleaning.
Size them to your shelves: Before cutting, measure the cube shelf, console table, or cabinet where the bins will live. It’s much easier to shrink the square template first than to realize afterward that your cute bins are half an inch too wide.
Don’t skip topstitching: Sweater fabric can roll and shift a bit, so that final topstitch line really helps the bins hold their shape. It also gives the finished edge that store-bought look neighbors always notice.
Make a matching set for gifting: These are wonderful filled with tea towels, muffin mixes, candles, or soup fixings for a fall hostess gift. I’m a big fan of projects that feel homemade in the best way but still practical enough to use every day.