
There is something so satisfying about turning a handful of thrift store finds into storage that looks right at home in a cozy fall kitchen. For this project, I’m using 4 glass mustard jars and giving them a simple painted makeover so they become a coordinated storage set for pantry staples, baking goodies, or little kitchen odds and ends. It’s an easy weekend project, and because the jars are already a great size, you don’t need fancy tools or a big budget to make them look special.
As a mom, I’m always looking for ways to make the kitchen feel both useful and welcoming, especially once the weather cools off and everyone starts gathering around for soups, muffins, and after-school snacks. These painted jars are perfect if you love thrifted décor, need extra countertop storage, or just want a fall touch that feels handmade without being fussy.
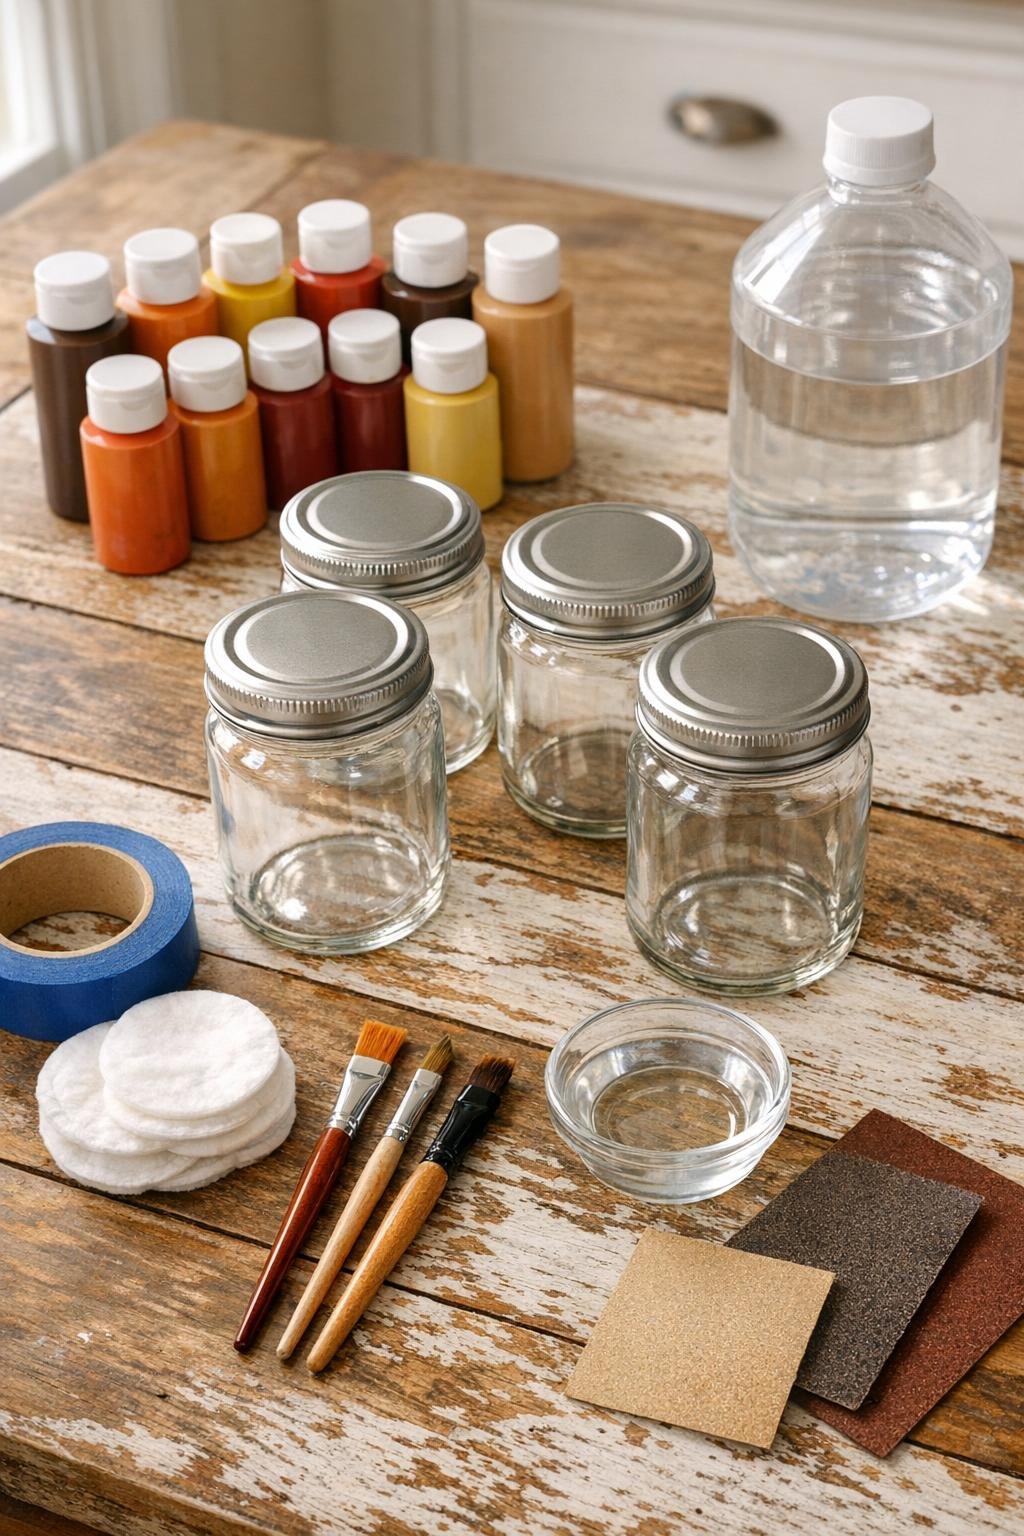
Materials
4 glass mustard jars with lids, 12 to 16 ounces each
Instructions
1. Wash the 4 mustard jars and lids thoroughly with dish soap and warm water, then remove any remaining labels and glue. Let everything dry completely before painting.
2. Wipe the outside of each jar with rubbing alcohol using a cotton pad or lint-free cloth. This helps the paint stick better and keeps fingerprints from showing through.
3. Lightly sand the outside surface of each jar with 220-grit sandpaper, especially if the glass is very smooth. Dust the jars off with a clean dry cloth when you’re done.
4. Decide on your fall color plan before you start painting. I like doing one jar in cream, one in burnt orange, one in sage green, and one in mustard yellow so the set looks coordinated but not too matched.
5. Apply the first thin coat of acrylic paint to the outside of each jar using the foam brush for smooth coverage. Let the jars dry for 20 to 30 minutes before adding more paint.
6. Paint a second coat on all 4 jars, covering any streaky spots and keeping the finish even. If needed, add a third thin coat once the second coat is dry.
7. Paint the lids to match the jars or use cream on all of them for a unified set. Set the lids upside down while they dry so the painted surface stays smooth.
8. If you want a little extra detail, dry-brush a tiny amount of soft brown paint around the raised edges or textured parts of the jars. Keep it subtle so the jars still feel fresh and useful for everyday kitchen storage.
9. Let all painted pieces dry fully, then seal the outside of each jar and lid with a clear matte sealer. Apply 1 to 2 light coats and let the sealer cure according to the package directions.
10. Press felt pads onto the bottoms of the jars so they won’t scratch your counters or shelves. If you like a dressed-up look, tie one 18-inch piece of twine around the neck of each jar.
11. Fill the finished jars with dry kitchen items such as tea bags, wrapped sweetener packets, cookie cutters, baking clips, or individually wrapped treats. Keep them for decorative storage on a coffee bar, open shelf, or kitchen counter.
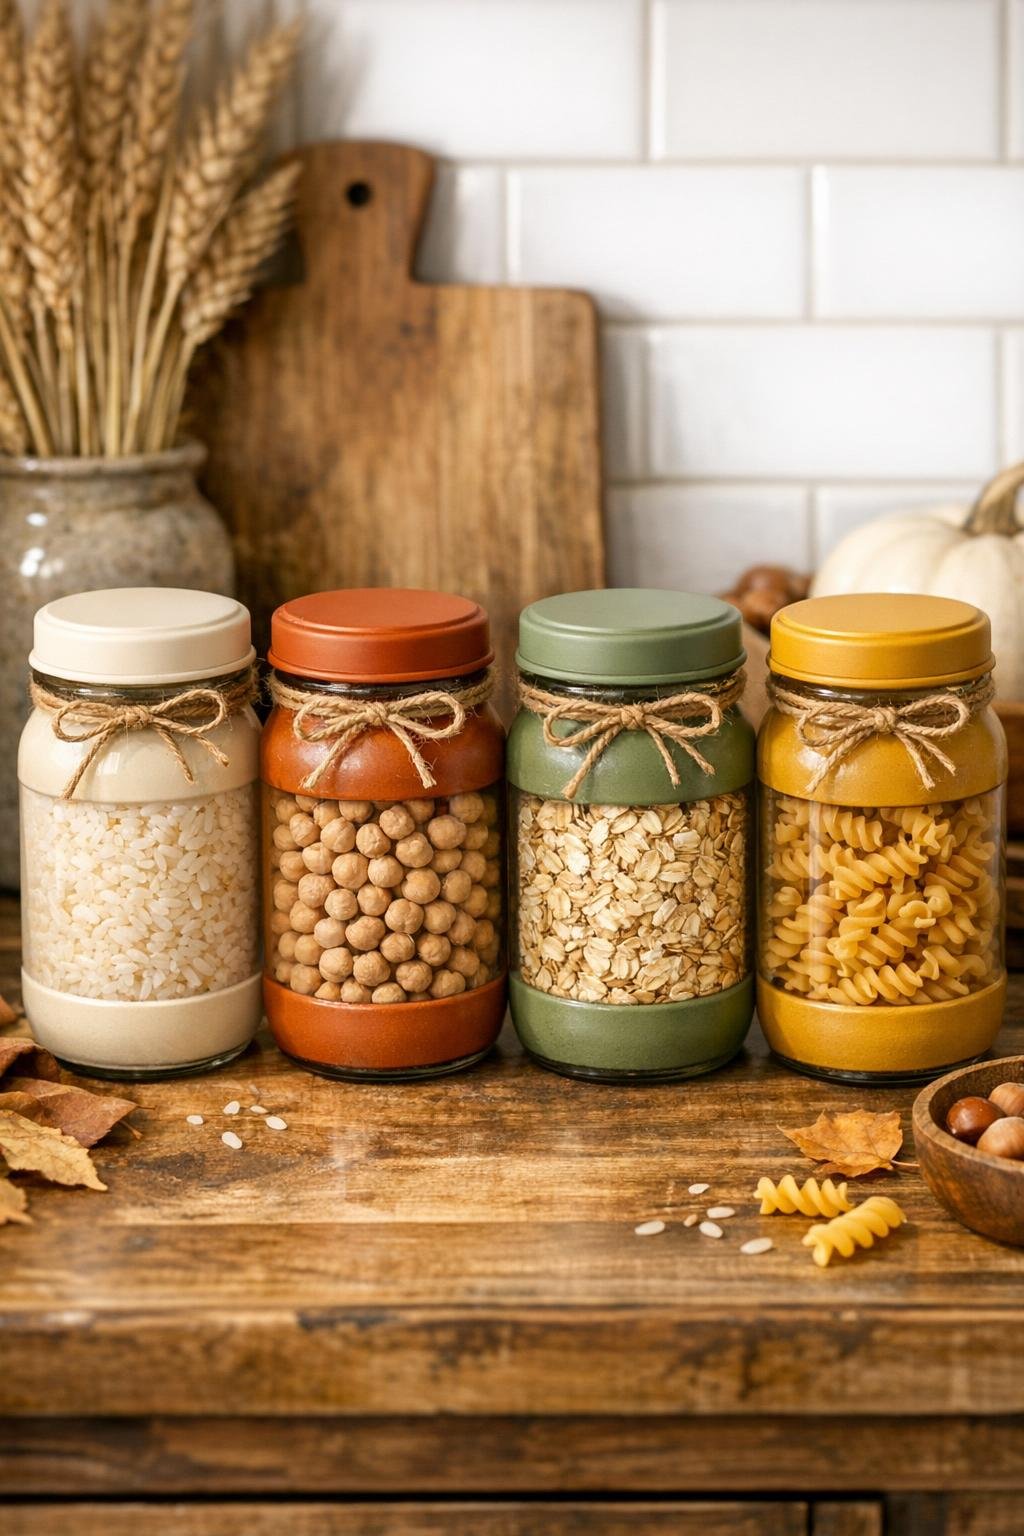
Variations & Tips
Pantry use: If you want to store food directly in the jars, keep the paint only on the outside and make sure the insides are completely clean and unpainted. I use mine for wrapped items or dry goods that won’t rub against the painted exterior.
For picky eaters: These are so handy for making snack choices feel fun and organized. Try using one jar each for crackers, granola bars, cocoa packets, or little tea biscuits so everyone can grab something easily.
Color variation: If your kitchen leans more neutral, swap the orange and yellow for taupe and dusty green. You’ll still get that fall warmth without making the jars feel too seasonal.
Finish tip: Thin coats always look better on glass than one heavy coat. I’ve learned the hard way in my own kitchen that patience gives you a smoother, more store-bought finish.
Display idea: Group all 4 jars on a small tray near the stove or coffee station to make them look intentional. A little arrangement like that can make even everyday storage feel special.
Gift option: Fill each jar with a simple baking treat or wrapped candy and give the set as a housewarming or fall hostess gift. It feels personal, useful, and much more expensive than it actually is.