
There’s something deeply satisfying about making a garden tool from what you already have on hand, especially when it turns out tidy enough that folks think it came from a boutique shop. This little plant label stake is one of those projects. Using aluminum pie tins and a simple yard item, you can make weather-friendly markers that slip right into the soil before frost season, when I like to get my beds organized and my spring plans tucked neatly into place.
I’m especially fond of this kind of project because it reminds me of the way we used to save everything on the farm if it still had a bit of use left in it. These labels are inexpensive, quick to make, and easy to read from a few steps away. If you keep a kitchen garden, mark perennials, or just want your herb pots to look a little more polished, this is a fine afternoon project.
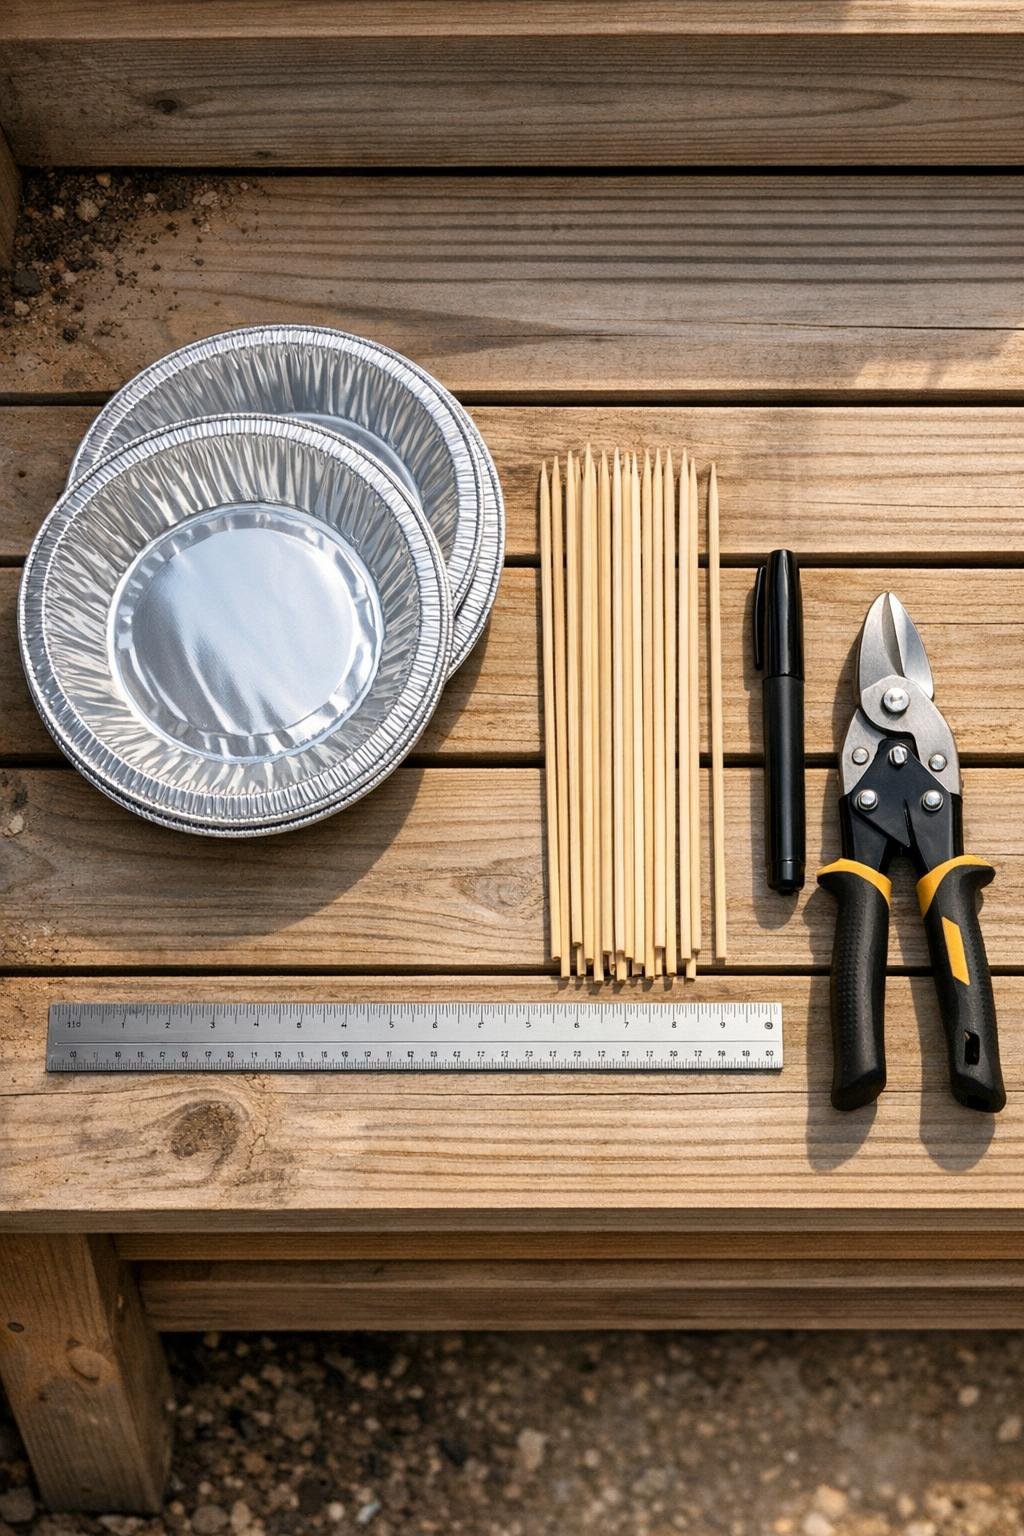
Materials
Instructions
1. Wash and dry the aluminum pie tins so the surface is free of grease and crumbs, then flatten each tin gently with your hands on the potting bench.
2. Use the ruler and marker to mark the tins into strips 3/4 inch wide and about 6 inches long, working around the broad flat areas as much as you can.
3. Cut along the marked lines with tin snips to make your label blanks, trimming away any crimped rim sections so each strip has straight, clean edges.
4. Round one end of each strip with the snips to make the label look finished and to remove sharp corners that could catch your fingers or gloves.
5. At the opposite end of each strip, make a small hole centered about 1/2 inch from the edge using a hole punch or an awl over scrap cardboard.
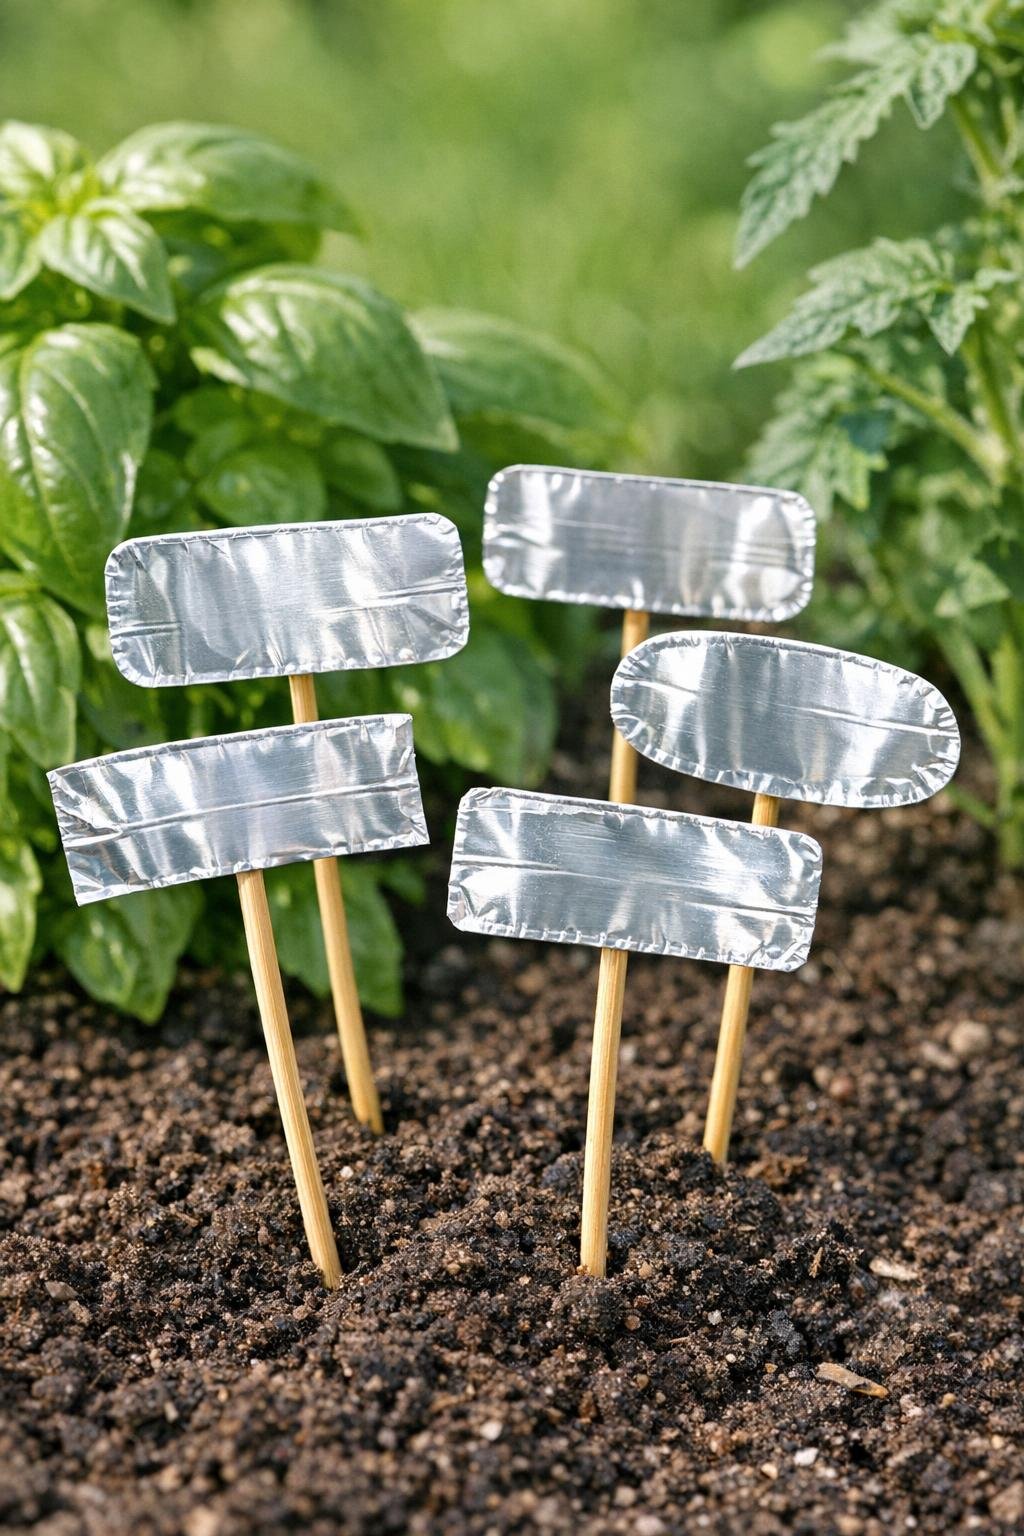
6. Push a bamboo skewer through the hole from the back side, then angle it so the strip sits like a little sign at the top of the stake.
7. Bend the aluminum snugly around the skewer with your fingers, wrapping just enough to hold it firmly without crushing the wood.
8. Flatten the writing area gently with your thumb so the face of the label is smooth and easy to mark.
9. Write the plant name on the aluminum with an oil-based permanent marker, pressing lightly so the metal stays smooth and readable.
10. Insert the finished stake 2 to 3 inches into the soil near your plant, keeping the label above mulch and moisture so it stays clean and easy to spot.
Variations & Tips
For larger garden rows: Cut the aluminum strips 1 inch wide and 7 inches long so you have more room for bean varieties, tomato names, or planting dates.
If you want extra durability: Double the metal at the skewer connection by folding the hole end over 1/2 inch before punching the hole. That little bit of reinforcement helps if your soil is heavy or windy.
For a tidier finish: Rub the cut edges lightly with fine sandpaper before assembling. I learned long ago that a few seconds of smoothing saves a lot of little nicks later.
Marker choice matters: An oil-based garden marker holds up better outdoors than a standard permanent marker, especially through damp fall weather and early frosts.
Try different stake materials: If you do not have bamboo skewers, thin twigs, trimmed floral stakes, or straight prunings from the yard can work just as well, provided they are dry and sturdy.
Best seasonal use: I like to make a batch in late summer or early autumn, when I’m dividing perennials and trying to remember what went where. Come spring, you’ll be grateful for every label you took the time to place.