
If you garden long enough, you eventually start looking at kitchen scraps and fallen leaves as ingredients instead of waste. This simple worm composting bin uses a white 5-gallon bucket plus two inexpensive dollar store finds to create a compact system that helps turn scraps into rich castings right when the outdoor season is winding down. I love projects like this because they solve two problems at once: they tidy up end-of-season debris and quietly build better soil for spring.
This is a good starter vermicomposting setup for apartment dwellers, patio gardeners, and anyone who wants a small, manageable bin without building a wooden box or buying a specialty kit. The design is intentionally simple, but the details matter, especially the drainage, airflow, and bedding balance, so I’ll walk you through it the way I would explain a dependable kitchen technique.
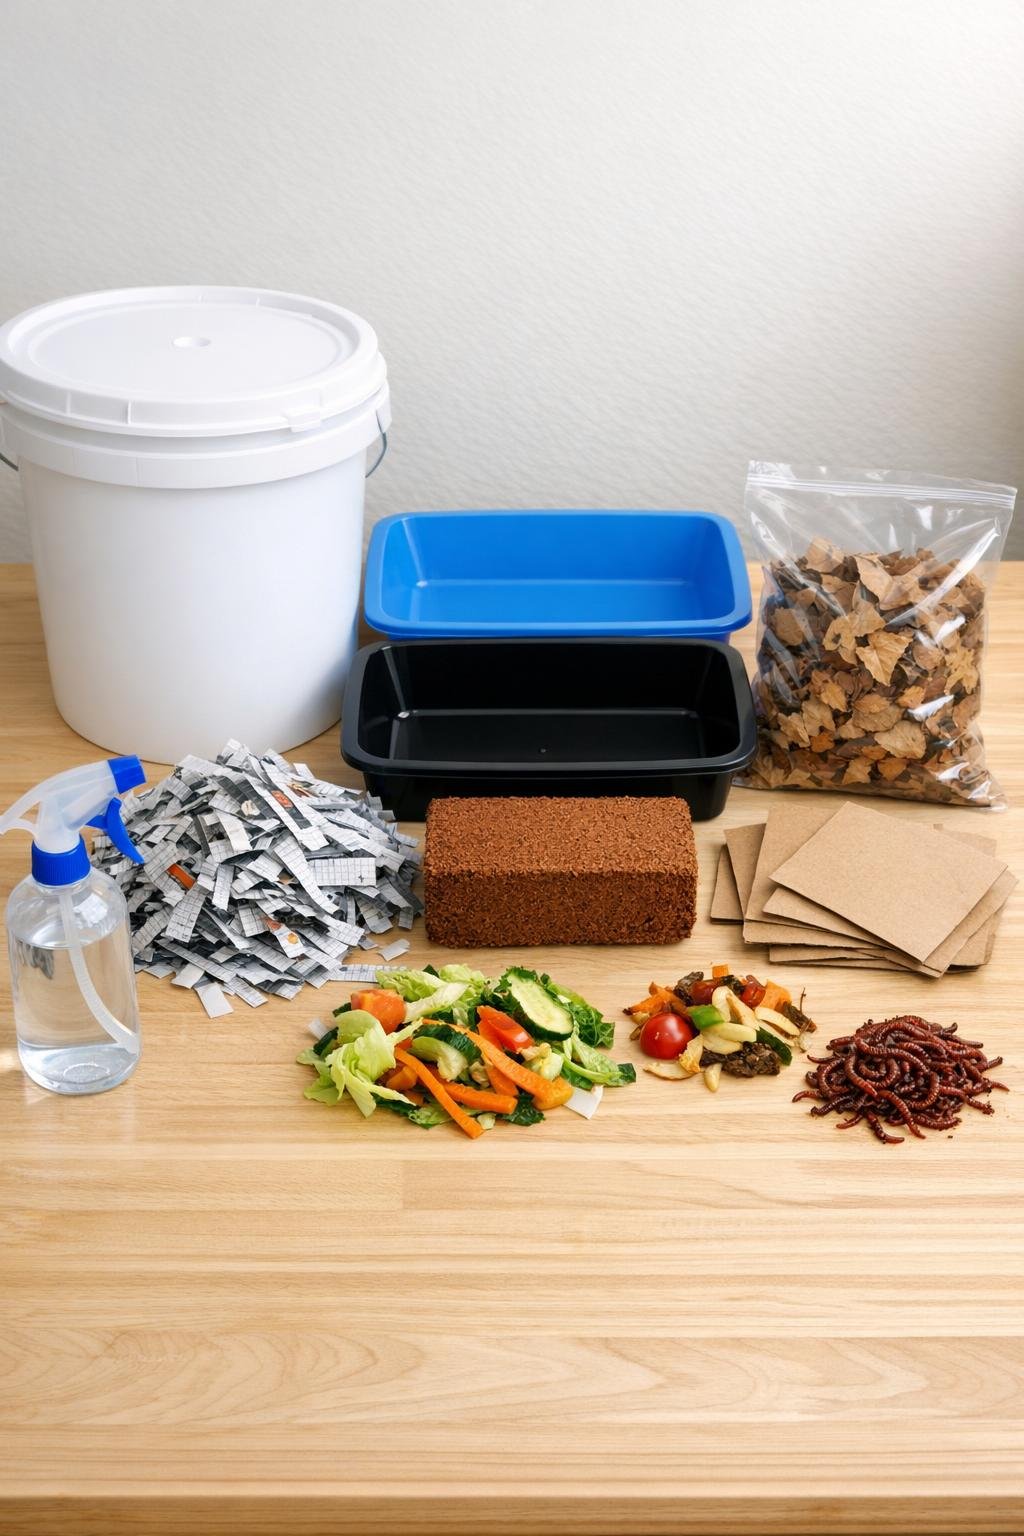
Materials
Instructions
1. Wash and dry the bucket, lid, and both plastic trays so you start with a clean bin that won’t trap residues or odors.
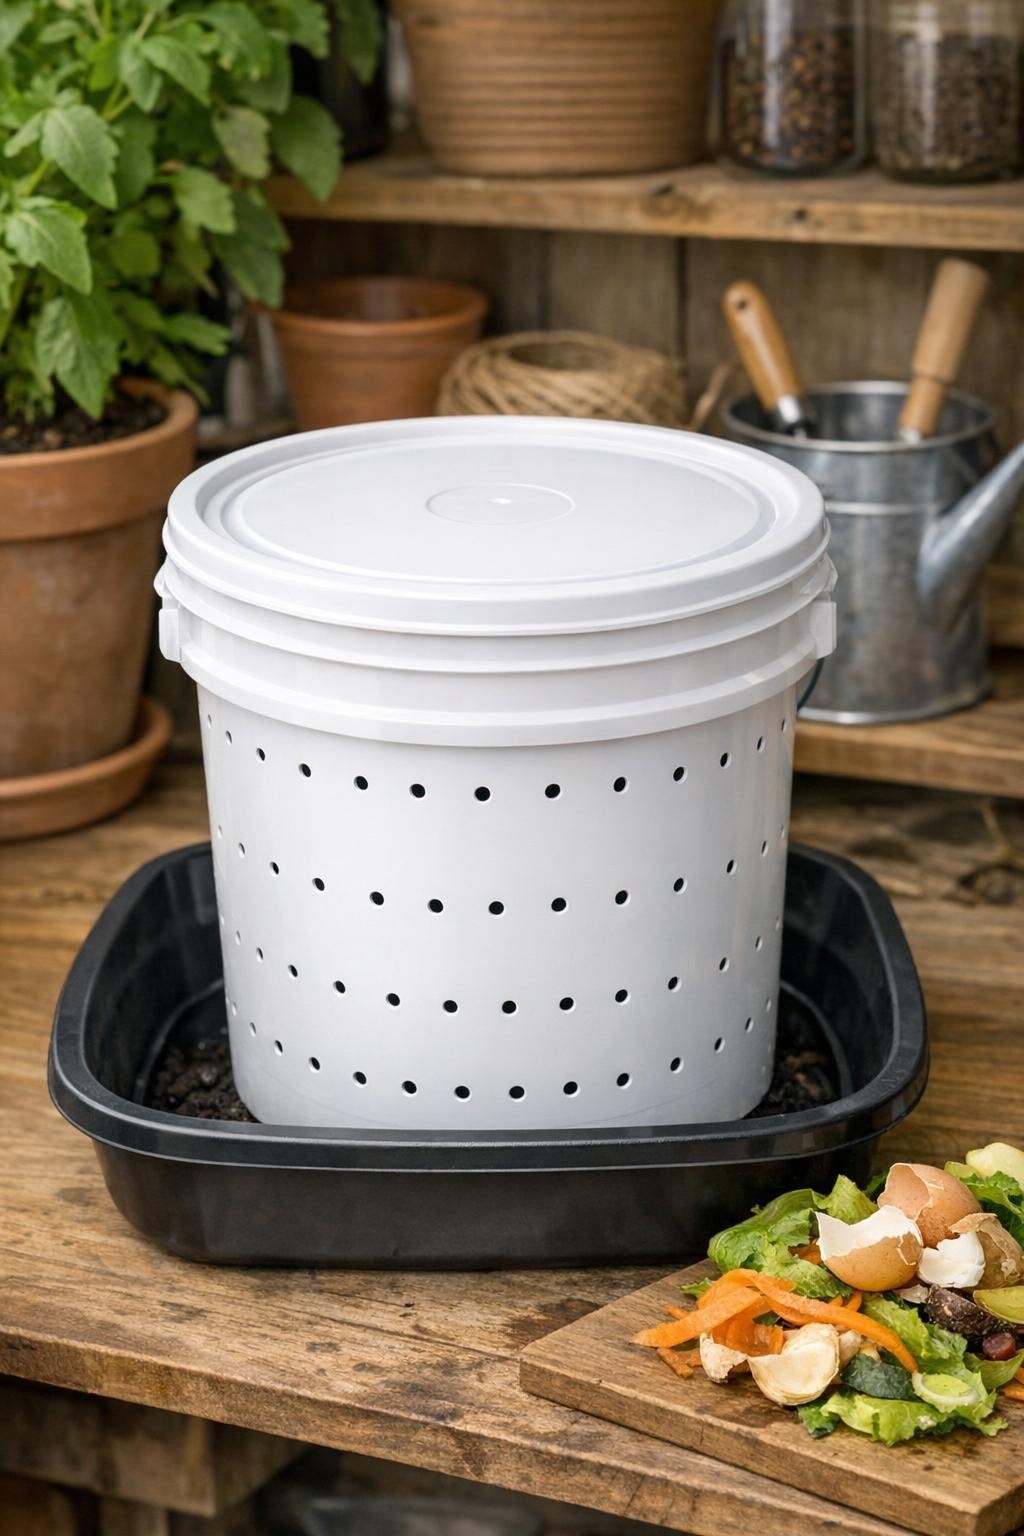
2. Drill 12 to 16 holes around the upper sides of the white bucket, spacing them about 2 inches apart for airflow while keeping the structure sturdy.
3. Drill 8 to 10 drainage holes in the bottom of the bucket, then drill 6 small holes in the lid to prevent stale air from building up.
4. Set one plastic tray under the bucket to catch any drips, and reserve the second tray to use as a loose top cover under the lid if you want extra darkness inside the bin.
5. Hydrate the coconut coir according to package directions, then fluff it with the shredded newspaper, dry leaves, and torn cardboard until the mix feels like a wrung-out sponge.
6. Add the bedding mixture to the bucket until it is about half full, then mix in the cup of finished compost or garden soil and the crushed eggshells.
7. Bury the chopped vegetable scraps in one section of the bedding, keeping them 2 to 3 inches below the surface so the bin stays tidy and less attractive to fruit flies.
8. Gently place the red wigglers on top of the bedding and leave the lid off for 5 minutes so they can naturally work their way down away from the light.
9. Lay the breathable cloth or mesh over the bucket opening, secure it with the rubber band or twine, and then place the lid on loosely so air can still move through the holes.
10. Place the bin in a cool indoor spot between 55 and 75 degrees Fahrenheit, and feed small amounts once or twice a week only after the previous scraps have started breaking down.
Variations & Tips
If you want less mess: Freeze scraps first, thaw them, and drain off excess liquid before feeding. In my kitchen, this makes the bin noticeably calmer and easier to manage.
Best foods to add: Stick with vegetable peels, coffee grounds, tea leaves, crushed eggshells, and small amounts of fruit. Avoid meat, dairy, oily foods, and large amounts of citrus or onion.
If the bin smells bad: That usually means too much food or too much moisture. Add 2 extra cups of shredded paper or torn cardboard, fluff the bedding, and pause feeding for several days.
If fruit flies show up: Bury food deeper, keep the cloth barrier in place, and always cover fresh scraps with 1 to 2 inches of bedding.
For cold-weather gardeners: Keep this bucket indoors, in a basement, mudroom, or heated garage. Worms slow down dramatically in the cold, so this end-of-season setup works best when protected from frost.
When it’s time to harvest: Move the finished compost to one side, add fresh bedding and food to the other side, and let the worms migrate over 1 to 2 weeks. It’s the same principle as coaxing a good stock to clarify: patience gives you a cleaner final result.
Easy substitution: If you can’t find coconut coir, use an extra 4 cups of shredded newspaper plus 2 more cups of torn cardboard. The goal is always soft, damp, airy bedding rather than a packed wet mass.