
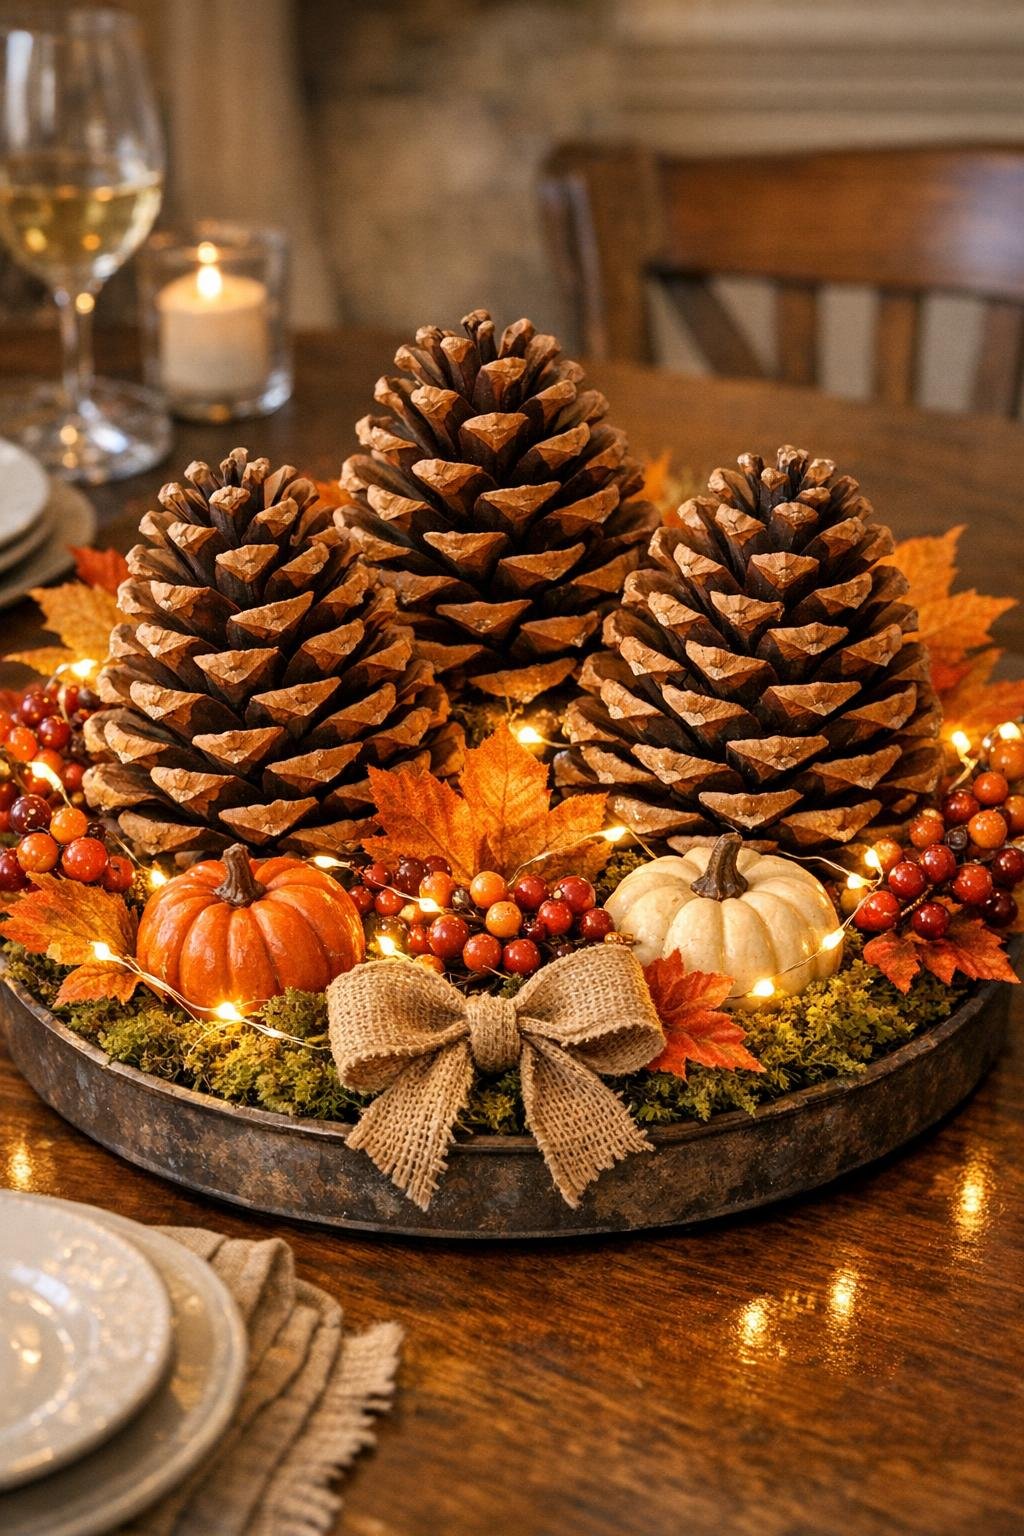
Large pinecones are one of those materials I used to sweep off a patio without a second thought, but they make a beautiful base for an autumn centerpiece with almost no fuss. This project turns three oversized pinecones into a simple seasonal table arrangement that looks polished enough for a holiday meal but easy enough for a regular weekend craft session.
I like this kind of project because it uses inexpensive natural materials and a few warm fall accents to create something that feels full and intentional. If you want a centerpiece for a dining table, entry console, or coffee table and you prefer decorating that leans natural rather than overly themed, this is a lovely place to start.

Materials
Instructions
1. Clean the pinecones by brushing off loose dirt and debris, then let them dry completely if they were gathered outdoors. If needed, gently shake them out over a trash can so they open up and look full.
2. Set your tray on the table and loosely arrange the three large pinecones in a triangle so the centerpiece looks balanced from all sides. I usually place the tallest cone slightly off-center so it feels natural instead of stiff.
3. Tuck the loose moss or filler around the base of the pinecones to cover the tray bottom and hold the arrangement in place. Keep the filler low so the pinecones remain the main feature.
4. Cut the faux leaf stems into shorter pieces, about 5 to 7 inches long, and insert them evenly around the pinecones. Angle the leaves outward so they frame the cones instead of hiding them.
5. Add the berry stems in smaller gaps, using just enough to bring in color and texture without crowding the arrangement. Bend the wired stems slightly so they follow the curve of the tray.
6. Place the two mini pumpkins near the front and side of the pinecones, then secure them with a dab of hot glue if they wobble. Keep them visible but secondary, like accents rather than focal points.
7. Wrap short pieces of floral wire around any stems that need extra support and anchor them discreetly between the pinecones. This keeps the arrangement tidy and helps it survive being moved from counter to table.
8. Weave the fairy lights gently through the arrangement, circling the pinecones and tucking the battery pack behind the back edge of the tray. Spread the lights evenly so they add glow without creating a tangled look.
9. Tie a soft burlap bow and attach it to the front edge of the tray or nestle it between the front elements with a small dab of glue. Fluff the loops and tails so the bow adds warmth without blocking the pinecones.
10. Step back and rotate the centerpiece, adjusting the leaves, berries, and lights until every side looks balanced. Turn on the lights and make any final tweaks before setting it in place.
Variations & Tips
For a longer table: Use an oval tray 18 to 24 inches long and space the three pinecones in a line instead of a triangle. I like this version for a buffet or Thanksgiving table because it reads a little more formal.
For a candle-free glow: Stick with battery fairy lights rather than real candles, especially around dry pinecones and burlap. You still get that warm autumn look without the fire risk.
For a more natural style: Swap the faux pumpkins for acorns, walnuts in shell, or dried orange slices. This gives the arrangement a quieter, more woodland feel.
To make gathered pinecones look their best: If your pinecones are closed, place them on a lined baking sheet at 200°F for about 30 to 45 minutes to help them open and dry out. I do this often with foraged cones, and it makes a surprising difference in volume and texture.
To store it neatly: Lift the centerpiece by the tray, not the pinecones or stems, and cover it loosely with a large paper bag after the season. That keeps dust off without crushing the arrangement.