
I love a project that takes something garage-basic and turns it into something that looks like it came from a boutique home store, and this crochet-covered milk crate does exactly that. We’re using chunky rust yarn and the existing grid holes of a black plastic milk crate as the structure, so the basket keeps its sturdy shape while getting a warm, textured finish.
This is a great project if you already know a few basic crochet stitches and want a satisfying weekend make without starting from scratch. As someone who is always trying to make everyday storage look a little prettier without spending a fortune, this is exactly the kind of practical makeover I come back to again and again.
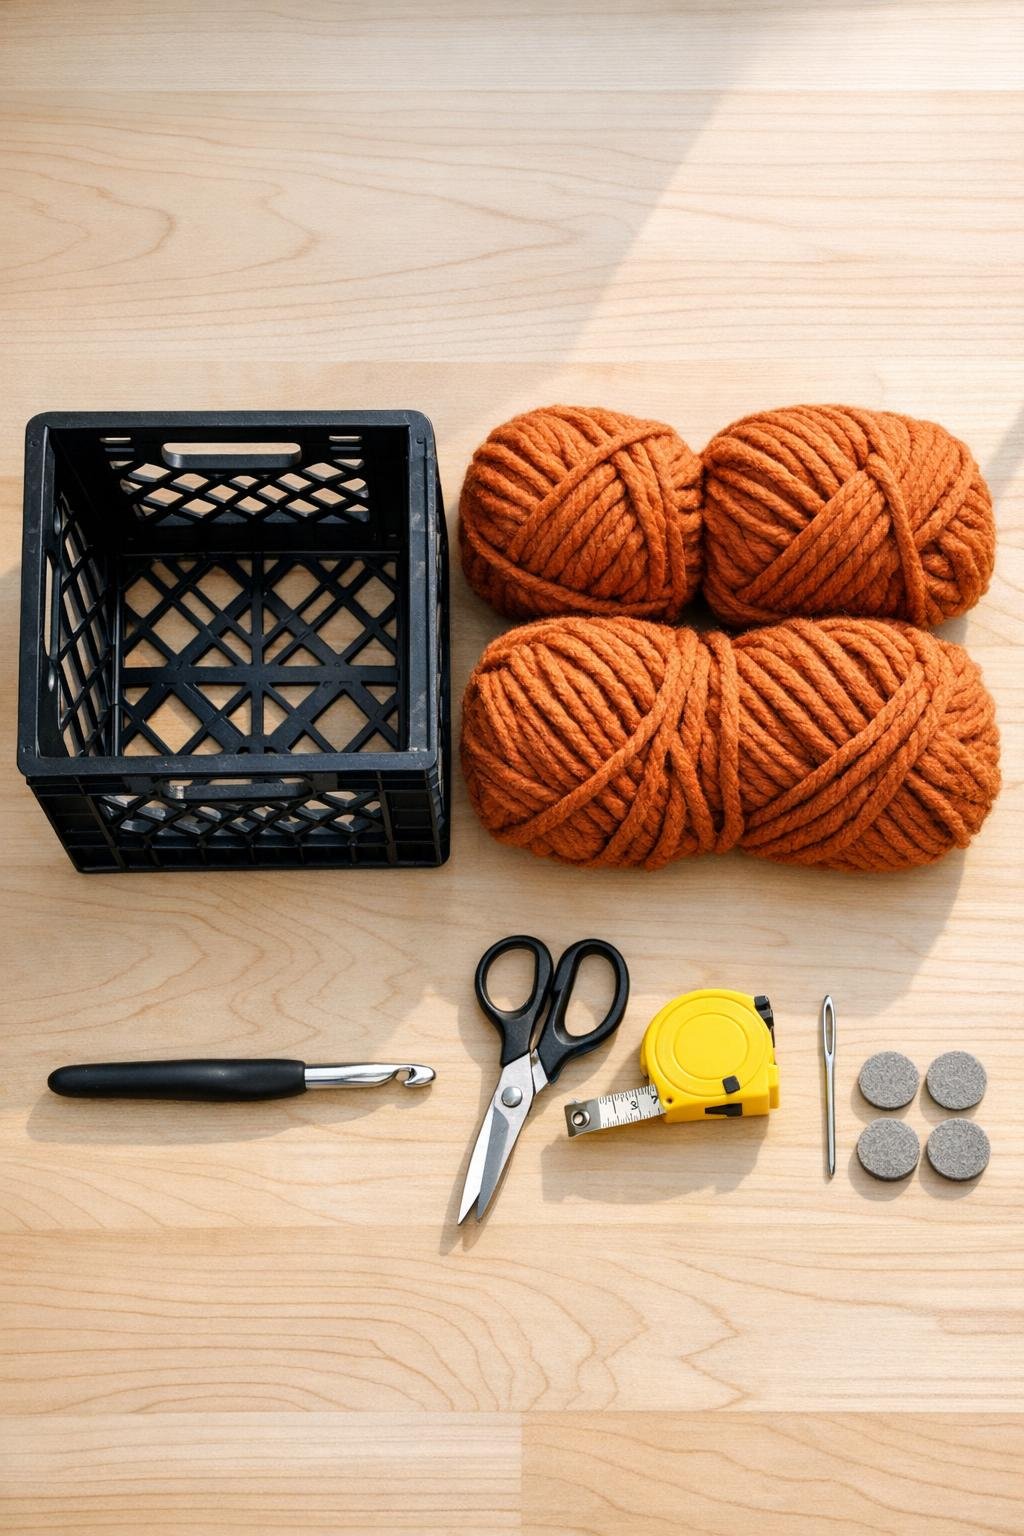
Materials
Instructions
1. Wipe down the milk crate and trim away any plastic burrs or rough spots around the grid holes so the yarn will not snag while you work.
2. Measure the crate sides and count the grid openings on each face so you can keep your stitches evenly spaced and your corners aligned.
3. Tie the yarn securely through a bottom corner hole on one side, leaving a 4-inch tail tucked to the inside of the crate.
4. Work single crochet stitches directly through each hole across the first row of one side, pulling the yarn snug but not tight so the plastic does not warp.
5. Continue row by row up that side, placing one stitch in each hole and turning at the end of each row until the plastic is mostly covered with an even crocheted panel.
6. When you reach the top row, fasten off with a 6-inch tail and weave the end through nearby stitches on the inside using the yarn needle.
7. Start the next side at the bottom corner and repeat the same single crochet-through-the-grid method, checking that the stitch rows line up neatly where the corners meet.
8. Crochet all four outer sides of the crate, adding a new skein as needed with secure knots hidden on the inside where they will not show.
9. For a cleaner top edge, work one final round of single crochet through the top holes all the way around the crate, placing one extra stitch at each corner to help the yarn sit flat.
10. If you want the inside to look tidier, weave in all loose ends toward the interior corners and trim any excess yarn close to the knots.
11. Turn the crate over and press a felt pad onto each bottom corner if the basket will sit on wood floors, shelves, or a painted surface.
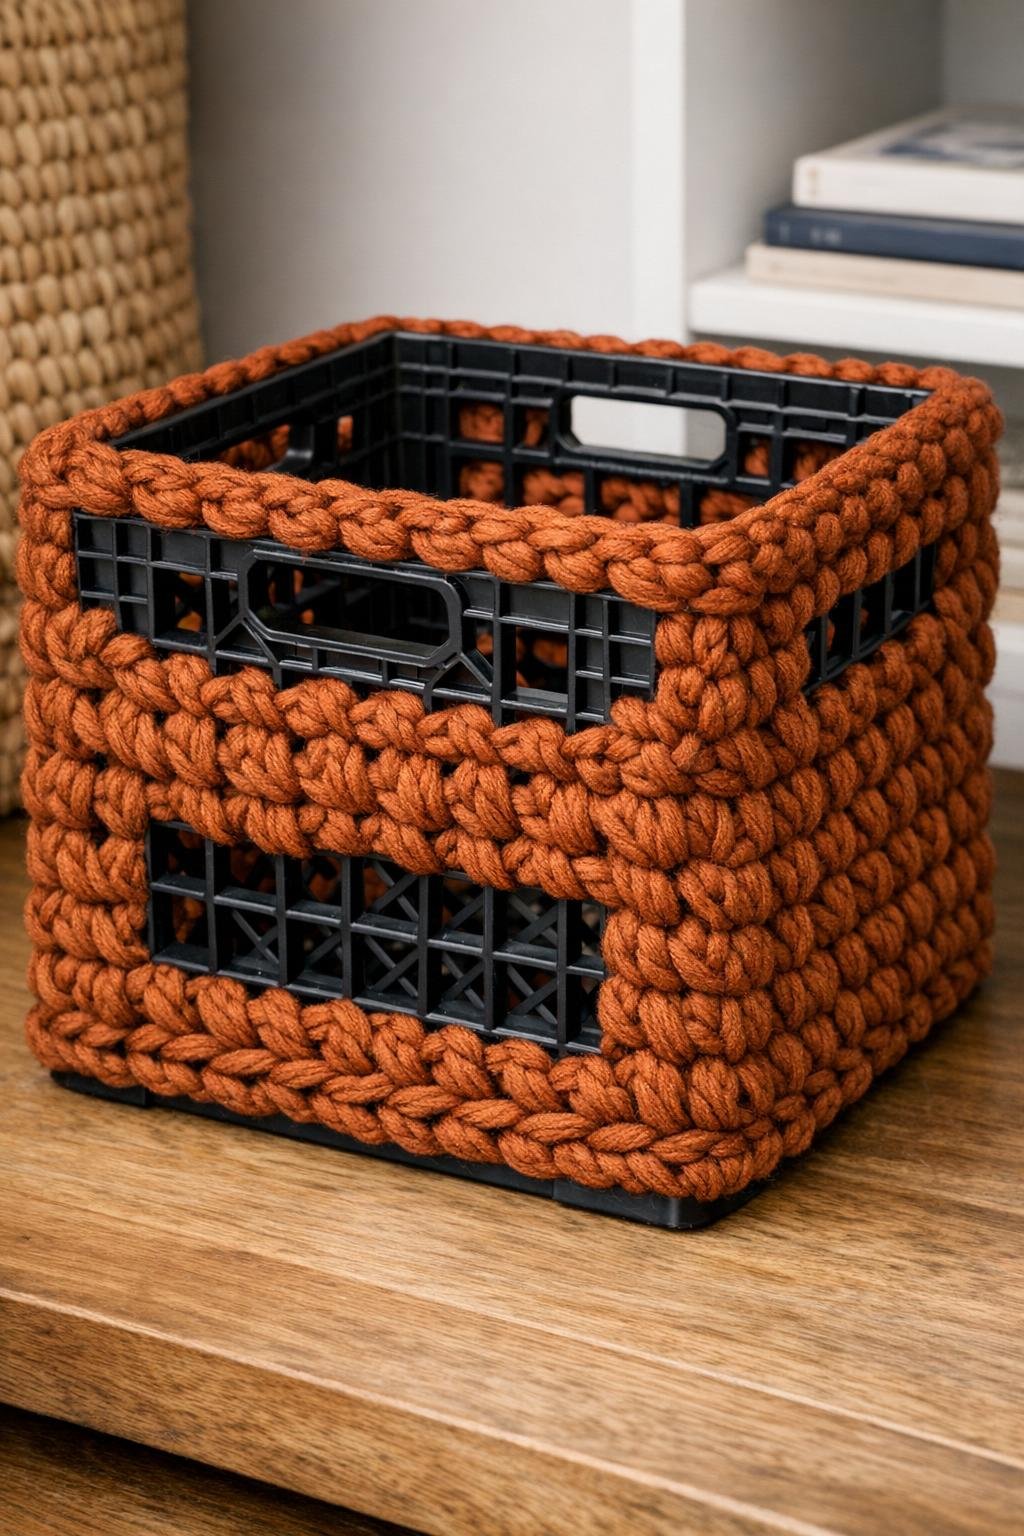
12. Fluff and adjust the stitches with your hands so the rust yarn evenly covers the sides and the black milk crate still keeps its crisp, boxy shape.
Variations & Tips
Add a liner: If you plan to store smaller items, slip in a simple fabric liner or canvas tote so nothing pokes through the remaining crate openings on the inside.
Use a tighter stitch: Single crochet gives the cleanest, most expensive-looking finish here, but if your crate holes are especially large, pull your tension a little tighter for fuller coverage.
Try color blocking: Rust looks gorgeous and cozy, but this also works beautifully with cream, olive, charcoal, or two-tone stripes if you want it to match your room.
Make it family-room practical: I’d use this for throw blankets, dog toys, or extra pantry overflow because the plastic crate underneath is sturdy enough to handle real-life use, not just styling.
Check for snags first: This is my biggest tip after learning the hard way with utility bins in the garage—run your hand over the crate before you start, because one sharp plastic edge can rough up a whole strand of yarn.