
I love a bedroom project that feels a little luxurious without requiring a full afternoon of work, and this jewelry dish is exactly that kind of make. By nesting a small white ceramic soap dish inside a shallow antique brass bowl lined with burgundy velvet, you get a piece that looks collected and thoughtful, like something you might spot on a boutique dresser display.
This is an especially nice project for anyone who wants a tidy place for rings, earrings, or a watch at the end of the day. It is beginner-friendly, budget-conscious, and easy to customize, and because the assembly is simple, the materials and finish really get to shine.
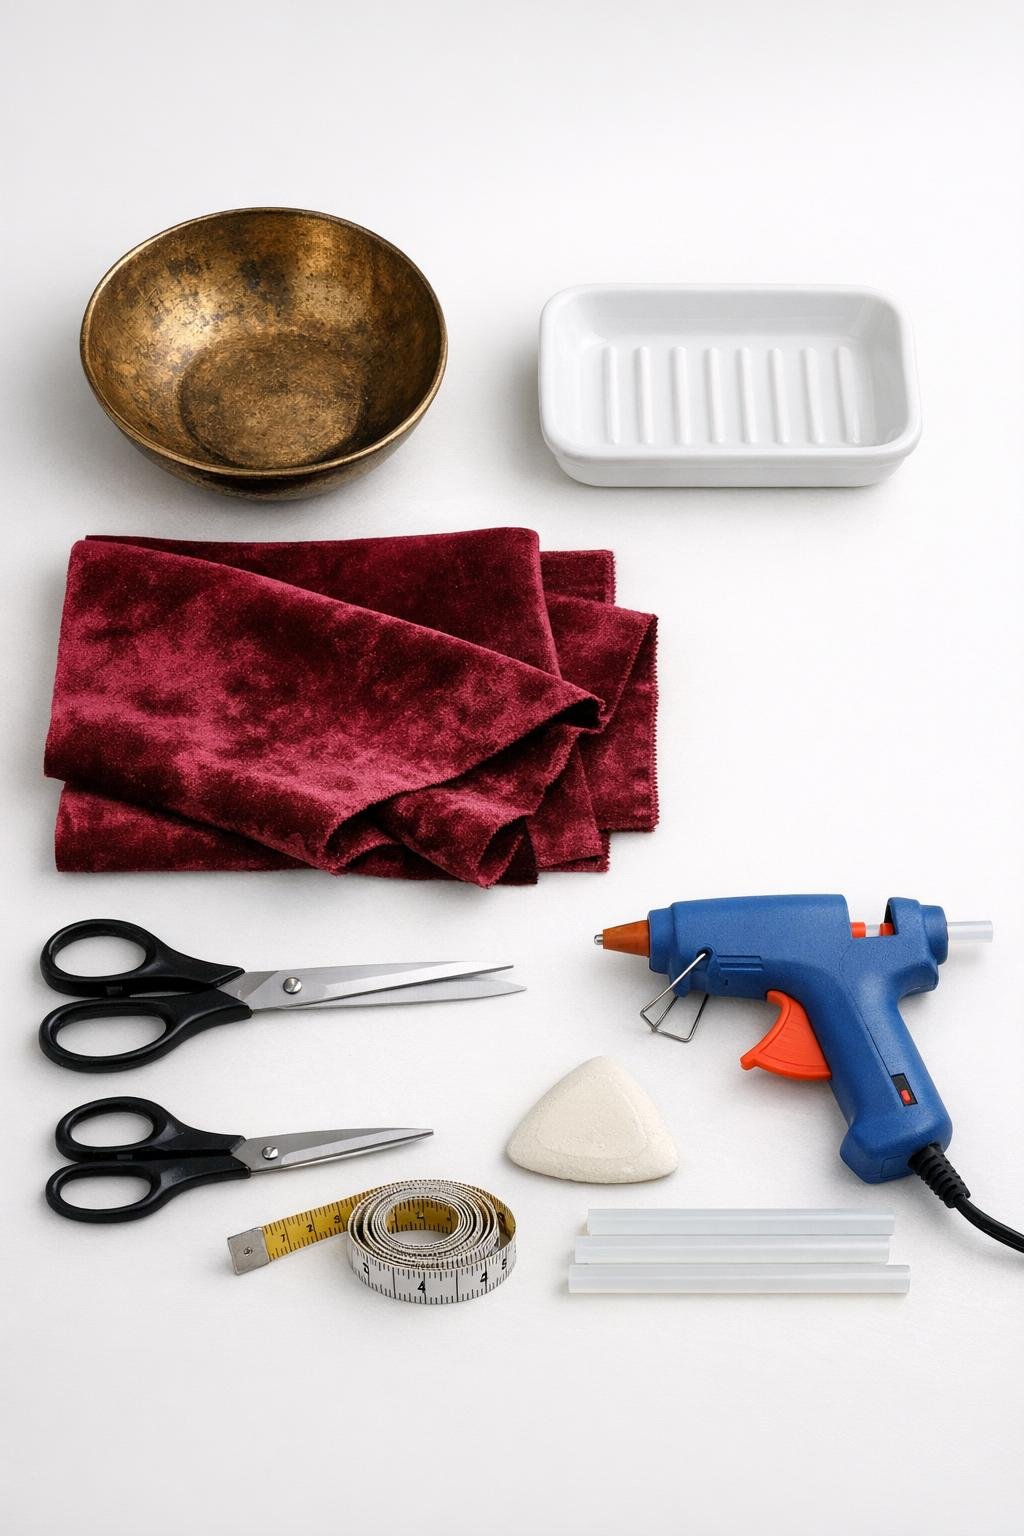
Materials
Instructions
1. Wipe the brass bowl and the ceramic soap dish with a soft cloth so the surfaces are dust-free and ready for assembly.
2. Set the soap dish inside the brass bowl and check the fit; you want the dish centered with a visible border of bowl showing all the way around it.
3. Place the bowl upside down on the paper and trace around it, then cut out the circle to use as your lining template.
4. Lay the paper circle on the back of the velvet, trace it with tailor's chalk, and cut out the fabric circle as smoothly as you can.
5. Test-fit the velvet circle inside the bowl, pressing it gently into the curve so it sits flat on the base and rises slightly at the sides without bunching.
6. Add a small bead of hot glue to the center of the bowl and press the velvet into place, smoothing outward with your fingers so the fabric stays even.
7. If needed, add a few tiny dots of glue around the inner edge of the bowl and press the velvet down until the lining looks neat and secure.
8. Place the small white ceramic soap dish into the center of the velvet-lined bowl and adjust it until it sits level and balanced.
9. For a removable insert, leave the soap dish unglued; for a permanent piece, add two tiny dots of hot glue under the soap dish before setting it back into place.
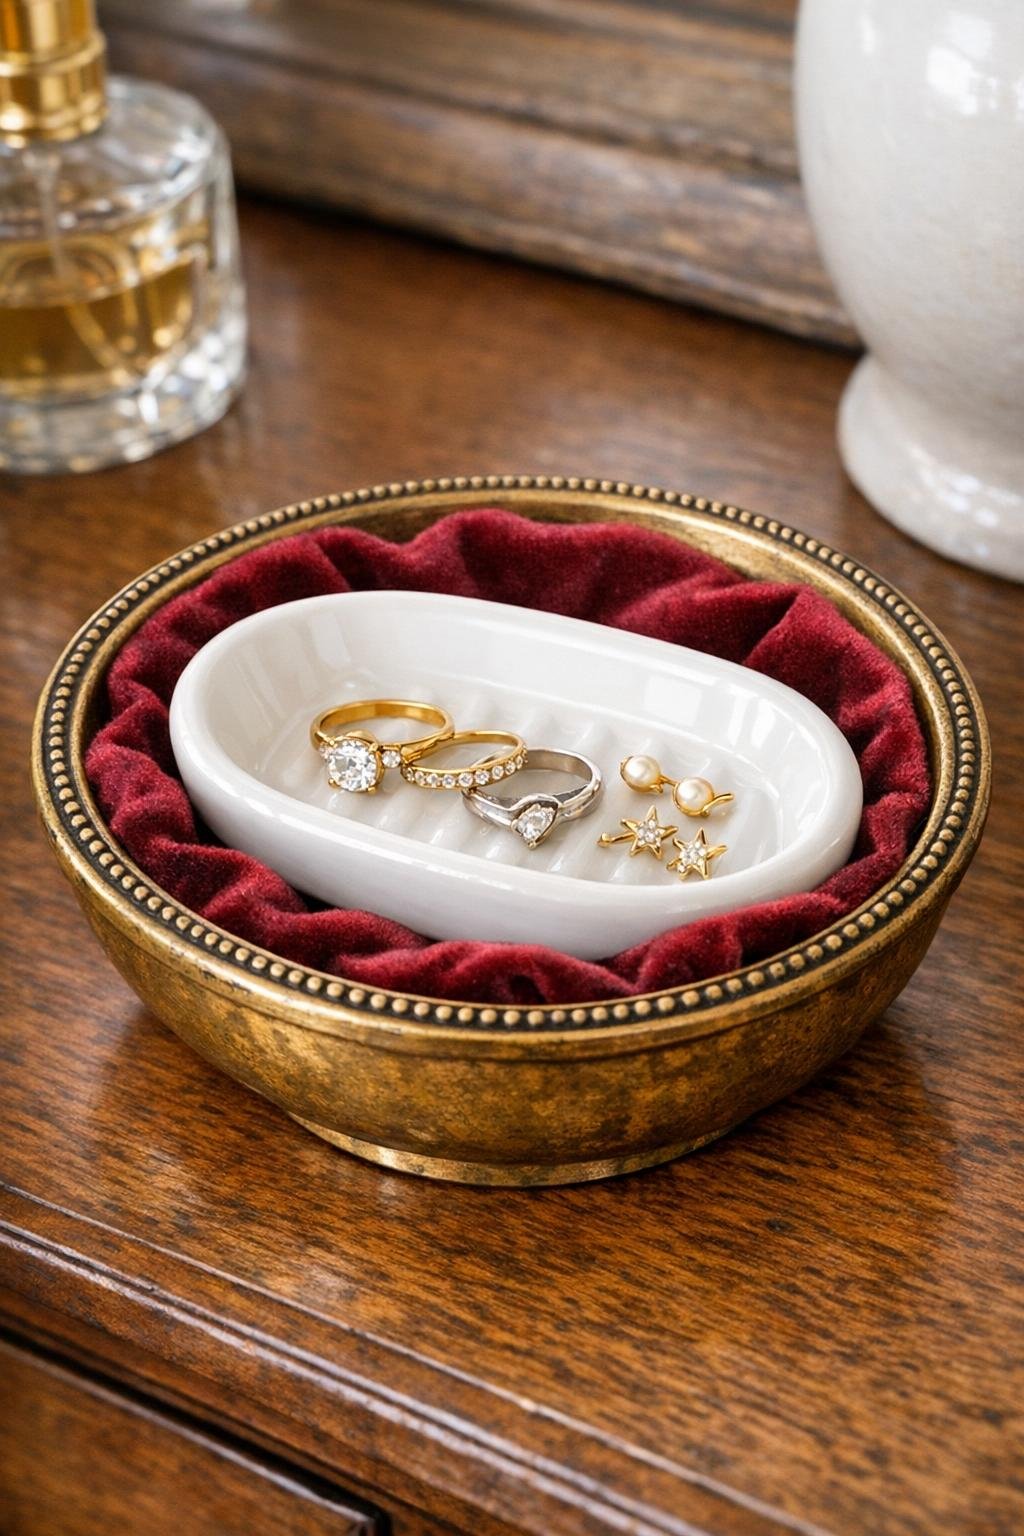
10. Let everything cool for 5 minutes, then place the finished dish on a dresser or nightstand and fill it with rings, stud earrings, or a favorite bracelet.
Variations & Tips
Velvet color swap: Deep green, navy, or blush velvet all work beautifully if you want to match your bedroom palette while keeping the same soft, cushioned look.
Use what you have: If you cannot find a soap dish, a small ceramic trinket tray of similar size works well as long as it sits comfortably inside the bowl with room for the velvet border.
Removable center dish: I usually prefer leaving the ceramic piece unglued so I can lift it out for cleaning, which is especially practical if you wear hand cream or store everyday rings there.
Choose the right glue: A low-temperature glue gun is the safer choice here because it gives you enough hold without exposing the velvet or your fingers to excessive heat.
Keep the finish elegant: Resist overfilling the dish; a few favorite pieces look more intentional, and the contrast between white ceramic, antique brass, and burgundy velvet is really the star of the project.