
In a small kitchen, the battle is usually won or lost inside the drawers. I’ve spent enough years cooking for family, canning in late summer, and reaching for one pot after another on busy evenings to know that pot lids can turn a perfectly good drawer into a rattling mess in no time. This simple organizer uses white plastic tension rods set vertically inside a deep oak cabinet drawer to turn that jumble into tidy, easy-to-reach sections.
What I love most about this little fix is that it doesn’t ask much of you: no drilling, no fancy hardware, and no permanent changes to the cabinet. If you’ve got a deep drawer and a stack of lids forever slipping over one another, this is a practical afternoon project that makes everyday cooking feel calmer and more orderly.
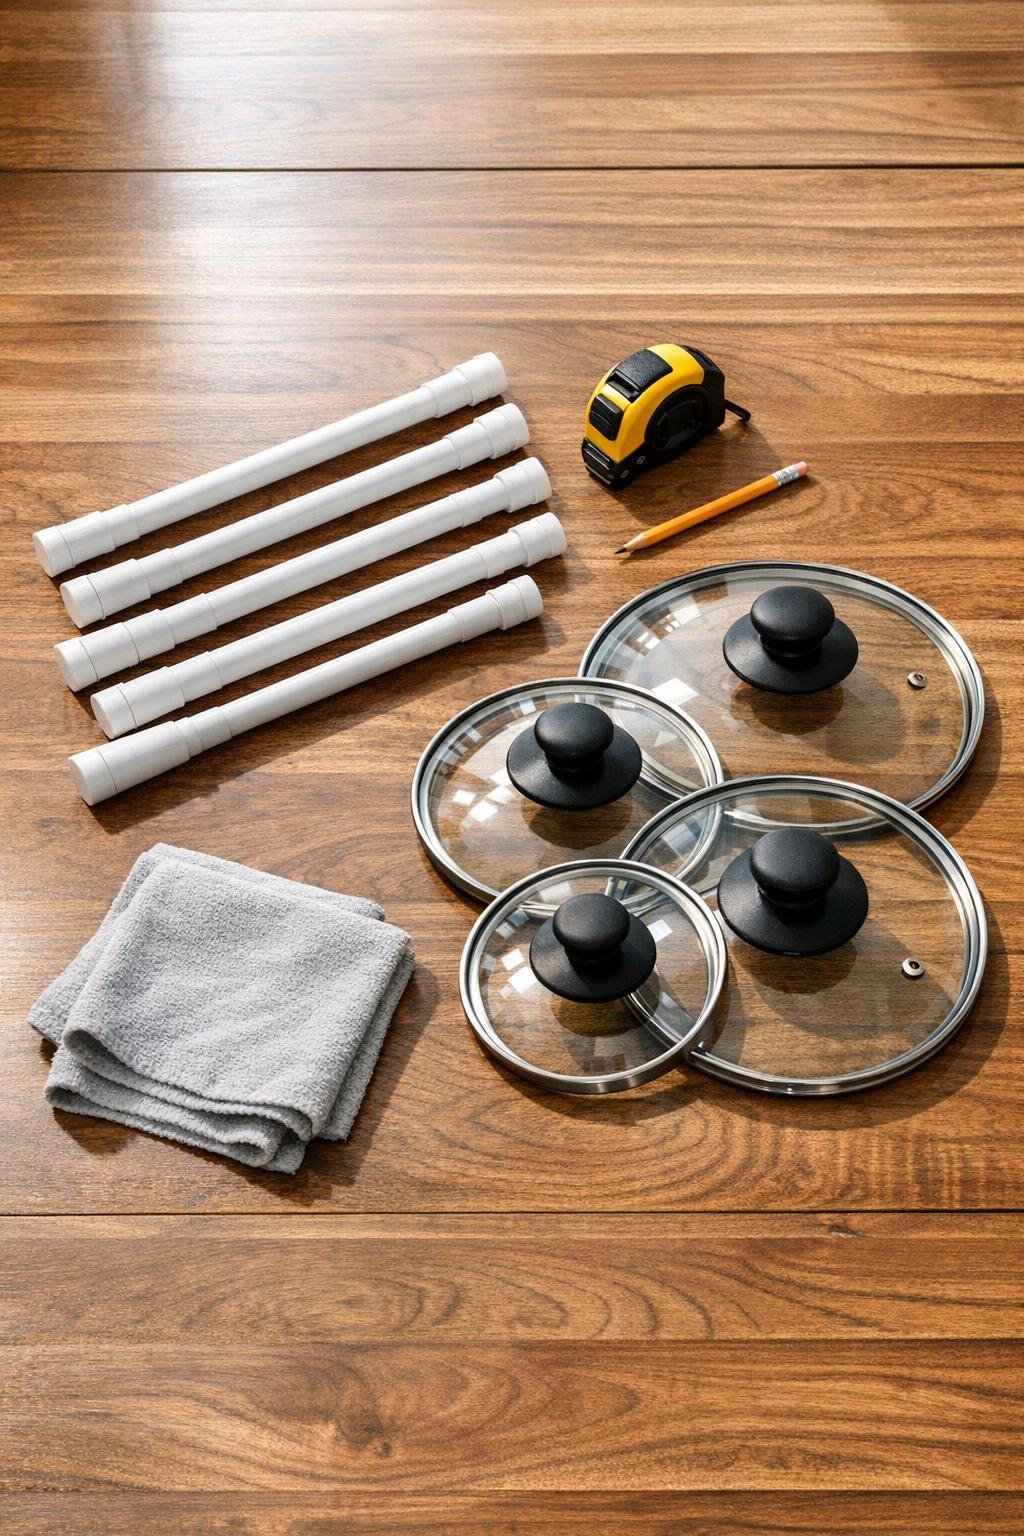
Materials
4 to 6 white plastic tension rods, 12 to 20 inches adjustable length, sized to fit the inside width of your deep drawer
Instructions
1. Empty the deep oak cabinet drawer completely and wipe the inside walls and bottom clean so the tension rods grip well and the lids won’t slide on crumbs or grease.
2. Measure the inside width of the drawer from left wall to right wall, then check that your white plastic tension rods adjust snugly to that measurement.
3. Gather the lids you want to store there and sort them by size, placing the largest toward the back and the smallest toward the front so you can plan the spacing.
4. Twist the first white plastic tension rod to length and set it vertically inside the drawer, running from the front edge toward the back edge, so it creates one side of your first lid slot.
5. Install a second rod parallel to the first, leaving enough room between the rods for your largest lid to slide in upright without wobbling too much.
6. Slide your largest lid between those two rods and adjust the spacing if needed until the lid stands upright and pulls out easily.
7. Add more white plastic tension rods one at a time, making parallel vertical dividers across the drawer and testing each section with the lid that will live there.
8. Place the remaining lids into their slots, arranging handles so they alternate directions if that helps them fit without bumping into one another.
9. Open and close the drawer slowly to be sure the lids stay upright and the rods remain firmly in place; tighten and reposition any rod that shifts.
10. Once everything glides smoothly, keep your most-used lids near the front so the drawer works hard for you on busy weeknights.
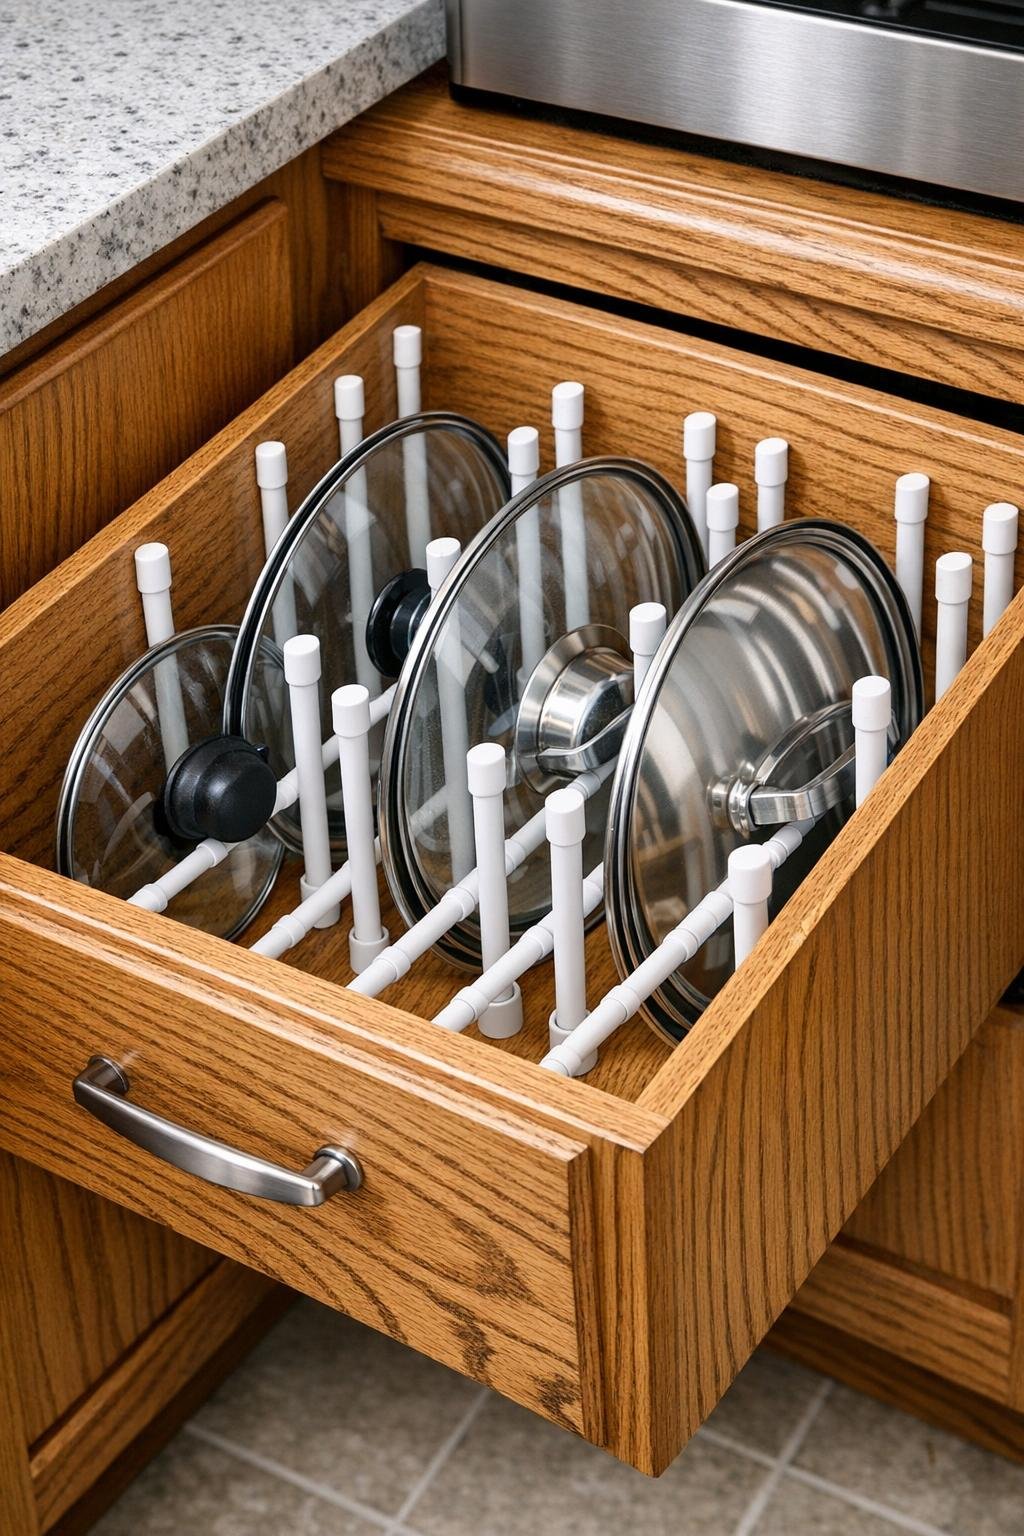
Variations & Tips
For extra-deep drawers: If your drawer is especially wide, use 6 rods instead of 4 so each lid has its own proper space and nothing tips sideways.
For glass lids: Leave a little more room between rods so the rims don’t knock together; I always like to handle glass a touch more gently.
For non-slip storage: If the drawer bottom is slick, add a piece of thin non-slip shelf liner cut to the drawer’s size before installing the rods.
For mixed cookware: This setup also works nicely for splatter screens, cutting boards, and baking sheets, provided the drawer is deep enough to support them upright.
My kitchen habit: I find it helps to group lids by the pots I use most often. In my own kitchen, the everyday saucepan and soup pot lids stay right up front, which saves a surprising amount of rummaging at supper time.