
I love a project that turns something overlooked into something useful, and these fall garden markers made from old silver spoons are exactly that kind of makeover. With just four thrifted spoons, a little flattening and stamping, you can make sturdy plant labels that look charming tucked into pots, herb boxes, or autumn vegetable beds.
What I especially like about this project is that it feels a bit like kitchen history meeting the garden. Old silverplate flatware has a beautiful shape and shine, and once it’s repurposed, it holds up far better outdoors than paper tags or flimsy plastic markers. If you want a beginner-friendly upcycle that looks polished enough for neighbors to ask where you bought it, this one is well worth an afternoon.
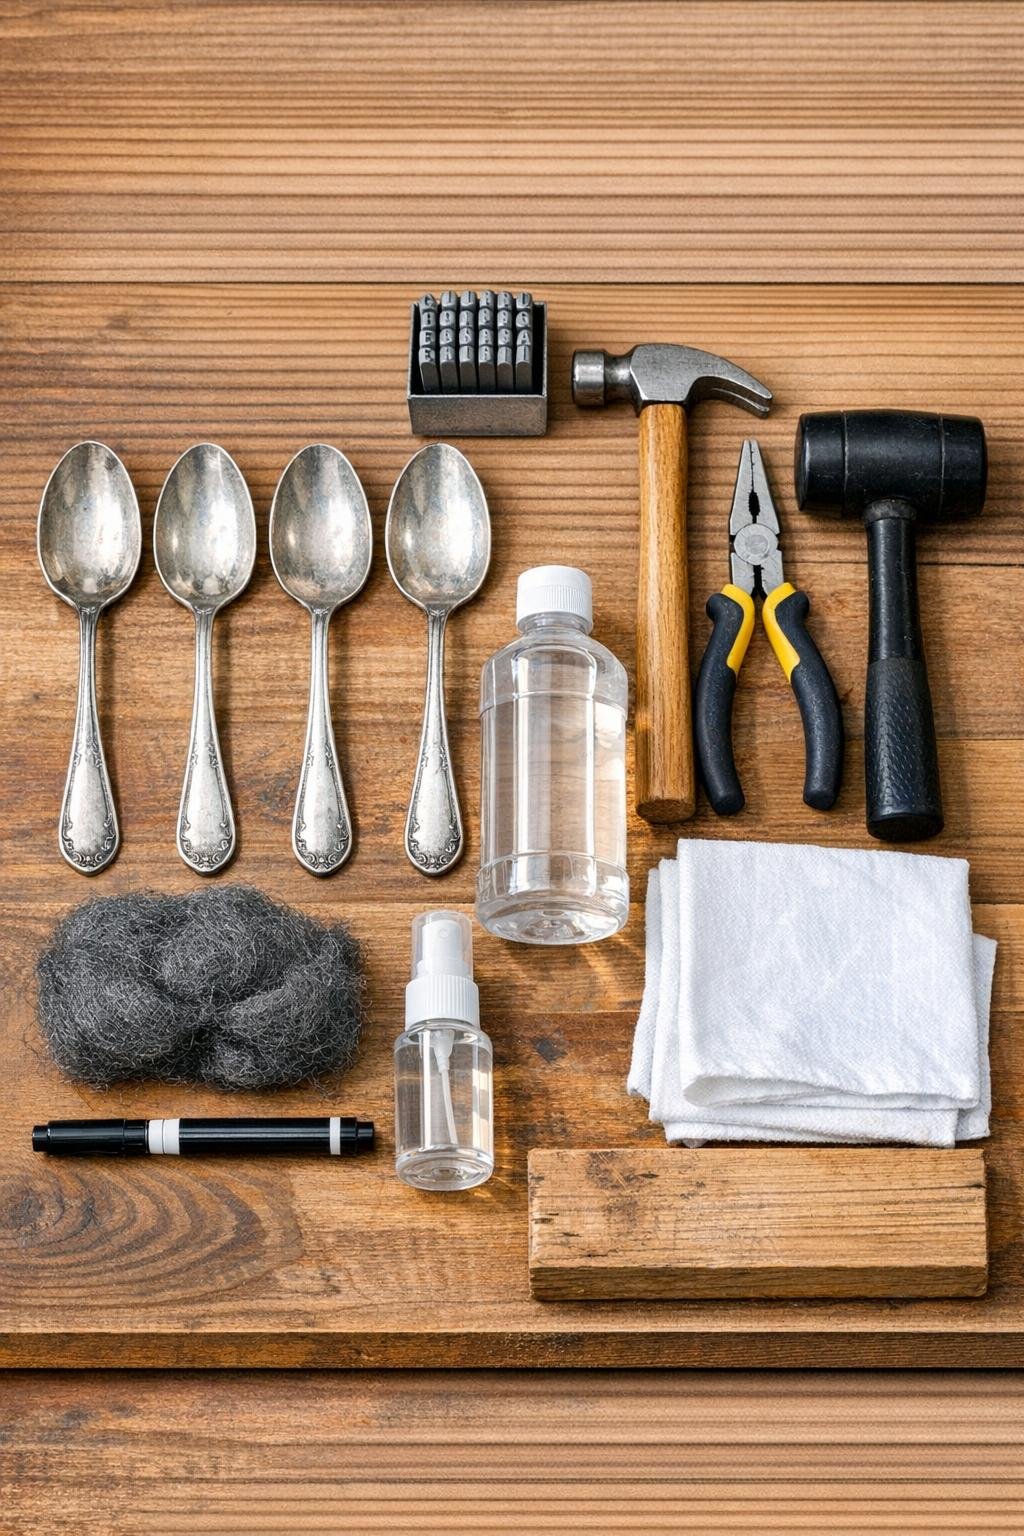
Materials
4 old silver spoons, standard tablespoon size, about 7 to 8 inches long each
Instructions
1. Wash the four spoons with warm soapy water, dry them well, and wipe each one with rubbing alcohol so the metal is clean and ready to work.
2. Place one spoon bowl-side down on the wood block and gently tap the bowl with the rubber mallet until it is mostly flat, keeping the handle straight as you work.
3. Repeat with the other three spoons, checking that all four bowls are flattened enough to create a smooth stamping area but still recognizable as spoons.
4. If any handles curve too much for staking into soil, use needle-nose pliers to gently straighten them, or leave a soft curve if you want a more decorative look.
5. Decide on your four plant names before stamping; short names like SAGE, THYME, MUM, or KALE fit especially well on spoon bowls.
6. Set the first spoon on the wood block, center the first letter stamp on the flattened bowl, and strike it once firmly with the hammer.
7. Continue stamping the remaining letters one at a time, spacing them evenly across the bowl, then repeat for the other three spoons.
8. Lightly rub each spoon with fine steel wool to smooth scuffs and bring back some shine without removing the stamped impressions.
9. Color the stamped letters with the black paint pen, wait about 1 minute, then wipe the surface with a paper towel so the paint stays mostly inside the indented letters.
10. Let the paint dry fully, then spray both sides of each spoon with a light coat of clear outdoor sealer and allow them to dry according to the can directions.
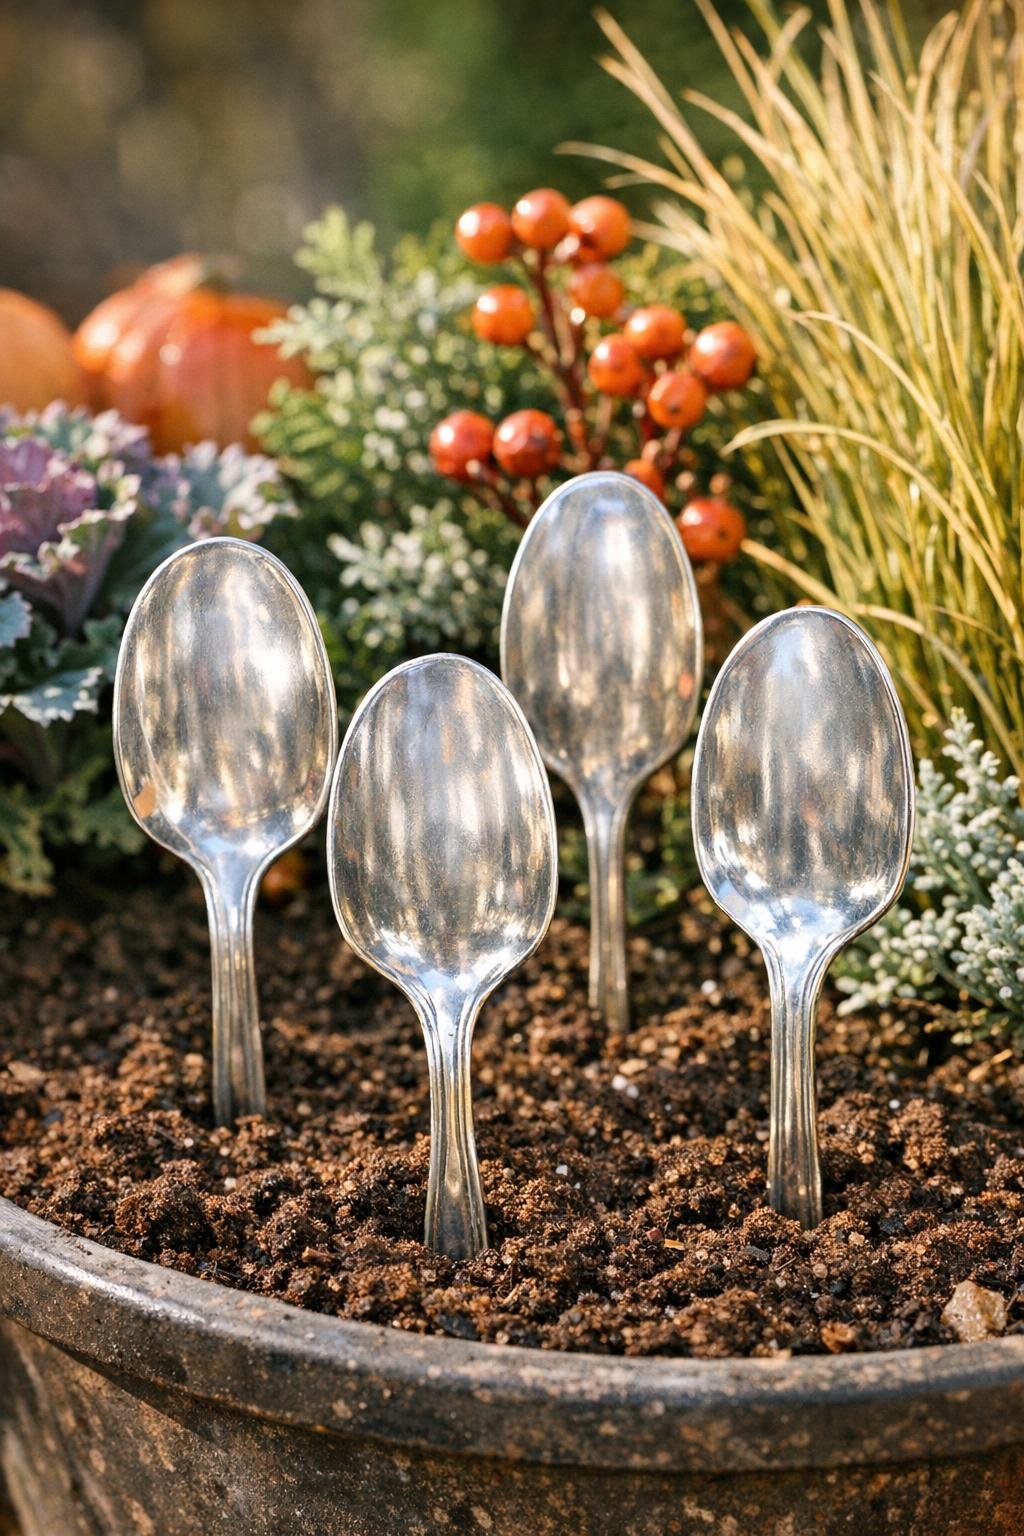
11. Press the finished spoon handles into garden soil or container pots, leaving the stamped spoon bowls visible above the plants.
12. Arrange all four markers together in your fall garden or porch planter, spacing them so each label is easy to read and the spoon shapes can still stand out.
Variations & Tips
For softer metals: Silverplate thrift-store spoons are usually easier to flatten than heavy stainless steel ones, so if you are new to this, start there.
For cleaner stamping: Practice on one extra spoon first if you have it. Metal stamps are a bit like learning knife skills in the kitchen: confidence and steady placement matter more than force.
For longer plant names: Stamp abbreviations or use the handle for part of the name if the spoon bowl feels crowded.
For a more rustic finish: Skip the full polish and leave a little tarnish in the creases; it gives the markers an aged garden look that works beautifully in fall planters.
For gift sets: Tie the four finished markers with twine and pair them with a packet of herb or lettuce seeds for an easy handmade hostess gift.
For outdoor durability: Reapply clear sealer at the start of each growing season if your markers stay outside year-round through Midwestern rain, sun, and freeze-thaw weather.