
I love a project that looks custom but starts with something most of us already have tucked in a closet or stacked in the garage. This fall photo display uses 4 old wooden picture frames, a little paint, and simple seasonal fillers to turn mismatched frames into one long, cozy accent piece. It’s an easy weekend DIY that gives you a lot of decorating impact without a big budget.
As someone who is usually squeezing creative projects in between work and figuring out dinner, I’m always looking for home décor ideas that are straightforward and actually worth the effort. This one is especially good for beginners, for anyone who likes thrifted décor, or for families who want a seasonal display they can update year after year with new photos.
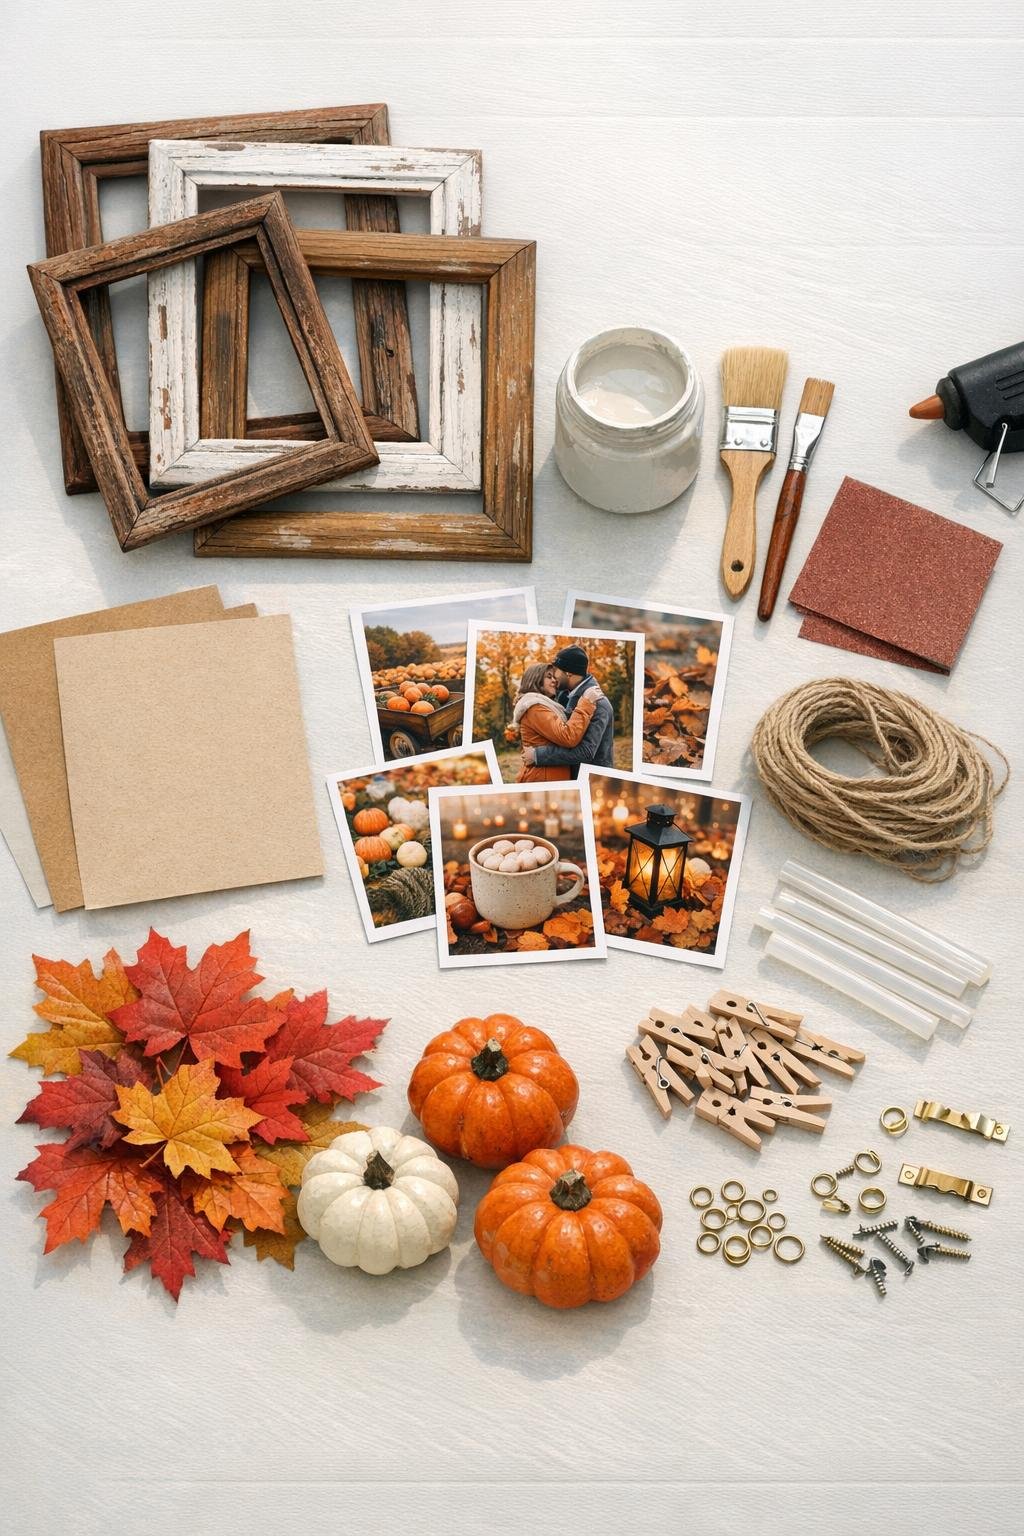
Materials
4 old wooden picture frames, 8 x 10 inches each
Instructions
1. Remove the glass, backing, and any old inserts from all 4 wooden picture frames, then wipe each frame clean with a damp cloth and let them dry fully.
2. Lightly sand the frames to smooth rough spots and help the paint stick, especially on glossy or older finishes.
3. Paint all 4 frames in your chosen color, covering the front and sides evenly, and let the first coat dry before adding a second coat if needed.
4. If you want a slightly rustic look, sand the edges very lightly after the paint dries so a little of the wood peeks through.
5. Cut cardstock or backing paper to fit inside each frame opening, then insert it as a clean background for the photo display.
6. Stretch a horizontal line of jute twine across the center or upper third of each frame opening, and secure the ends tightly to the back with hot glue.
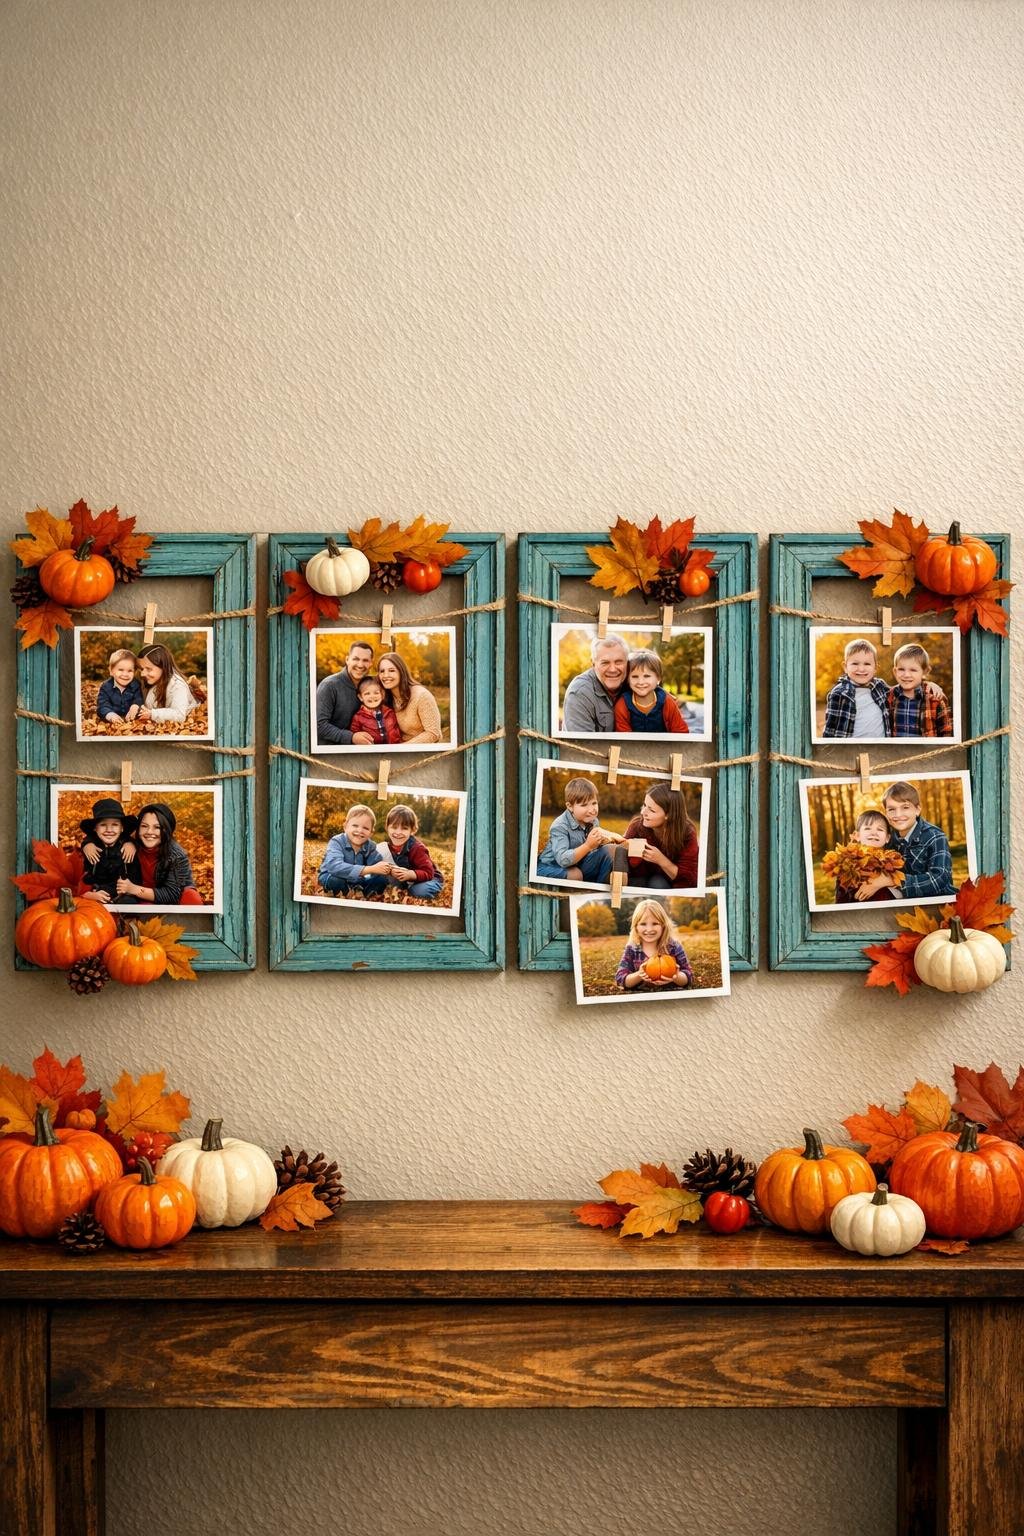
7. Clip 2 or 3 printed photos onto the twine in each frame using mini clothespins, spacing them so they feel balanced but still casual.
8. Glue faux fall leaves, small faux pumpkins, or pinecone clusters onto one corner or along the lower edge of each frame, keeping the decorations light so the photos stay the focus.
9. Line the 4 frames up in a row on a wall, mantel, shelf ledge, or entry table, making the spacing between them as even as possible so they read as one display.
10. Attach sawtooth hangers or D-rings if you plan to hang them, then style and adjust the photos until the whole set looks cohesive.
Variations & Tips
Use mixed frame shapes: If your old frames are not identical, that can still work beautifully. I would just keep the paint color the same so the full display feels intentional instead of random.
Try a layered look: On a mantel or console table, lean the 4 frames against the wall instead of hanging them. This is honestly my favorite option when I want seasonal décor up fast and do not feel like measuring hardware after work.
Swap photos by season: Use the same frame setup all year and just switch the clipped photos and embellishments. In fall, I like family orchard pictures and warm-toned prints, but winter greenery or spring florals would be just as easy.
Keep embellishments light: Heavy décor can pull on the twine or overwhelm the frame. A few leaves and one small accent per frame is usually enough.
Choose photo finishes carefully: Matte photo prints usually reduce glare and look better indoors, especially if you are displaying the frames near a window.
Make it more polished: If you want a cleaner style, skip the distressing and use black or deep bronze paint. If you want a softer farmhouse look, white, cream, or sage always works well with fall colors.
Save time on prep: If the frames are already in decent shape, I do a quick clean, a light sand, and one solid coat of paint. It is one of those projects where the transformation happens fast, which is probably why I keep coming back to it every autumn.