
Pinecones have a way of collecting in corners of the yard until you stop seeing them as anything but cleanup. I’ve done that myself more than once, especially after a windy week, but they’re one of the easiest natural materials to turn into something genuinely beautiful. This simple autumn wreath base uses just three main items and gives you a sturdy, rustic foundation you can leave plain or dress up with ribbon, dried leaves, or a few seasonal accents.
I like this project because it feels a little like good kitchen thrift: you start with something humble, use a straightforward method, and end up with a result that looks far more special than the ingredient list suggests. If you’re new to seasonal decorating or want an inexpensive fall craft that doesn’t require advanced skills, this is a very manageable place to start.
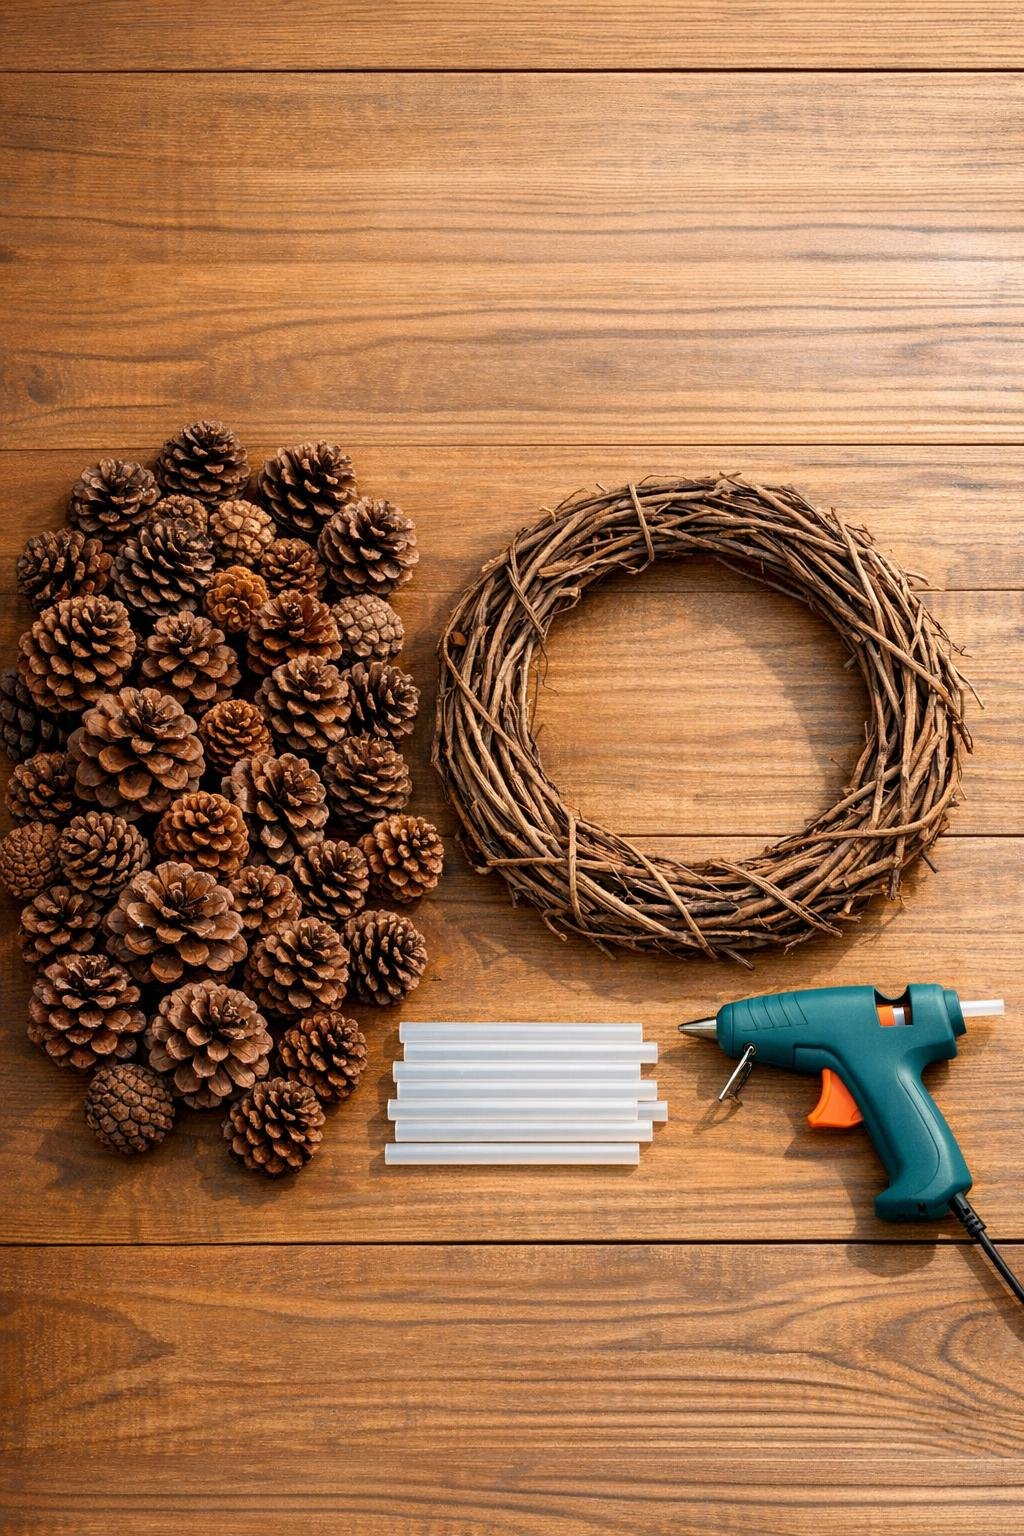
Materials
Instructions
1. Shake out the pinecones outdoors and brush away dirt, loose needles, and sap flakes. If they feel damp, let them dry fully for a day or two so the glue will hold well.
2. Sort the pinecones into small, medium, and large piles. This makes it much easier to build an even wreath without awkward gaps.
3. Lay the grapevine wreath form flat on your work surface and arrange the largest pinecones around it without glue first. I always do this dry layout step because it works like mise en place in cooking—it shows you the structure before anything becomes permanent.
4. Heat your glue gun and apply a generous bead of hot glue to the base of one large pinecone. Press it firmly into the grapevine form for 10 to 15 seconds, angling the cone slightly outward for a fuller look.
5. Continue gluing the largest pinecones evenly around the wreath form, leaving small spaces between them. Keep checking the circle from above so the shape stays balanced.
6. Fill the open spaces with medium pinecones, gluing each one into the grapevine and against neighboring cones for extra stability. Tuck them in at slightly different angles so the wreath looks natural rather than stiff.
7. Use the smallest pinecones to cover remaining bare spots and soften the inner and outer edges of the ring. Add glue directly into deep crevices where the grapevine still shows.
8. Let the wreath rest flat for 20 to 30 minutes so the glue can cool and set completely. Once it’s firm, lift it gently and add a little extra glue anywhere a pinecone shifts.
9. Fluff and rotate the wreath until the fullest side is at the top, then it’s ready to use as a base for other autumn decorations or to hang as-is for a simple natural look.

Variations & Tips
Keep it natural: Leave the wreath plain if you like a woodsy look. The range of brown tones in real pinecones already gives it plenty of depth.
Add color later: Once the base is finished, you can tuck in faux berries, dried orange slices, preserved leaves, or a ribbon bow without rebuilding the wreath itself.
Use different cone sizes: If your yard gives you mostly small pinecones, use a smaller wreath form, around 8 to 10 inches, so the proportions still feel full.
Make it sturdier: For an outdoor-covered porch wreath, run glue both under the base of each pinecone and between touching sides. That extra bond helps the arrangement stay tight through the season.
Clean pinecones safely: If your pinecones are especially sappy or buggy, place them on a lined baking sheet and warm them at 200°F for 30 to 45 minutes, then cool completely before crafting. As someone who spends a lot of time in the kitchen, I treat this step like toasting nuts: low heat, close attention, and no rushing.