
A cedar-and-gravel garden path is one of those projects that looks far fancier than it is, and I love that kind of weekend makeover. By laying warm cedar pickets into crisp white pea gravel, you get a walkway that feels tidy, natural, and welcoming without pouring concrete or hauling in heavy stone. It has that charming, cottage-garden look, but it still feels practical enough for everyday family traffic.
This is a good project for anyone who wants a simple pathway through a garden bed, side yard, or backyard gathering space. I especially like it for families because it can be done in stages, and once it’s finished, it gives everyone a clear place to walk instead of tromping through mulch or muddy spots after a rain.
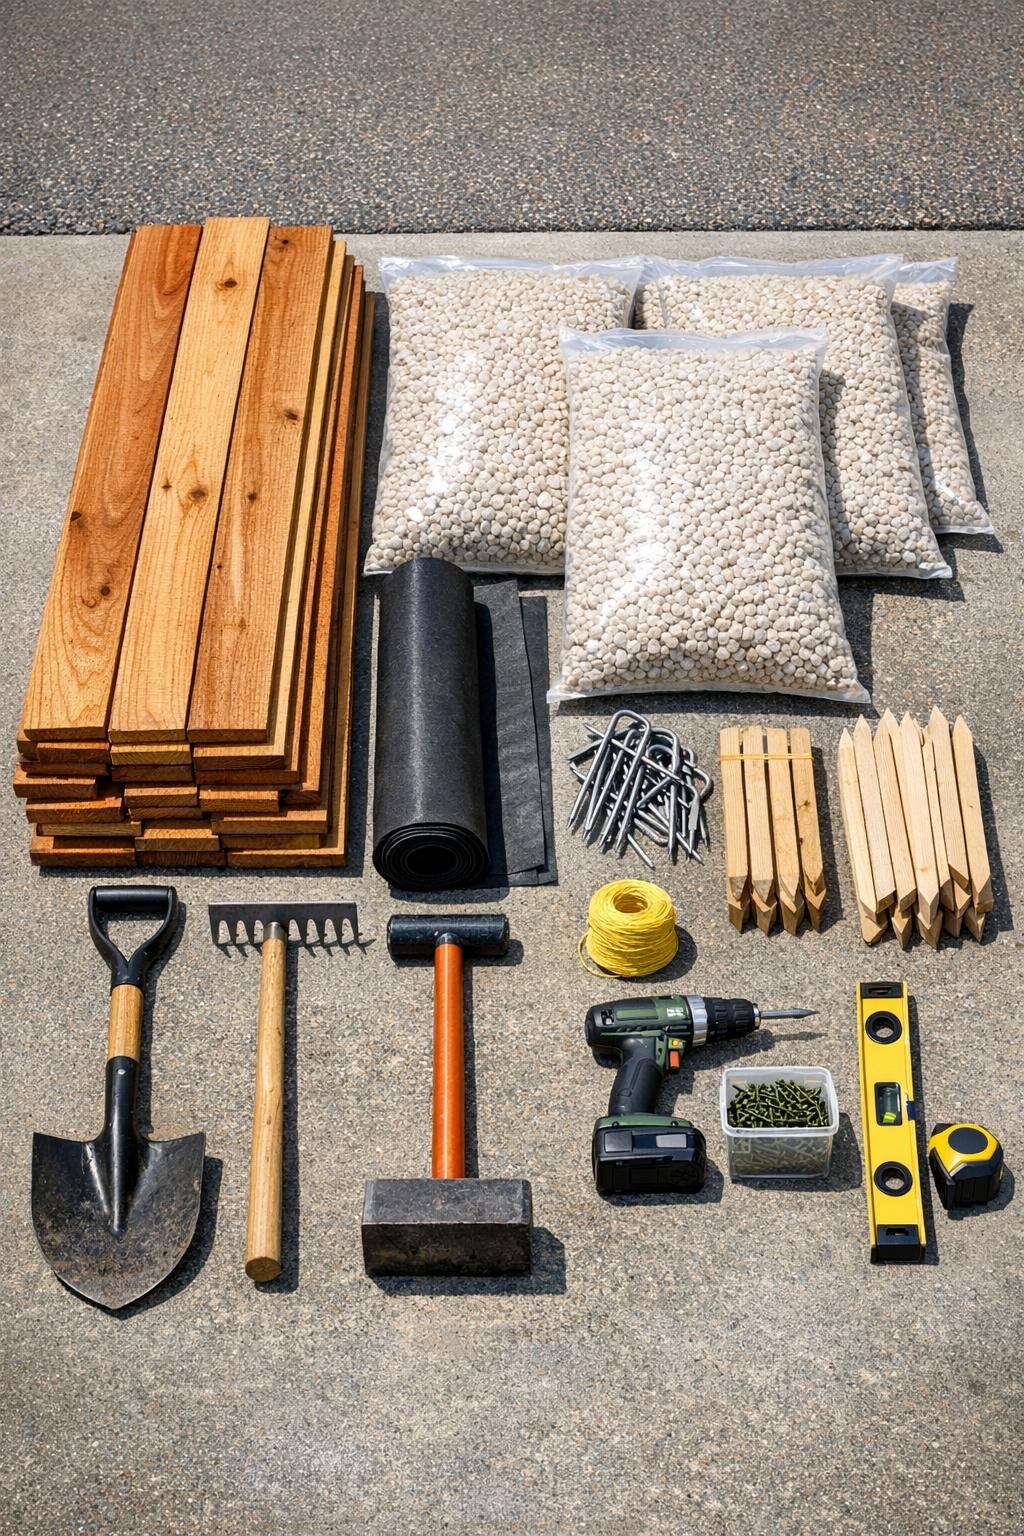
Materials
Instructions
1. Mark the shape and width of your path with stakes and mason string, aiming for a finished width of about 24 to 30 inches. Walk it once before digging to make sure the curve and placement feel natural.
2. Remove grass, weeds, and roots from the path area, then dig down 3 to 4 inches below grade. Try to keep the bottom as level as possible from side to side so the gravel and cedar sit evenly.
3. Add a little paver base to any soft or low areas, then tamp the entire path firmly. A solid base matters here because it keeps the cedar pickets from rocking when someone steps on them.
4. Roll out landscape fabric to cover the whole trench and secure it with staples every 12 to 18 inches. Overlap seams by at least 4 inches so weeds have a harder time sneaking through later.
5. Pour in about 1 inch of pea gravel and rake it smooth into an even bed. This first layer gives you something easy to level before the cedar goes in.
6. Cut the cedar pickets to the width of your path, or keep them full width if your path is sized to fit them. If you want a cleaner look, lightly sand any rough cut ends before placing them.
7. Set the first cedar picket across the path and press it into the gravel until it feels stable and nearly level. Check it with a level, because the first board sets the look for the rest.
8. Use your 1 1/2-inch spacer blocks to place the next cedar picket parallel to the first, then continue laying pickets down the path. Keep the spacing consistent so the walkway looks intentional and easy to walk on.
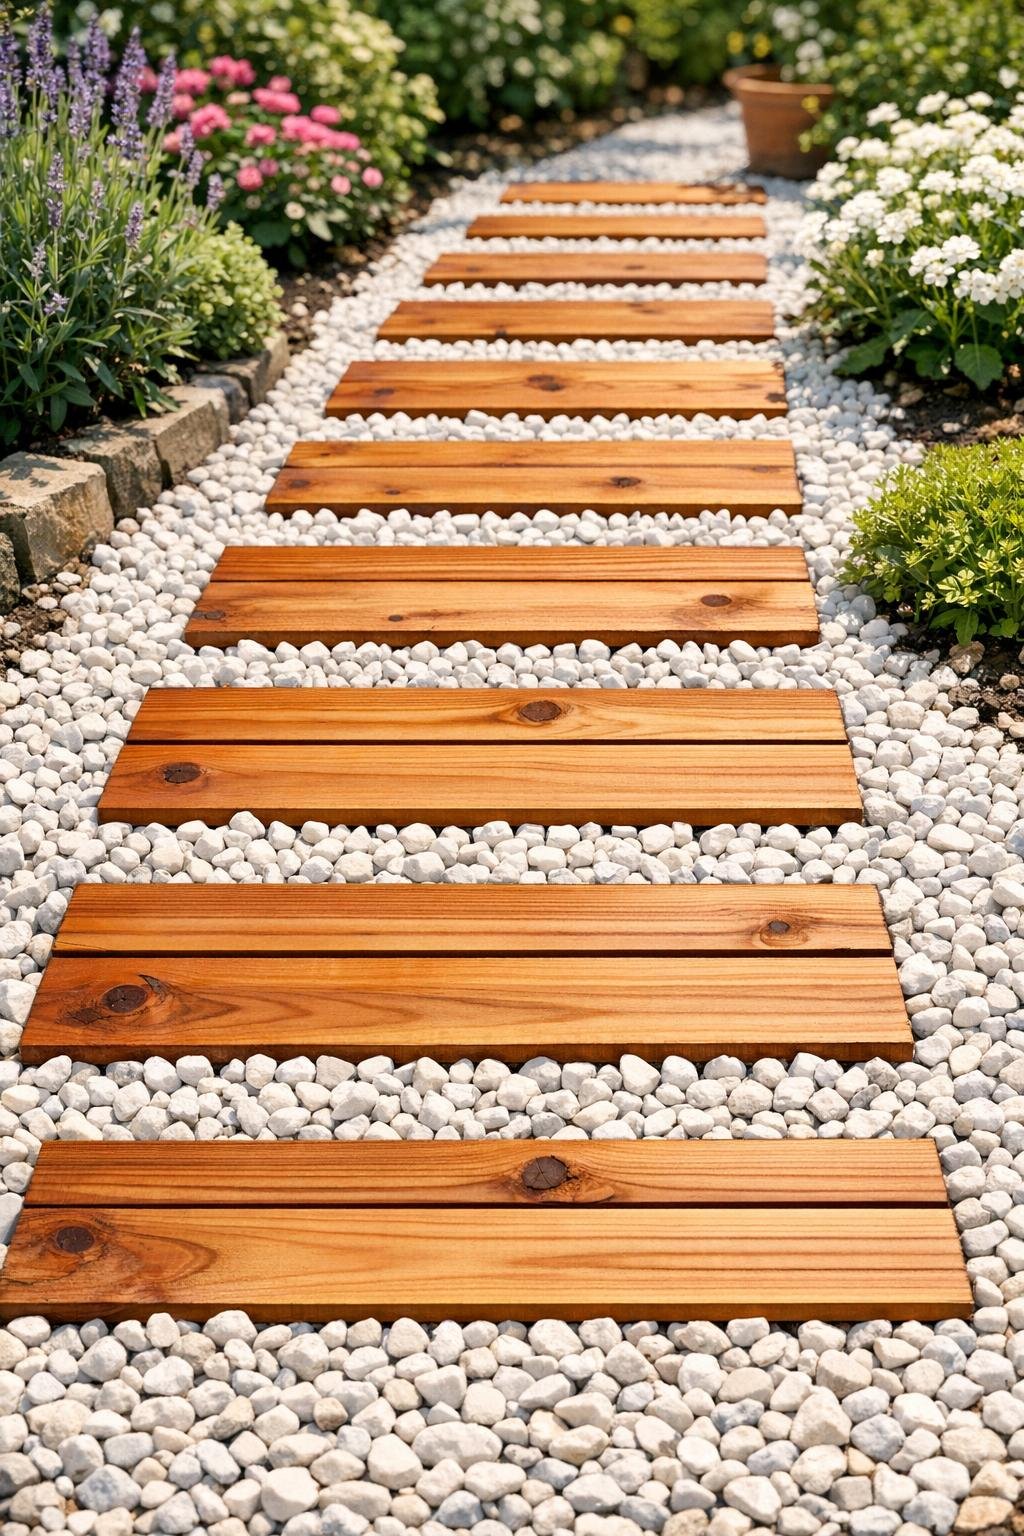
9. Pour more pea gravel between and around the cedar pickets, then use a broom or your hands to work it into the gaps. Leave the top face of each picket slightly proud of the gravel so the wood stays visible and the path reads clearly.
10. Step on each picket and adjust with a little more gravel underneath wherever needed to stop wobbling. If one sits too high, lift it and remove a bit of gravel rather than forcing it down.
11. Continue filling until the gravel is level just below the top surface of the cedar, then rake the whole path smooth. Tidy the edges with soil or mulch so the walkway looks settled into the garden.
12. If you want longer life and richer color, brush on a coat of exterior clear sealer once the cedar is dry and clean. Let everything settle for a day, then top off any low gravel spots before regular use.
Variations & Tips
Wider Path Option: For a more generous walkway, make the path 30 to 36 inches wide and cut longer cedar pieces to span it. That extra width is nice if you’ll be carrying watering cans, baskets, or armfuls of flowers.
Kid-Friendly Spacing: Keep the gaps between pickets on the narrower side, around 1 to 1 1/2 inches, so little feet have an easier time walking across comfortably. That also helps the path feel sturdier for grandparents and guests.
Low-Maintenance Tip: Use quality landscape fabric and don’t skip the compacting step. In my experience, those two little details make the biggest difference in keeping the walkway neat through a whole growing season.
Weathering Choice: Cedar can be sealed to hold its warm color longer, or left alone to age to a soft silvery tone. Either look is lovely, so it really comes down to whether you want a fresh warm finish or a more relaxed cottage feel.
Edge Cleanup: If gravel tends to wander, add metal or plastic landscape edging along the sides of the path. It’s especially helpful in busy backyards where everybody is heading out to the garden, grill, or play area.
Picky Yard Conditions: If your yard stays soggy, dig a little deeper and add an extra inch of compacted base before the fabric and gravel. It’s a bit like cooking for picky eaters in my house—sometimes the base needs adjusting before the final result really works.