
If you’ve got a few empty glass candle jars hanging around the house, this is one of those satisfying little projects that looks far more expensive than it is. I love a kitchen organizer that actually earns its counter space, and this one turns 4 matching or coordinating jars into a tidy fall-inspired holder for everyday essentials like tea bags, sweetener packets, cinnamon sticks, coffee pods, or little baking items.
As someone who’s always trying to keep my kitchen functional without making it feel cluttered, I’m especially fond of projects like this. It’s simple, budget-friendly, and easy to customize for your own style, whether your kitchen leans farmhouse, modern, or cozy autumn everything.
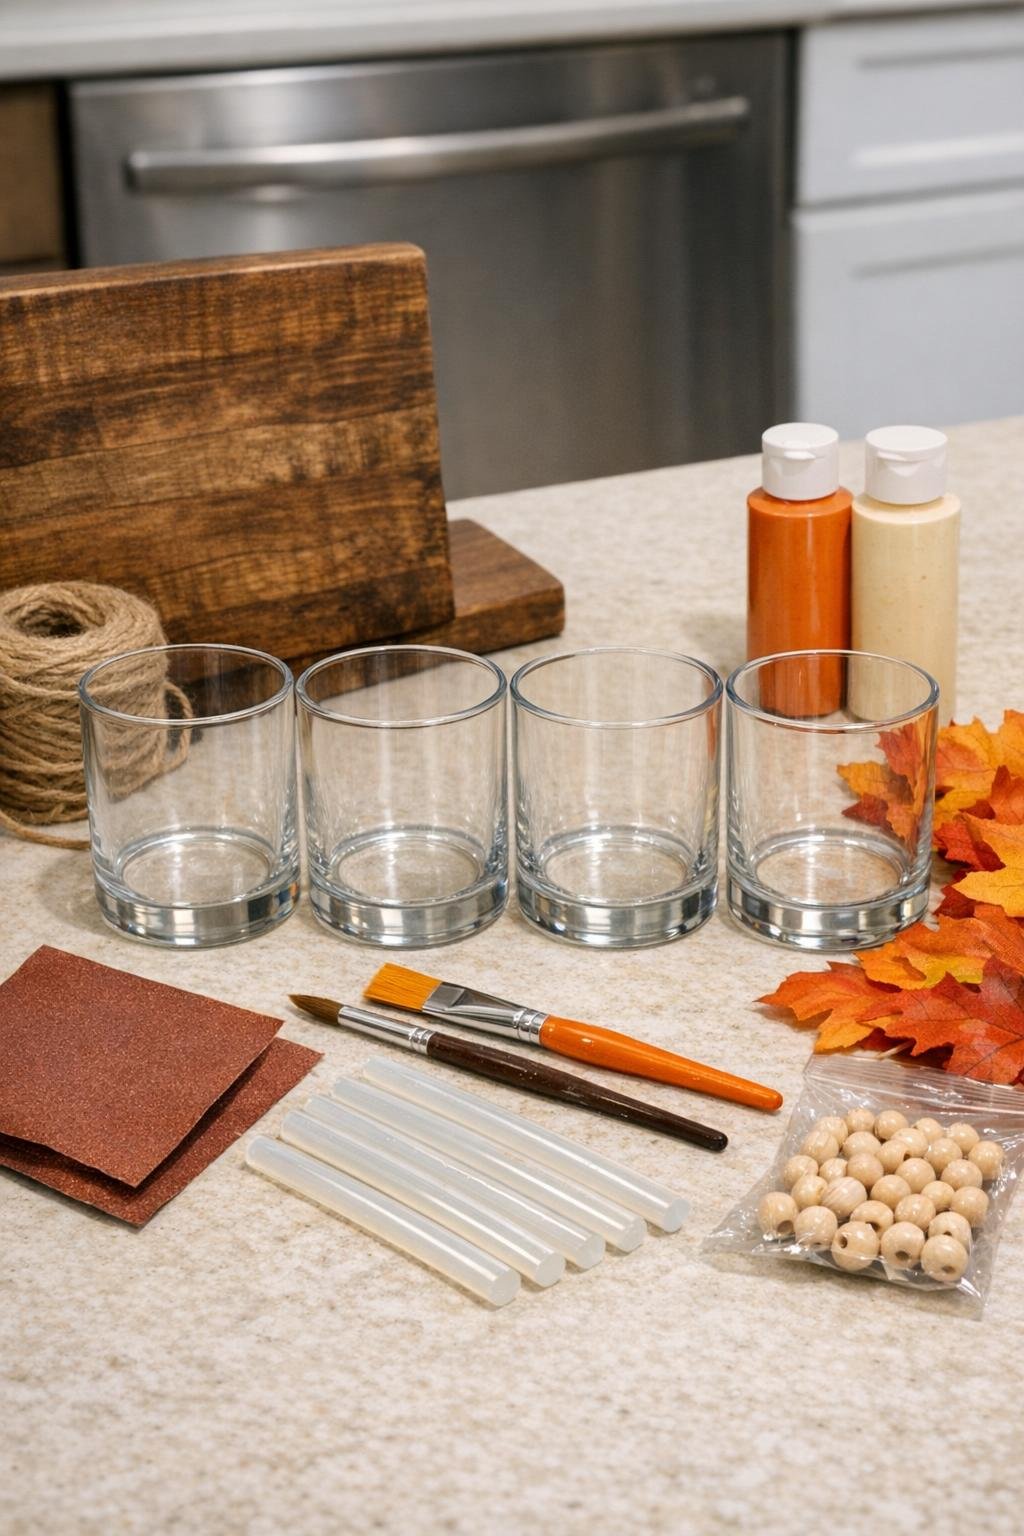
Materials
4 empty glass candle jars, 10 to 14 oz each, cleaned and labels removed
Instructions
1. Wash the candle jars thoroughly, remove any leftover wax, and peel off the labels. Wipe the outside with rubbing alcohol or glass cleaner so paint and glue will stick better.
2. Lightly sand the wood board to smooth the edges and corners, then wipe away the dust. This gives the base a cleaner finish and keeps it from looking too raw on the counter.
3. Paint the wood board with the cream paint using the foam brush, then let it dry completely. Add a second coat if the wood grain still shows more than you’d like.
4. Once the paint is dry, dry-brush a little orange paint along the edges and surface for a soft fall accent. Keep this layer light so it looks warm and subtle rather than fully painted over.
5. Wrap a length of jute twine around the neck of each jar 3 times and knot it tightly. Thread 2 wood beads onto the twine ends if you’d like a more finished decorative touch, then trim the excess.
6. Glue 3 to 4 faux fall leaves onto the front side of each jar near the twine wrap, layering them slightly for dimension. Press each leaf in place for a few seconds so it holds securely.
7. Arrange the 4 jars in a straight line on the painted board, leaving about 1/2 inch between each one. When you like the spacing, add hot glue to the bottom of each jar and press it onto the board.
8. Turn the board over and add a felt pad near each corner of the underside. This helps protect your countertop and keeps the organizer from sliding around.
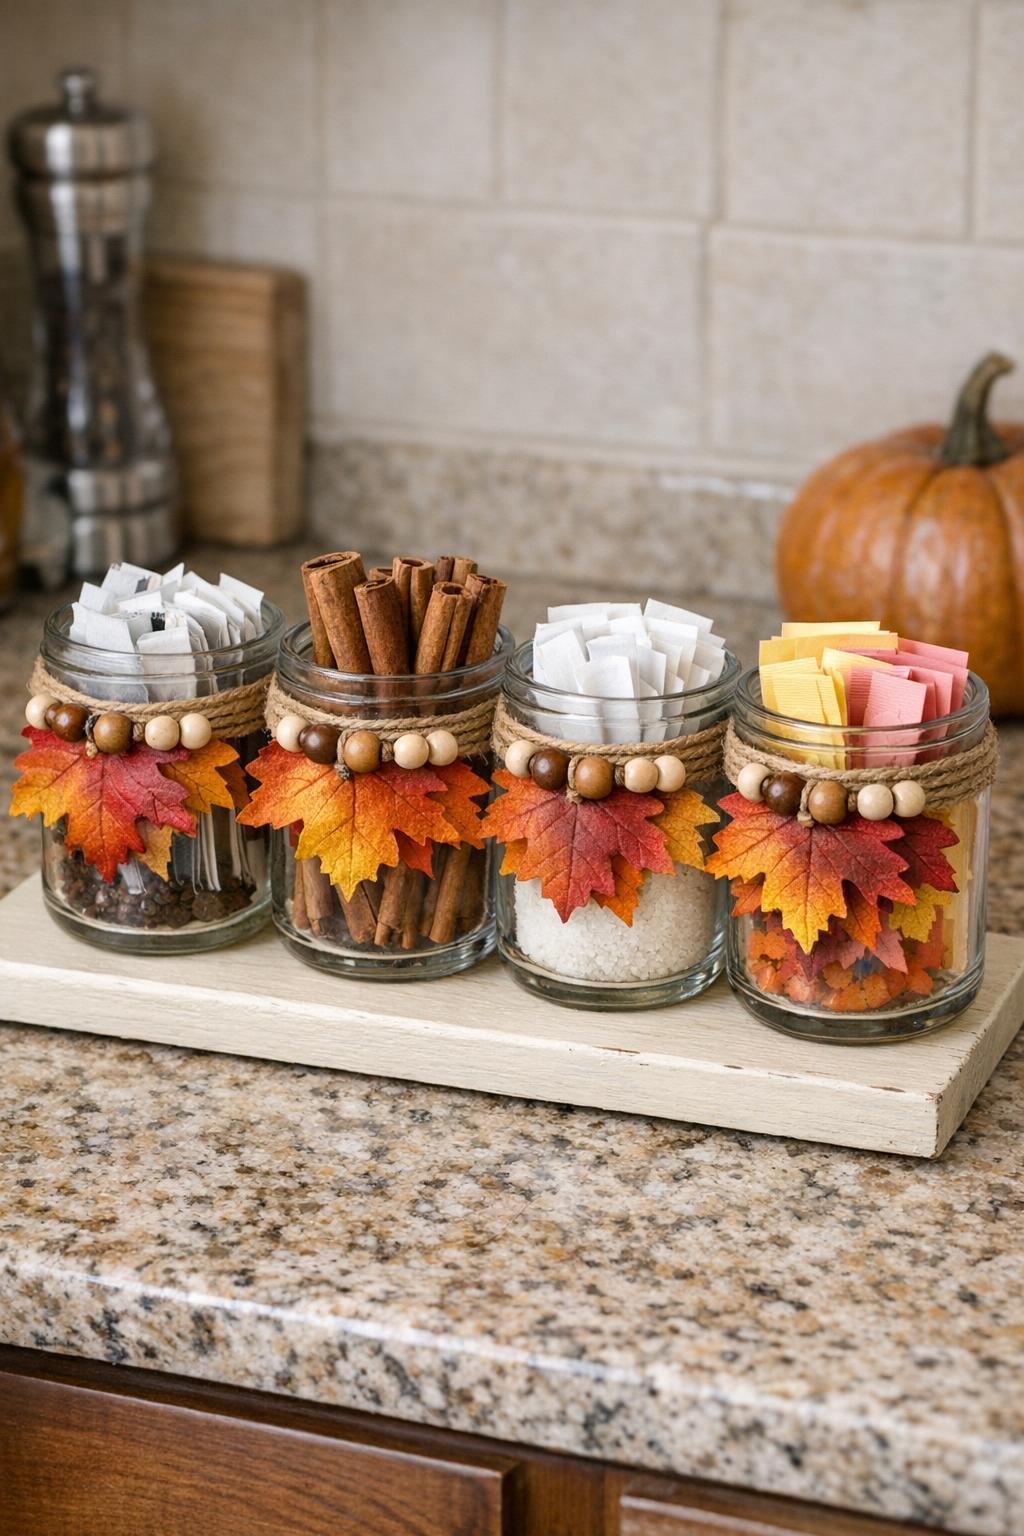
9. Fill the jars with whatever makes sense for your kitchen routine, like tea bags, sweetener packets, stir sticks, wrapped snacks, or cinnamon sticks. I like mixing practical items with one jar of purely seasonal filler to make the whole thing feel a little more styled.
10. Set the organizer on your counter, coffee station, or baking shelf and adjust the jar fronts so the leaf decorations face forward. If you want, place battery tea lights in one or two jars for a cozy fall glow that still keeps the display useful.
Variations & Tips
Use matching jars: If your candle jars are slightly different brands, try to keep them close in height and width so the finished organizer looks intentional.
Swap the base finish: You can stain the wood board instead of painting it if your kitchen has warmer wood tones. A medium walnut stain looks especially pretty with orange and cream fall accents.
Make it more functional: For a coffee bar setup, fill the jars with sugar packets, stirrers, mini marshmallows, and wrapped tea sachets. This is honestly how I’d use it most in my own kitchen on busy weekday mornings.
Skip permanent glue if needed: If you want to reuse the jars later, set them on a tray instead of gluing them down. You’ll get the same lined-up look with a little more flexibility.
Keep it easy to clean: Avoid overfilling the jars and keep decorations concentrated near the top. That way you can still wipe down the base quickly, which matters if this organizer lives near the stove or coffee maker.
Try a softer fall palette: If bright orange isn’t your thing, use muted sage, dusty rust, or matte taupe accents for a more subtle seasonal look.